Last updated on October 23rd, 2024 at 06:41 pm
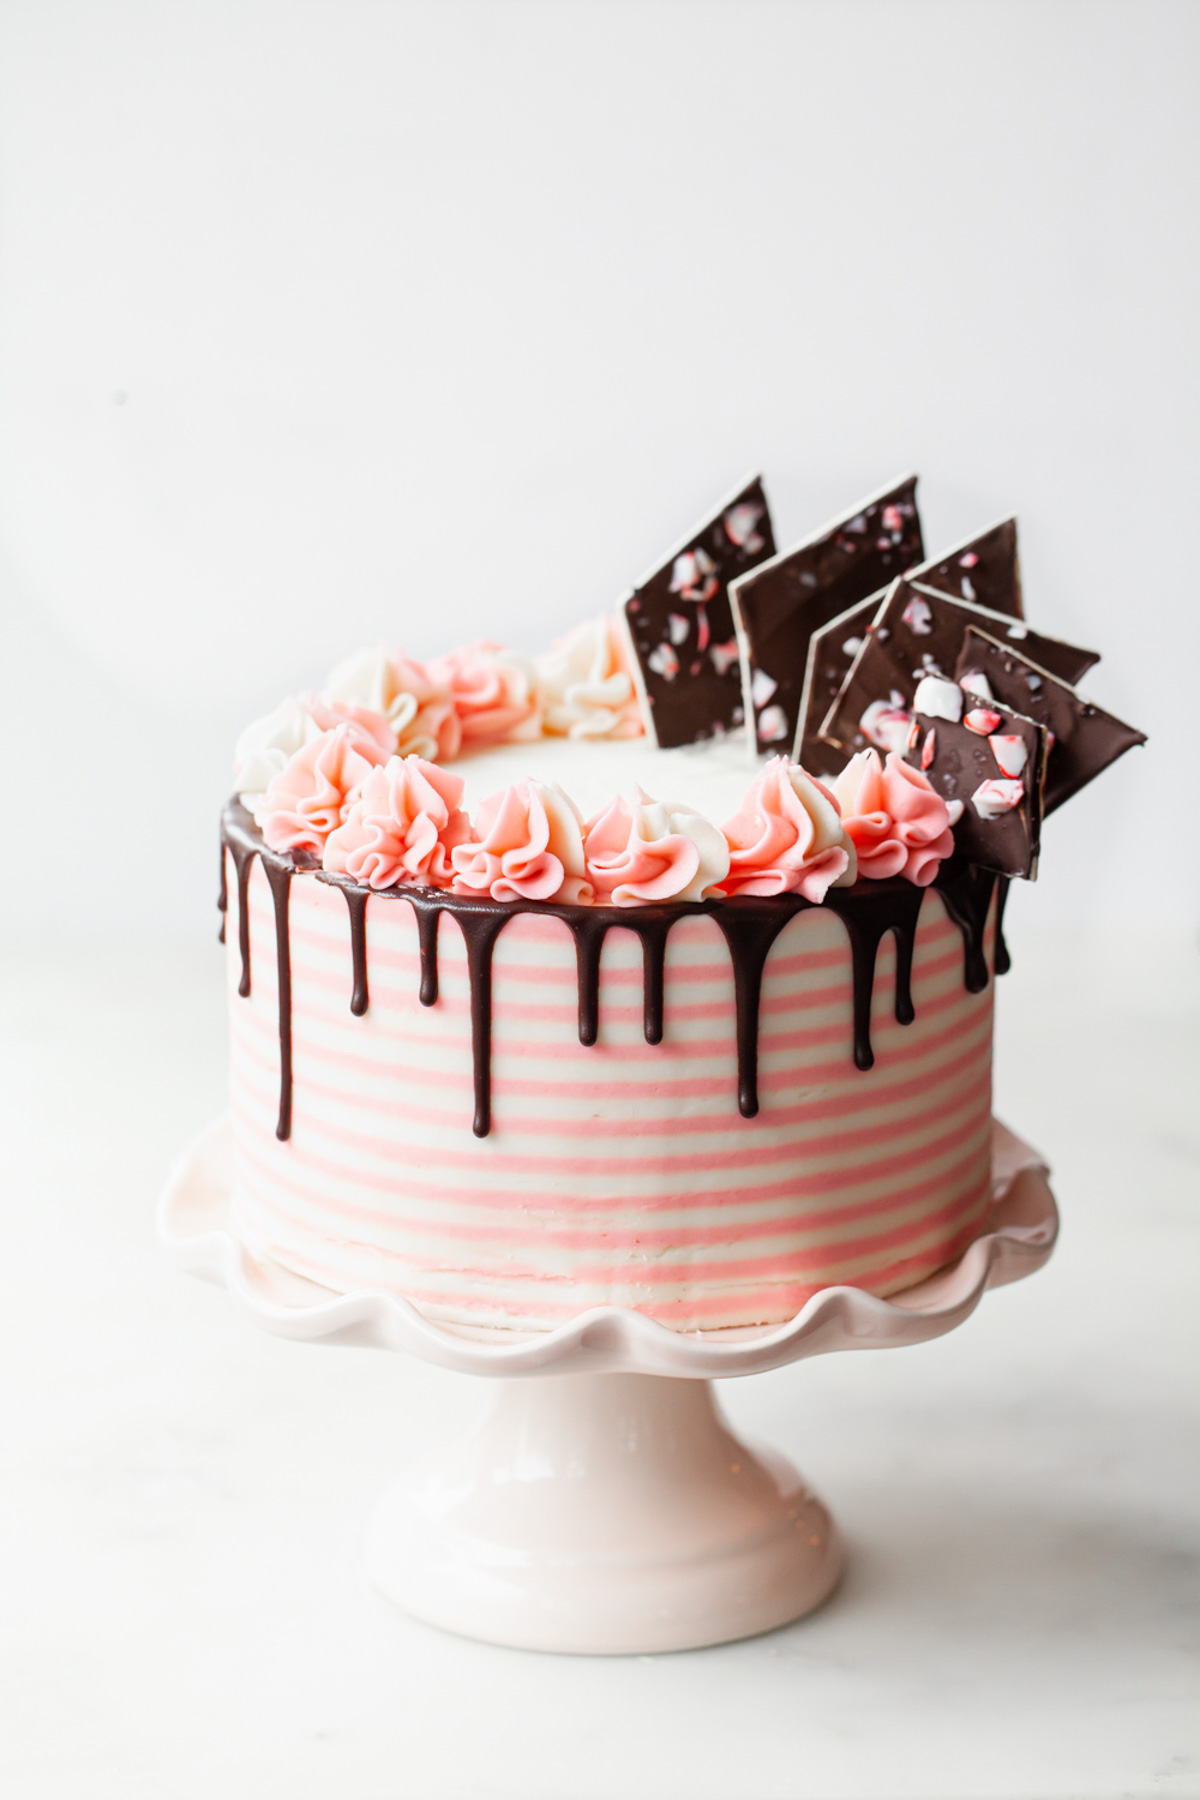
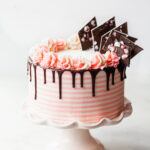
Get your cake and peppermint bark fix at the same time with this Chocolate Candy Cane Cake!
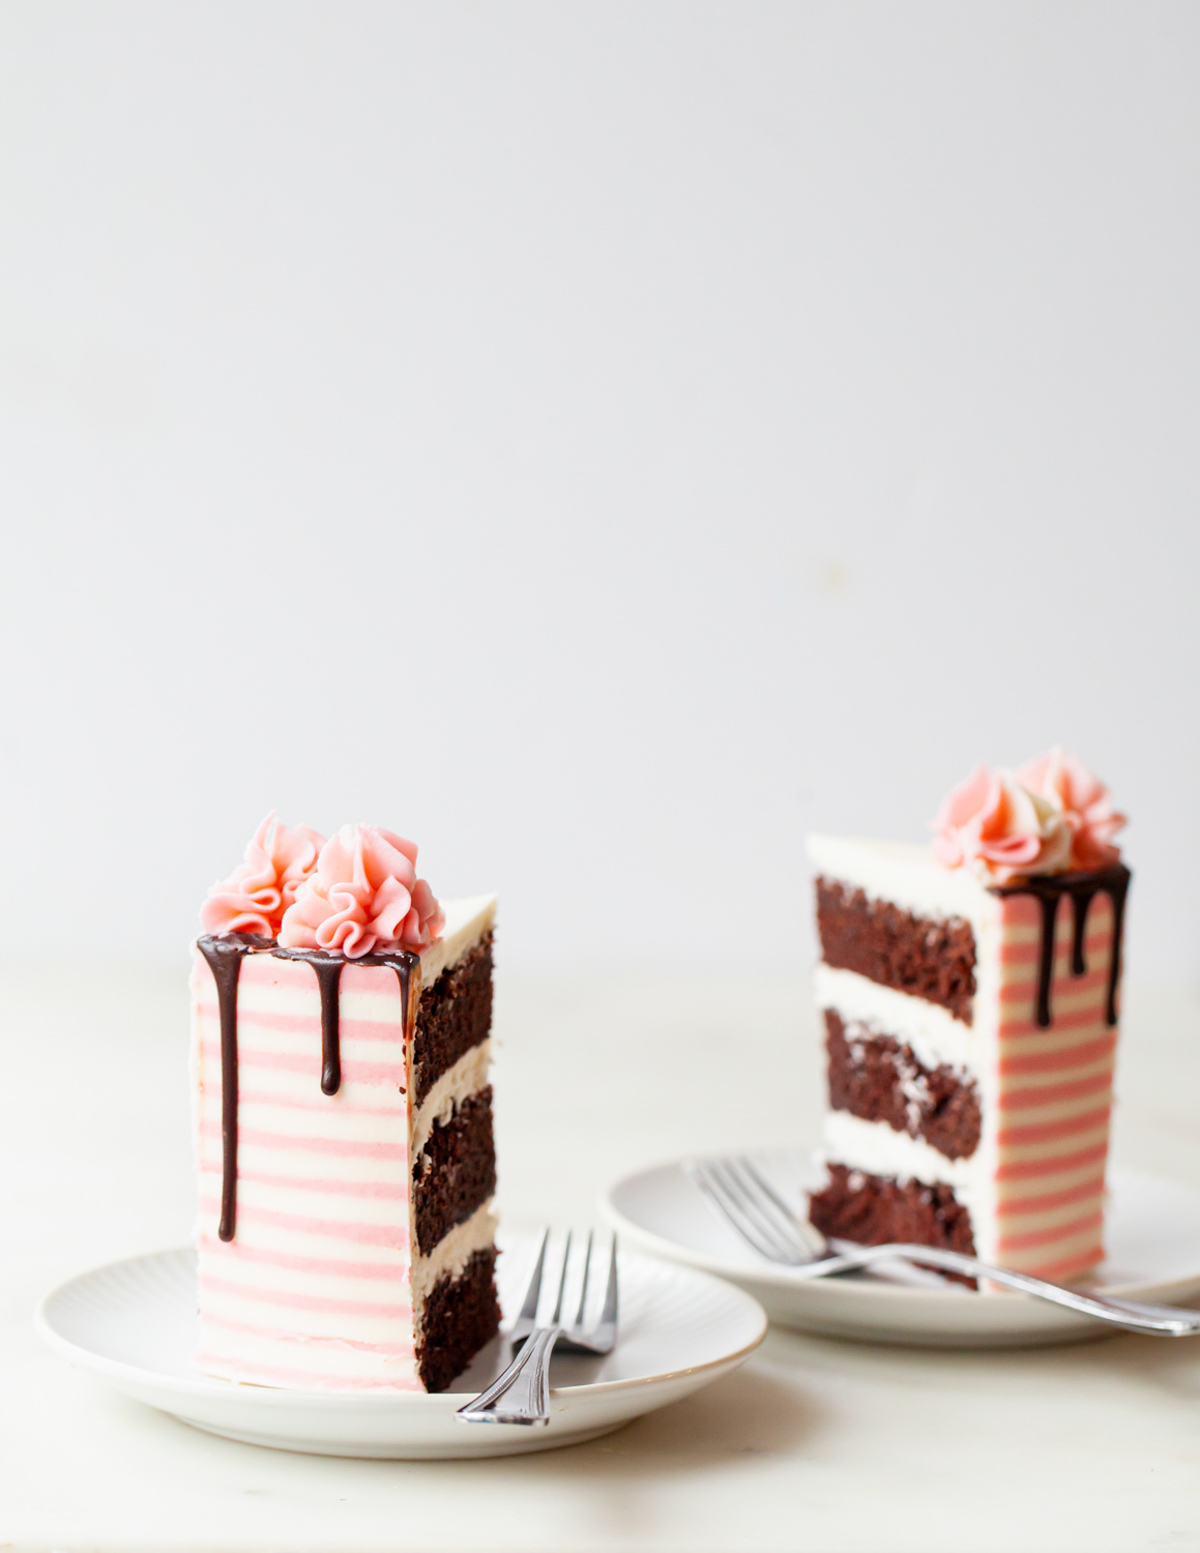
Layers of moist chocolate cake alternate with peppermint buttercream inside while pink and white candy cake strips, chocolate drip, and homemade peppermint bark decorate the outside.
Jump to:
How to Make a Candy Cane Stripe Cake
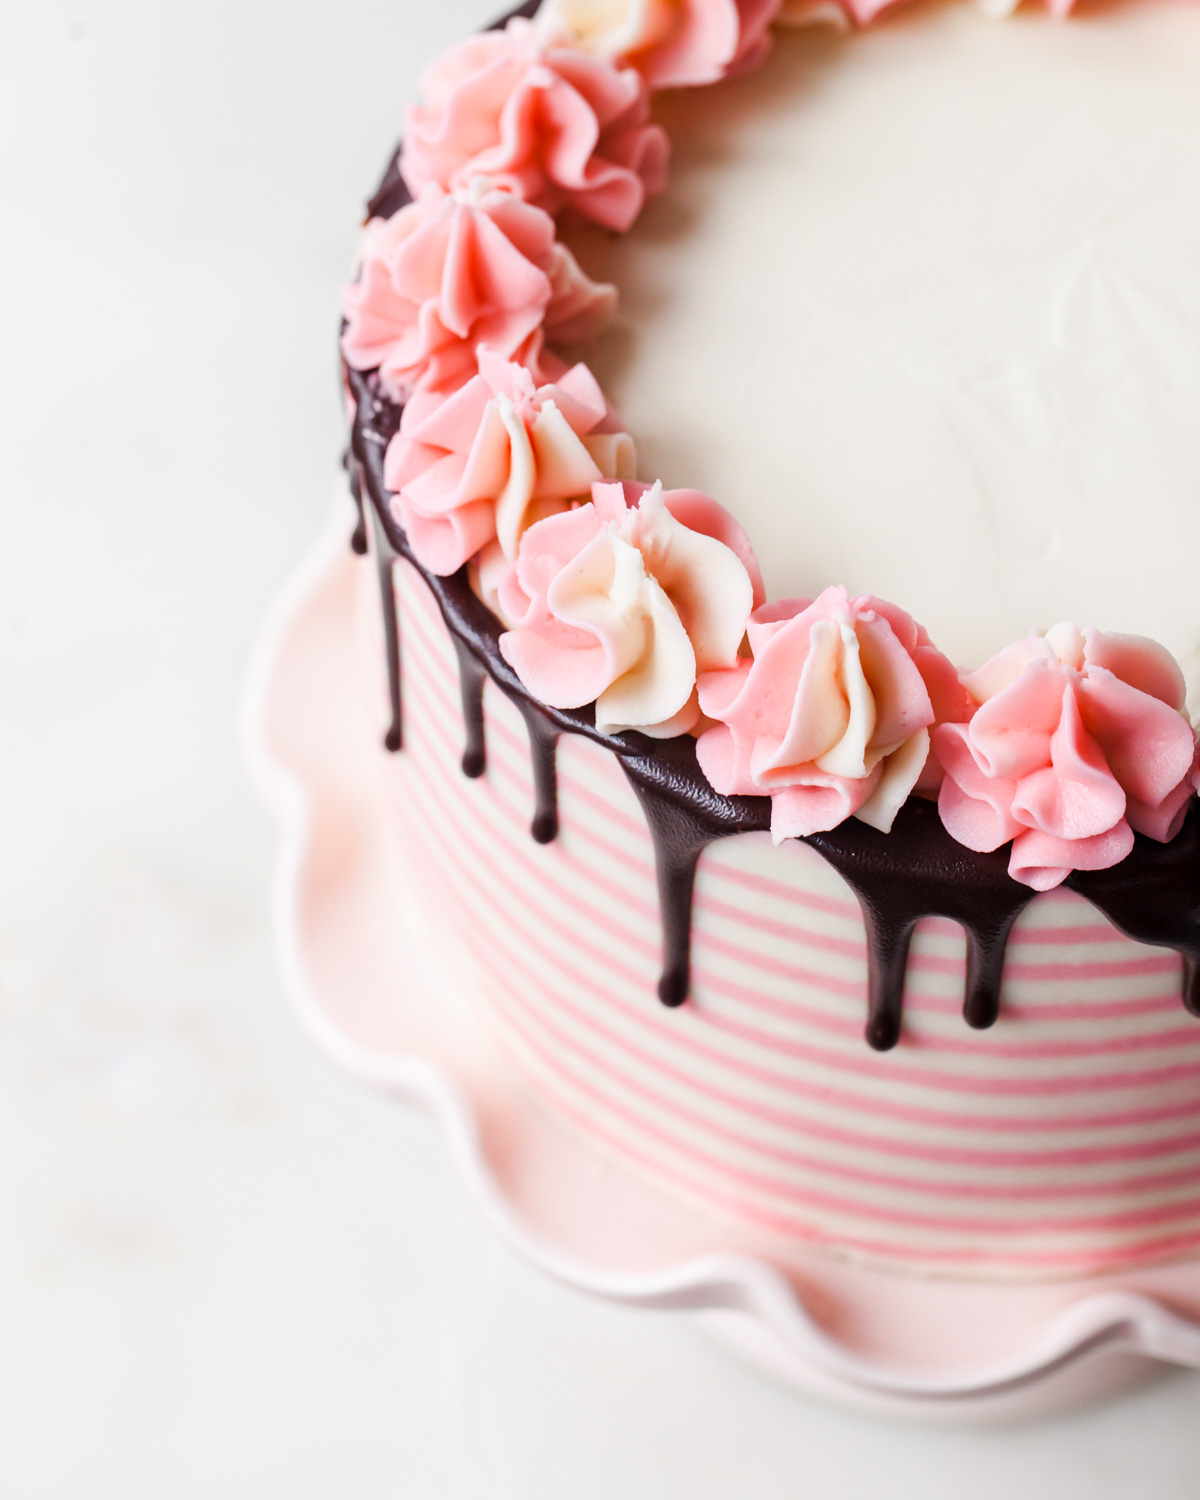
- Candy cane stripes reveal themselves with this clever technique.
- Alternatively, use the comb side of our tried and trusted icing smoother to create ridges in a freshly frosted cake.
- Pipe pink buttercream with a very small piping tip (or tipless bag with a small opening) in the grooves then smooth (as you would finish off a smoothly frosted cake) to reveal the pink and white stripes.
- No chilling required - just keep going until the stripes POP but stop before all icing is removed.
For the chocolate drips, make sure the glaze is the correct temperature and consistency - not too hot that it slides right off the buttercream but not too cool and stiff that it clumps instead of drips.
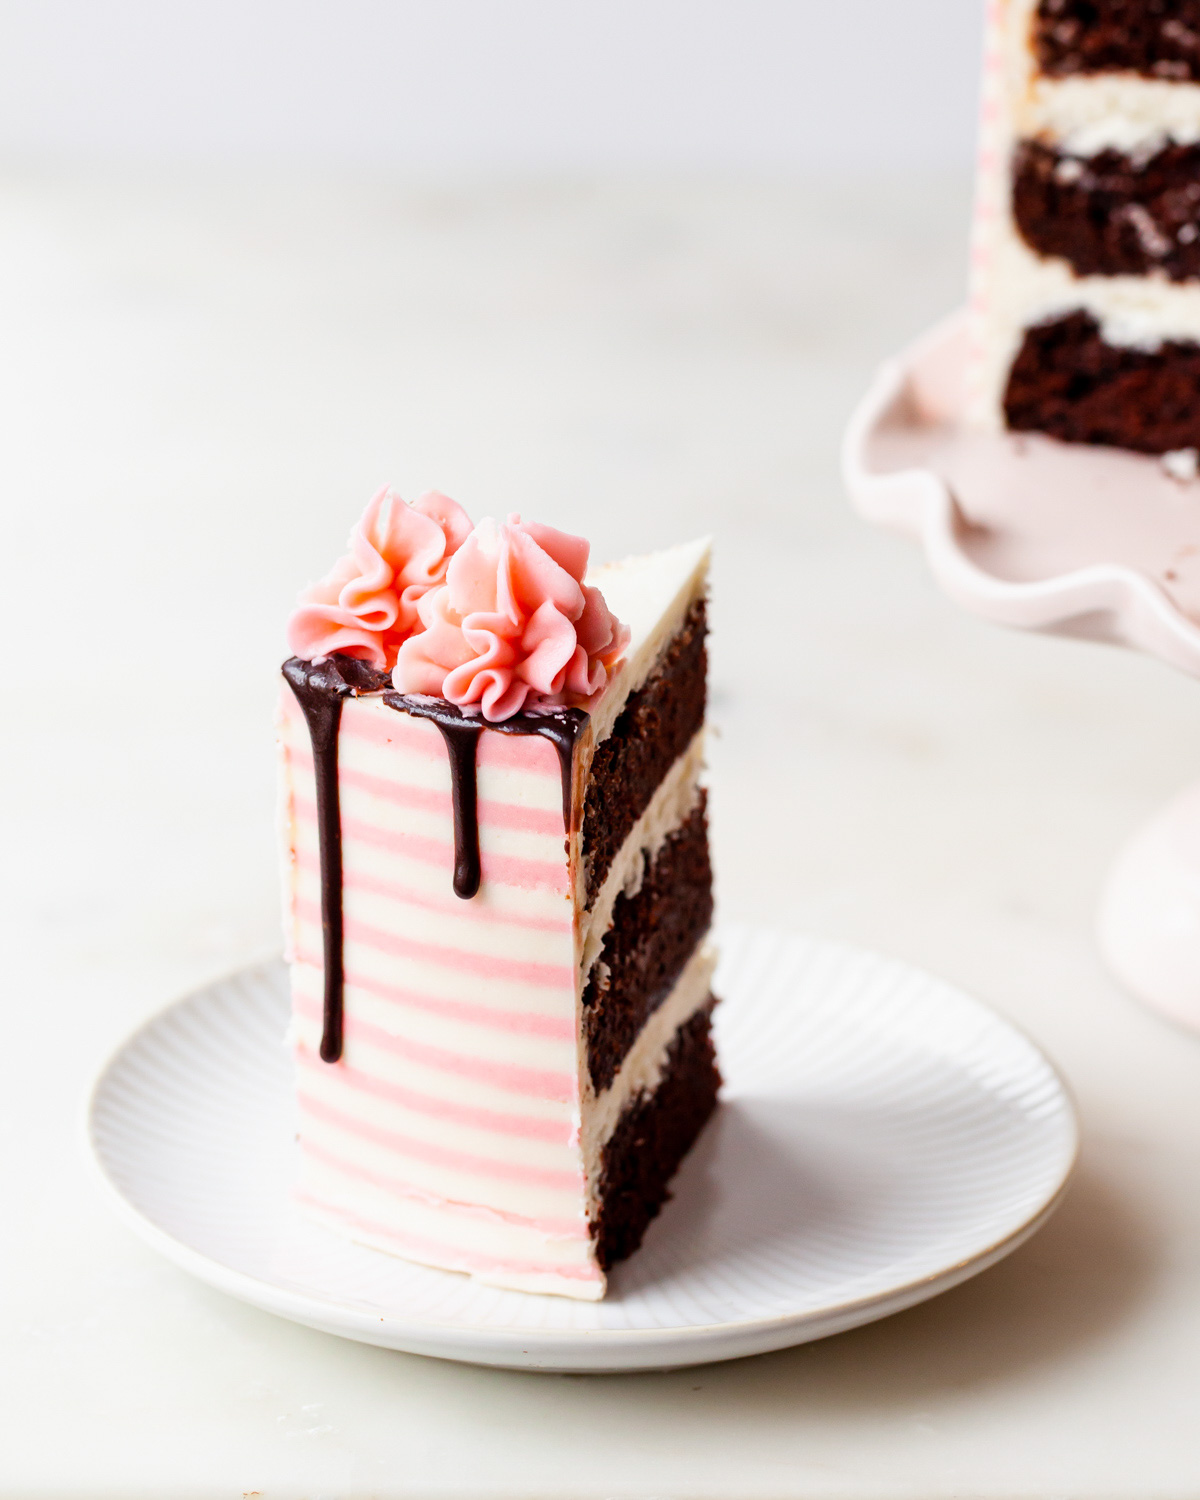
This showstopper is just as fun as it is tasty. Moist chocolate cake pairs beautifully with the creamy, refreshing peppermint whipped frosting.
The candy cane stripes are undeniably adorable, but the cake would still shine with the chocolate drip and homemade peppermint bark.
Perfect for the holidays, this cake is everything we want out of an awe-worthy cake destined for the dessert table.
Read up on How to Make a Drip Cake before getting started.
TOOLS AND EQUIPMENT
These are the primary tools you will need to make this cake:
- Mixing bowls
- Stand or hand mixer
- Saucepan
- 6-inch cake pans
- Rimmed baking sheet
- Offset spatula
- Icing smoother and comb
- Rotating cake stand
- Piping bag and tips
- General kitchen tools (measuring spoons, cups, etc).
Substitutions
Don't have all of the ingredients? Here's what to do:
- Coffee - you may use hot water mixed with a teaspoon of instant coffee. If you prefer not to use coffee at all, you can use hot water. The cake will not taste like coffee but it enhances the chocolate flavor.
Serving and Storage
Serve the cake a room temperature. It may be stored at room temperature (preferable in a box or cake container) overnight.
Store the peppermint bark in an air-tight container at a cool room temperature.
Store leftovers, loosely covered in the plastic wrap, in the refrigerator for up to 3 to 4 days. Allow cake to come to room temperature before serving.
You can freeze the baked, cooled, and unfrosted cake layers. Wrap well in plastic and store in the freezer for up to 3 months. Thaw the cake layers in the refrigerator overnight before use.
Layer Cake 101
New to cake decorating? Start here:
Easy Textured Buttercream Cakes
How to Make Beautiful Layer Cakes
Buy my books! Layered and Icing on the Cake
Recipe FAQs
No, unfortunately you can’t use natural cocoa powder instead of Dutch-processed. One is acidic while the other is neutral. You could try in a pinch, but understand that it will change the results.
Yes! You can use this recipe to make two 8 or 9-inch cakes. Adjust the baking time accordingly. Make sure to only fill the pans ⅔ of the way full.
Choose a good quality aluminum cake pan with at least 2-inch tall sides.
Yes! Wait until the cakes have completely cooled before wrapping well in plastic. If desired, wrap in a layer of foil or pop the cakes into a zip-top freezer bag. Freeze for up to 3 months. Thaw in the refrigerator overnight.
Join the Style Sweet Bake Club!
Get exclusive recipes and articles sent straight to your inbox. Become a subscriber today! Click to join.
More Celebration Cakes to Bake
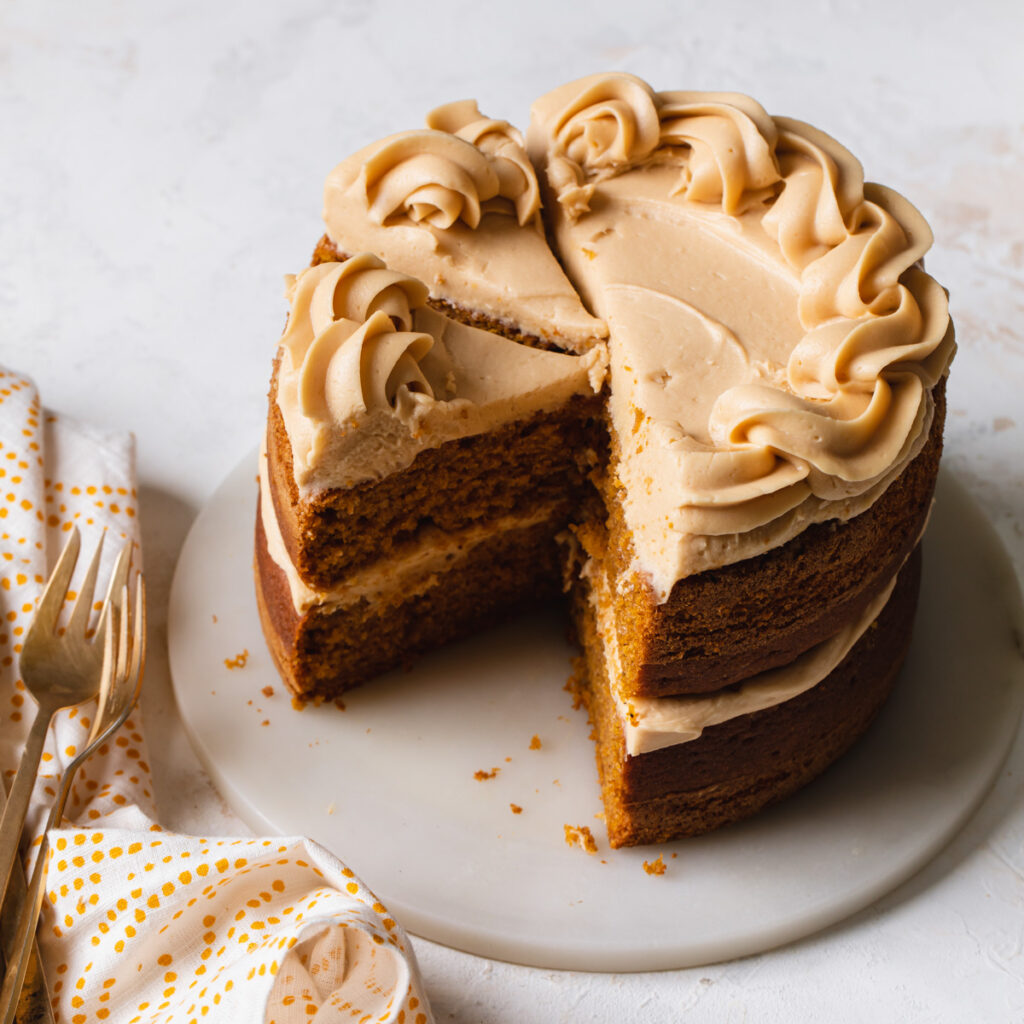
Pumpkin Cake with Coffee Cream Cheese Frosting
Please leave a star review if you loved this recipe! Make sure to share your recipes and tag me on Instagram @stylesweetdaily.
Recipe
Chocolate Candy Cane Cake
Ingredients
Chocolate Cake
- 1 ¾ cup + 2 tbsp all-purpose flour
- ¾ cup unsweetened cocoa powder
- 1 ½ teaspoon baking powder
- 1 teaspoon baking soda
- ¾ teaspoon salt
- ½ cup grapeseed oil or canola oil
- 1 ½ cups granulated sugar
- 1 teaspoon pure vanilla extract
- 2 large eggs
- ¾ cup whole milk
- 1 cup hot coffee or water
Peppermint Buttercream
- 1 ½ cups unsalted butter at room temperature
- 5 to 6 cups confectioners' sugar
- 2 to 4 tablespoon milk
- 1 teaspoon vanilla extract
- ½ teaspoon peppermint extract or to taste
Chocolate Glaze
- 2 oz semi-sweet chocolate chopped
- ¼ cup heavy cream
- 2 tablespoon light corn syrup
- 1 pinch salt
Peppermint Bark
- 4 oz white chocolate or compound chocolate
- ¼ teaspoon peppermint extract
- 4 oz dark chocolate
- 4 to 6 peppermints crushed
Instructions
Chocolate Cake
- Preheat the oven to 350°F. Grease and flour three 6-inch cake pans and set aside.
- Sift together the flour, cocoa power, baking powder, baking soda, and salt. Set aside.
- In the bowl of a stand mixer fitted with the paddle attachment, beat the oil and sugar on medium speed for 2 minutes. Add the vanilla and eggs, one at a time. Stop the mixer and scrape down the bowl.
- Turn the mixer to low and add the flour mixture in three batches, alternating with the milk, beginning and ending with the flour mixture. Stop and scrape down the bowl. With the mixer on low, stream in the coffee. Mix on medium-low for no more than 30 seconds, or until the batter is combined.
- Evenly divide the batter among the prepared pans. Bake for 25 to 28 minutes, or until a toothpick inserted into the center of the cakes comes out clean. Let them cool on a wire rack for 10 to 15 minutes before removing the cakes from their pans.
Peppermint Buttercream
- Using a stand (or hand) mixer fitted with the paddle attachment, beat butter on medium-low speed until smooth and creamy (1 to 3 minutes.)
- Gradually add all but 1 cup confectioners’ sugar, 2 tablespoons of milk, vanilla, and peppermint extract with mixer at low speed, scraping bowl occasionally. Mix until blended.
- Beat at medium-high speed 3 to 5 minutes, until buttercream is light, airy, and nearly white. If needed, add the additional powered sugar or milk until desired consistency is achieved. The buttercream should spread smoothly without tearing the crumb of the cake but think enough that it holds shape when piped and spread between the layers.
Chocolate Glaze
- Place the chocolate, cream, and corn syrup in a small saucepan. Heat over medium-low until the cream begins to steam and the chocolate starts to melt. Remove from the heat and stir to combine.
- Stir in the salt. Pour the glaze into a heat-safe container and allow to cool and thicken before use.
- The glaze should be cool enough that it does not melt or run off the cake, but thin enough that it drips naturally down the sides of the cake.
Peppermint Bark
- In the top portion of a double-boiler or a heat-safe bowl set over a pan of simmer water, melt the white chocolate. Once melted, stir in the peppermint extract then spread into a thin layer on a piece of parchment paper or non-stick silicone mat. Allow to dry.
- Once the white chocolate has set, melt the dark chocolate in the top portion of a double-boiler. Spread over the white chocolate with an offset spatula and sprinkle with crushed peppermint. Allow to dry then cut or break into pieces.
Assembly
- Place one layer of cake on a cake board or serving dish. Spread on about ¾ cup of buttercream with an offset spatula until smooth. Top with the next layer of cake and repeat. Place the last layer on top of the cake. Crumb coat the cake with a thin layer of buttercream then refrigerate the cake for 15 minutes.
- Once chilled, frost the cake as desired. Test the chocolate glaze by drizzling a small amount off the top ledge of the cake. Cool or re-heat the glaze accordingly. To make the chocolate drips, add chocolate glaze around the cake and let set. Once the glaze has set, decorate the cake with the remaining frosting and pieces of peppermint bark.
- Serve the cake at room temperature. Refrigerate leftovers in a cake box or loosely covered with plastic wrap for up to 3 days.
[…] Chocolate Candy Cane Cake […]