Last updated on September 27th, 2025 at 11:13 pm
It’s COOKIE SEASON and we are here to teach you how to decorate Christmas cookies, 3 ways! Decorating Christmas cookies should be fun, not stressful. Grab a piping bag (no tips required!), some sprinkles, and follow along as Tessa shows you how to make these cookies at home.
Jump to:
Ingredients
- All-purpose flour
- Baking powder
- Salt
- Unsalted Butter
- Granulated Sugar
- Egg
- Vanilla bean paste or extract
- Milk
- Confectioners' sugar
- Meringue powder
- Light corn syrup
- Lemon juice (optional)
See recipe card for quantities.
Tools and Equipment
- Stand or hand mixer
- Cookie sheets
- Parchment paper
- Rolling pin
- Cookie cutters
- Piping bags
- Mixing bowls
- Toothpicks
- General kitchen utensils (spatulas, measuring spoons, etc).
Decorating Christmas Cookies - The Techniques:
Marbled Royal Icing
Thin royal icing with water, a couple tablespoons at a time, until the correct glaze consistency is achieved. It should be fluid enough that it settles flat on top of the cookie after being dipped, but thick enough that it doesn’t run off of the cookie.
Look for a consistency that’s slightly thinner than honey.
Place the icing in a shallow bowl and dot the top with gel food coloring. Use a toothpick to swirl.
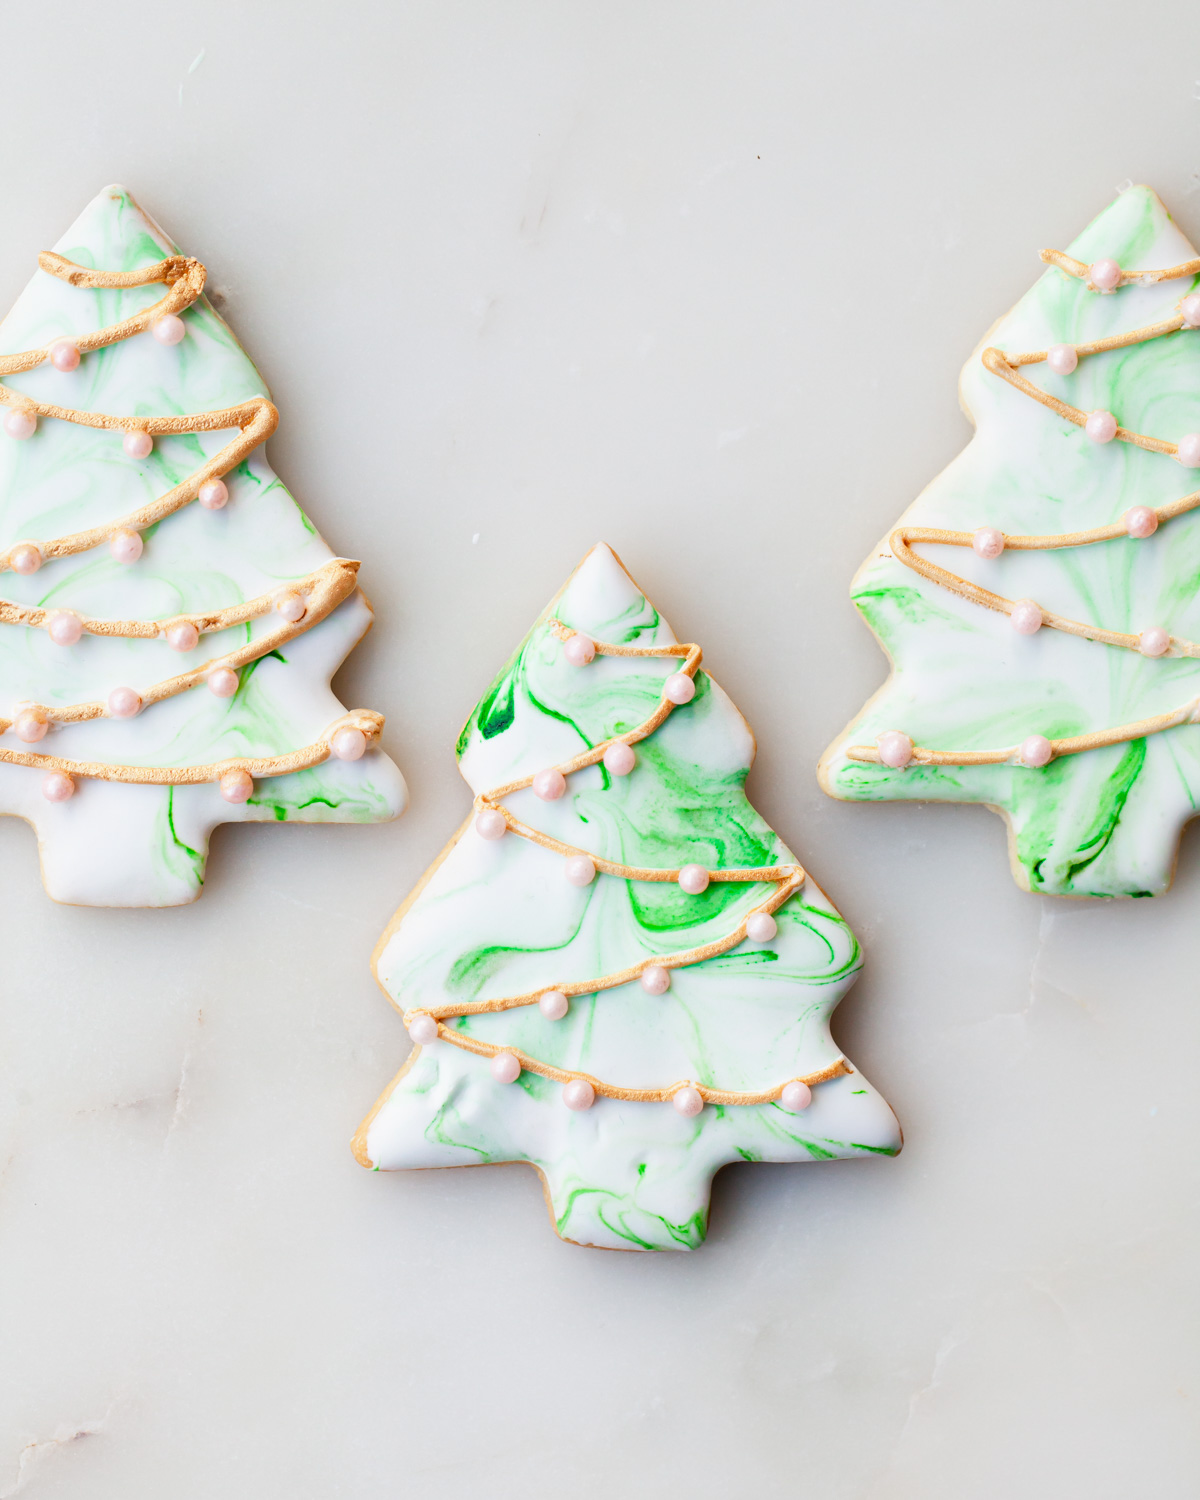
Dip the face of the cookie into the bowl, shake, and flip to completely dry.
Use piping consistency icing (similar or slightly thinner that toothpaste) to pipe the string for the lights. Add sugar pearls and paint with edible gold liquid coloring.
Glazed Christmas Cookies
Similar to the marbled royal icing trees, tint the glaze consistency icing one solid color. Dip the cookies and allow to completely dry (or the sugar will stick to the whole cookie).
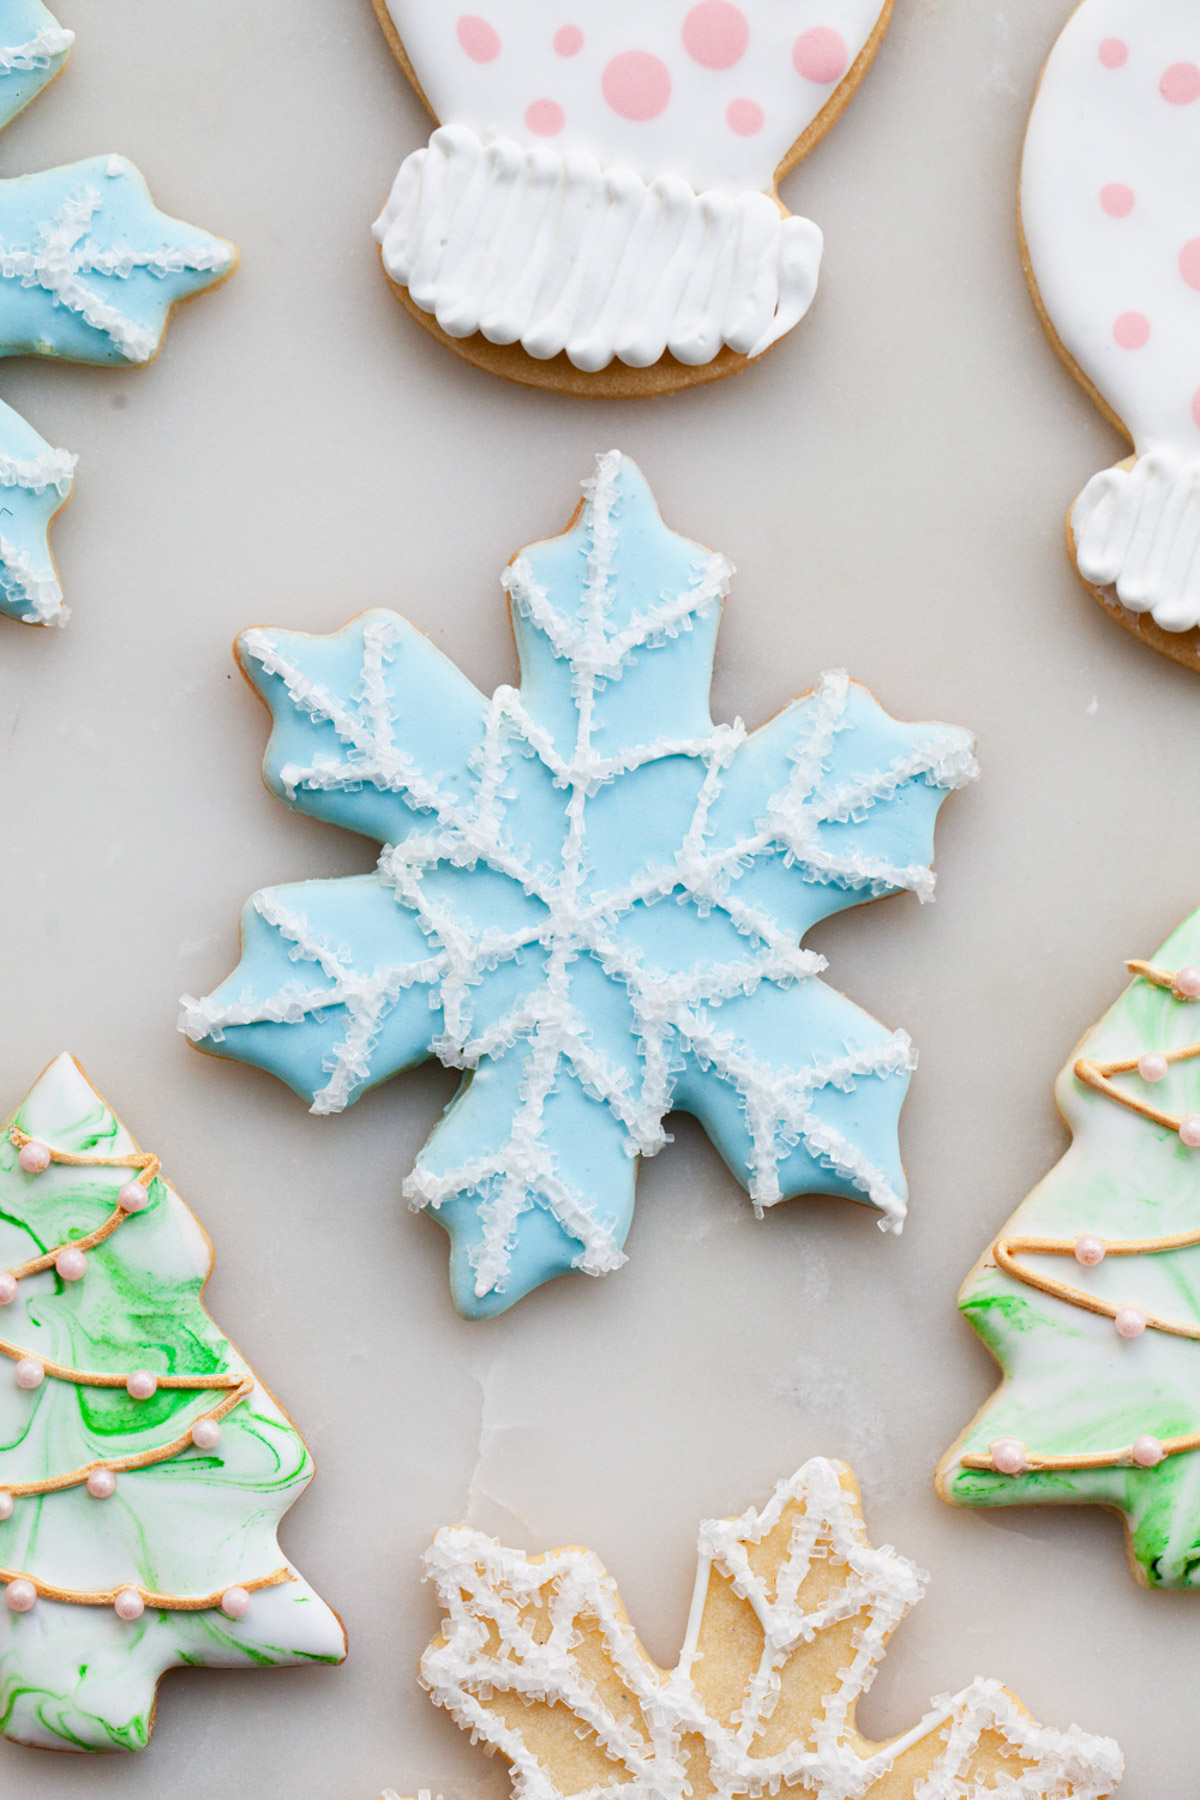
Use piping consistency icing to pipe details on top of the dried, glazed cookies (or skip the glaze and leave them bare underneath) then dip into a shallow bowl of sanding sugar or sprinkles.
Allow to dry right-side-up.
Wet-on-Wet Royal Icing
Thin royal icing until it is flood consistency. Again, it should be fluid enough that it settles flat and smooth on top of the cookie but thick enough that you can still pipe it on without flooding everywhere.
If you make drips and swirls in the icing bowl, they should hold their shape for a few seconds before they disappear flat into the remaining icing.
Look for a consistency that’s similar to honey.

Fill a piping bag with the royal icing and snip the tip to create a fairly small opening. Outline the shape of the cookie then fill in the center with the flood consistency.
Use a scriber needle tool or toothpick to fill in any holes before giving the cookie a shimmy to help settle and smooth out the icing.
While the base it still wet, take colored icing of the same consistency to pipe on your designs. Shake the cookie again so that the icing settles and both colors dry at the same time.
For the mitten cuff, place piping consistency icing (think toothpaste) in a piping bag, snip the tip, and pipe a zigzag motion across the bottom of the cookie.
Serving and Storage
Store iced sugar cookies in at room temperature in an air-tight container for up to 7 to 14 days. Make sure that icing is completely dry and set before storing.
Unfrosted sugar cookies may be store in a zip-top bag or lidded container in the freezer for up to 3 months. Thaw the cookies before decorating with royal icing.
Unbaked cookie dough may be stored in the refrigerator for up to 3 days or in the freezer for up to 3 months. Wrap with plastic and/or store in a zip-top bag.
Join the Style Sweet Bake Club!
Get exclusive recipes and articles sent straight to your inbox. Become a subscriber today! Click to join.
More Cookie Recipes to Bake:
Giant Cranberry Oatmeal Cookies
Toffee Chocolate Chunk Cookie Bars
Christmas Wreath Sugar Cookies
Please leave a star review if you loved this recipe! Make sure to share your recipes and tag me on Instagram @stylesweetdaily.
Recipe

How to Decorate Christmas Cookies
Ingredients
Sugar Cookies
- 3 cups all-purpose flour
- ¾ teaspoon baking powder
- ½ teaspoon salt
- 1 cup unsalted butter
- 1 cup granulated sugar
- 1 large egg
- ½ teaspoon vanilla bean paste
- 1 splash milk or cream as needed
Royal Icing
- 4 cups confectioners' sugar
- 3 tablespoon meringue powder
- 6 tablespoon water plus more to thin
- 1 tablespoon light corn syrup
- ½ teaspoon vanilla extract or lemon juice optional
Instructions
Sugar Cookies
- Sift together the flour, baking powder, and salt. Set aside.
- Using a stand or hand mixer, beat together the softened butter and sugar until light and fluffy, 2 to 3 minutes. With the mixer on low, add in the egg and vanilla bean paste. Mix until combined. Stop the mixer and scrape down the sides and bottom of the bowl.
- With the mixer on low, slowly add the flour mixture in two additions. Mix the dough until combined. If the dough appears dry, add a splash of milk or cream (no more than a tablespoon) and mix until the dough begins to ball together.
- Stop the mix and divide the dough in half. Form the dough into disks and wrap well is plastic. Refrigerate the dough for at least 2 hours or overnight.
- When ready to bake, preheat the oven to 375°F and remove one disk of dough from the refrigerator. Allow the dough to come to room temperature (about 10 minutes) before rolling. Line two baking sheets with parchment and set aside.
- Loosen the plastic around the dough and begin to roll it out (within the plastic) to get things started. Lightly dust your work surface with flour, unwrap the dough completely, and roll out until ¼-inch thick. Cut out cookies and move them to the lined baking sheets.
- Bake for 8 to 10 minutes, or just until the cookies start to brown around the edges. Place the baking sheet on a wire rack to cool for 10 minutes, then remove the cookies. Repeat with the remaining dough.
Royal Icing
- Place the confectioners’ sugar and meringue powder in the bowl of an electric mixer fitted with a whisk attachment. Gently stir to combine. Add the water and mix on medium-low until combined. Turn the mixer up to medium-high and continue to mix until stiff peaks form, 7 to 10 minutes.
- Add the corn syrup and vanilla or lemon (if using) and mix to combine. If the icing is still rather thick and clumps together, add more water (a teaspoon or two at a time), until the icing holds stiff peaks. Use immediately or cover by pressing a piece of plastic wrap directly to the surface of the icing.
Jenna O
I LOVE these recipes. My family has a cookie decorating party every year and this page is our go-to. Thank you!
Laura D
This was the perfect recipe for my needs. Bookmarking this page for next time!