Last updated on October 23rd, 2024 at 02:46 pm
Have you ever seen a multi-tiered wedding cake or a dangerously, sky-high layer cake and wondered how they defy gravity? They all start with a structurally sound cakes and even layers of filling. Let’s learn how to stack and fill a cake like a pro.

Tools for Icing a Cake
Rotating Cake Stand - I’ve had my Ateco turntable ever since I had my own bakery nearly 13 years ago. It’s a bit more of an investment, but as you can see, it will last you a lifetime. When I teach, I use the same plastic turntable as my students and it works just fine. Whichever fits your budget, a rotating turntable is seriously going to up your icing game.
Offset Spatula - My offset spatula is likely my most used kitchen tool. Period. As you can imagine, it is especially valuable for spreading fillings and frosting cakes. The offset handle makes it so that you can smooth out the frosting without your fingers getting in the way. For most cakes coming out of a home kitchen, either a small (5 to 6 inches) or medium (around 8 inches) should work.
Simple Piping Bag - You can only get away with using a plastic zip-top bag for so long (trust me, that was my first piping bag too). Piping bags are inexpensive and exceedingly easier to find at craft stores or online. Disposable are convenient, but having a few reusable canvas bags are great too.
Large Round Piping Tip- Select a plain round piping tip that is about ½ to 1-inch in diameter. This will be used to pipe a buttercream dam around each layer of filling. Alternatively, cut a ½ to 1-inch opening in a disposable piping bag
How to Stack a Layer Cake
Gorgeous cakes start from the inside. If we are talking layer cakes, then more specifically, from the bottom up!
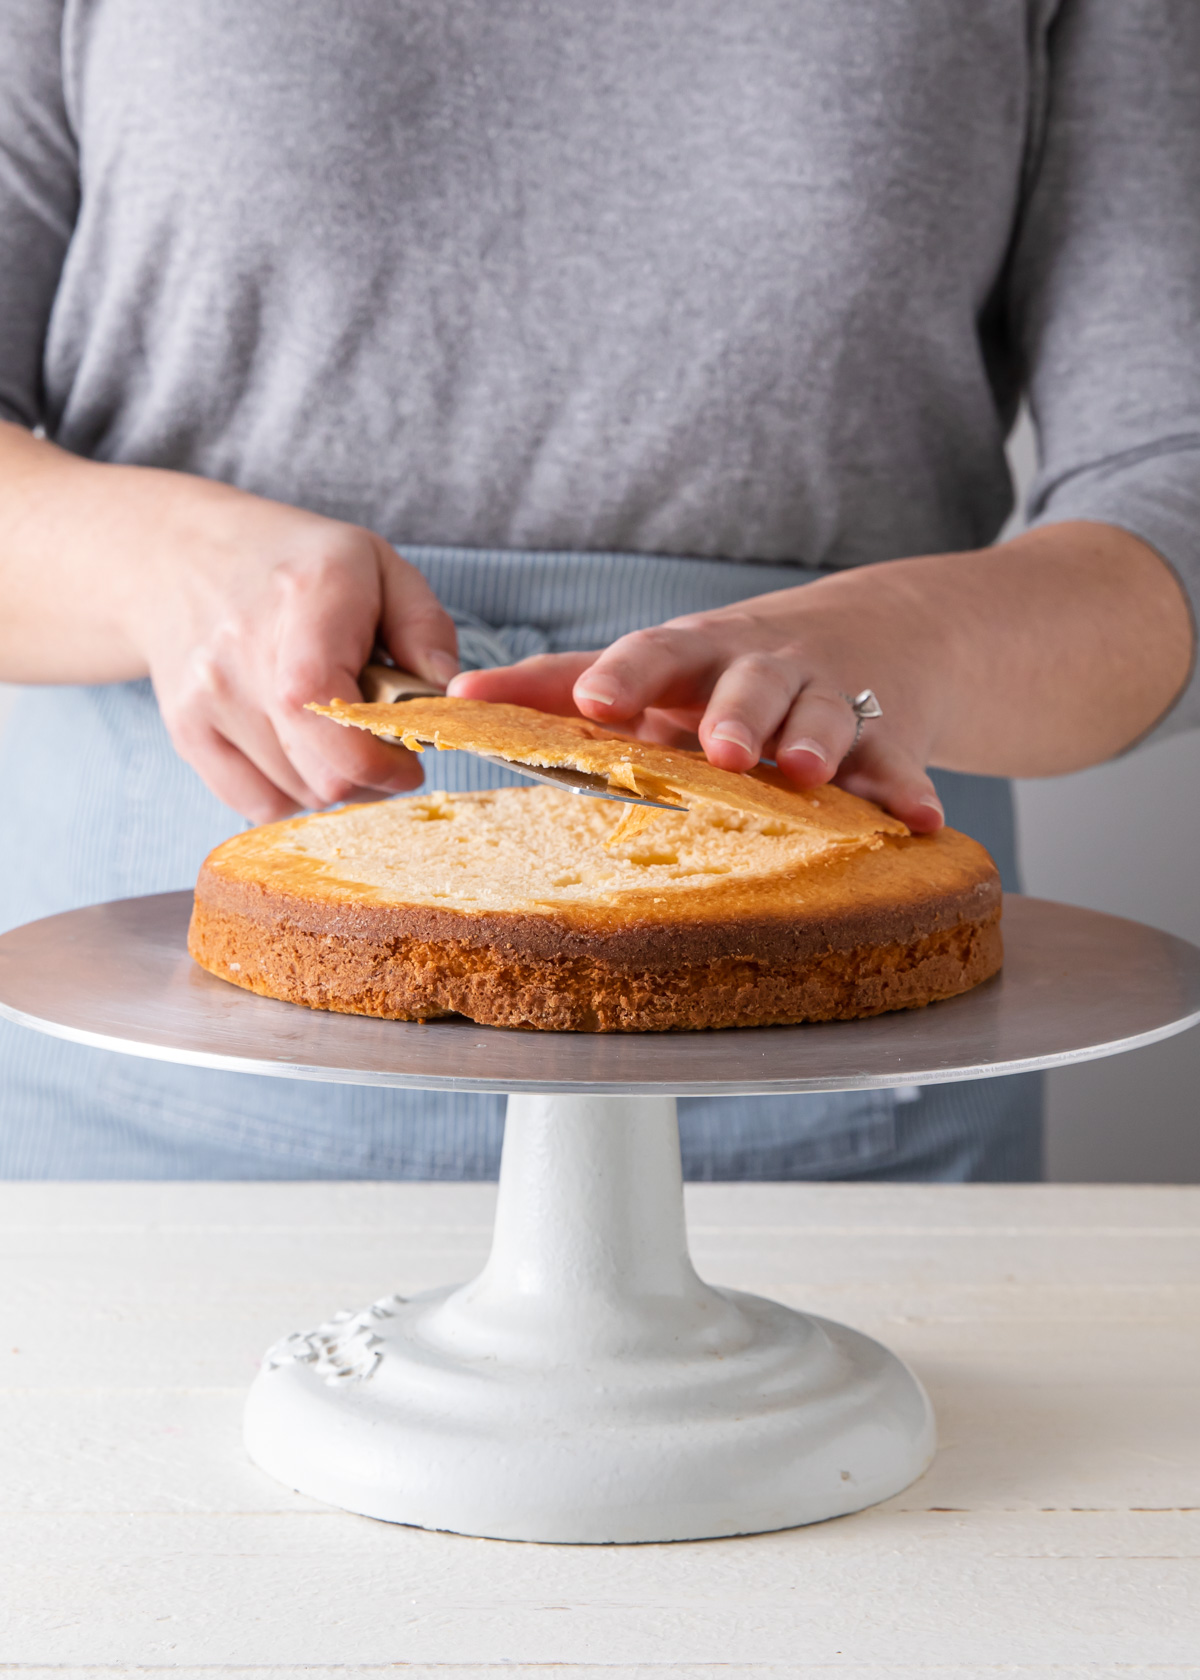
Before you start stacking, trim and level all of your cake layers. Sometimes cake bake with a slight hump on top. Cut it off (chef’s snack!).
Use a long serrated knife to trim off any domes that bake up on the tops of your cakes. Score around the edges of the cake where the dome meet the straight sides. Begin by making little cuts around the cake, increasing towards the center, until the top releases itself.
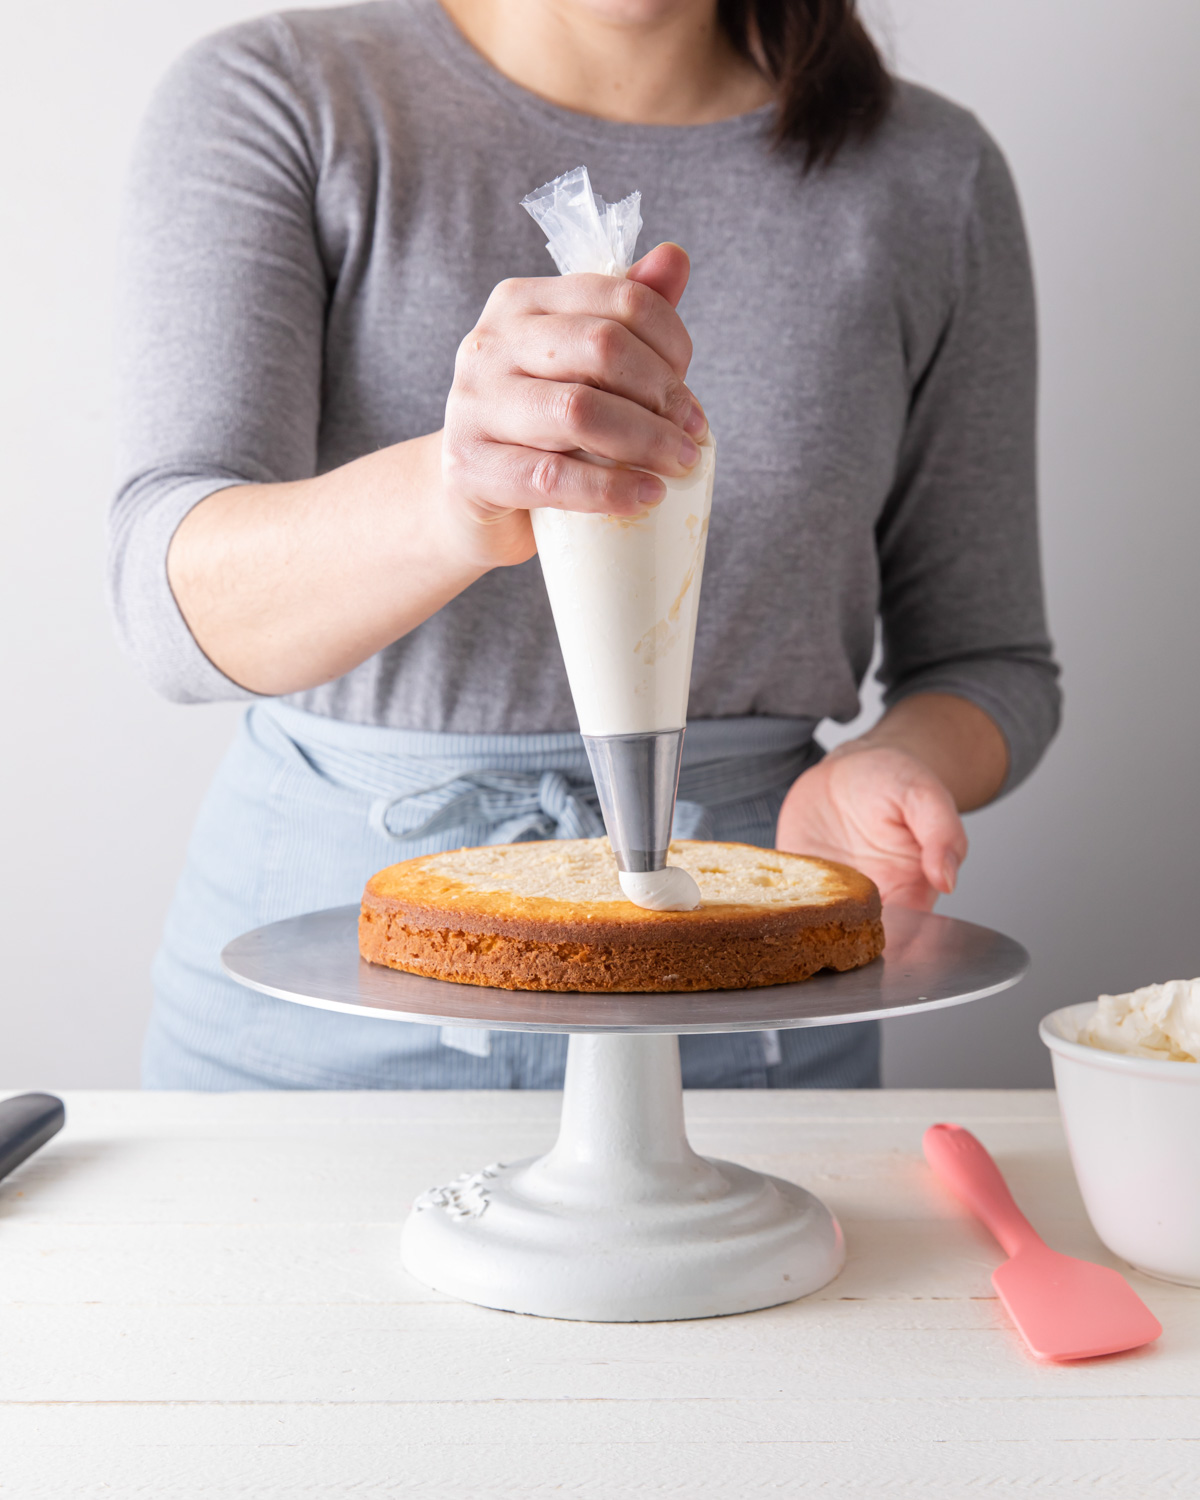
Place the bottom layer of cake on a clean turn table or cake board. Fill a pastry bag fitted with a plain tip with buttercream or frosting of choice.
Pipe a ring of frosting around the outer top edge of your layer cake. This ring will act as a dam to keep in any filling of your choice. For cakes filled with buttercream in particular, I like a 2:1 ratio - meaning if the cake layers are 1 ½ inches tall, the buttercream ring should be ¾ inch tall (this may change according to your filling - you may use less if filling with something like ganache or fruit preserves).
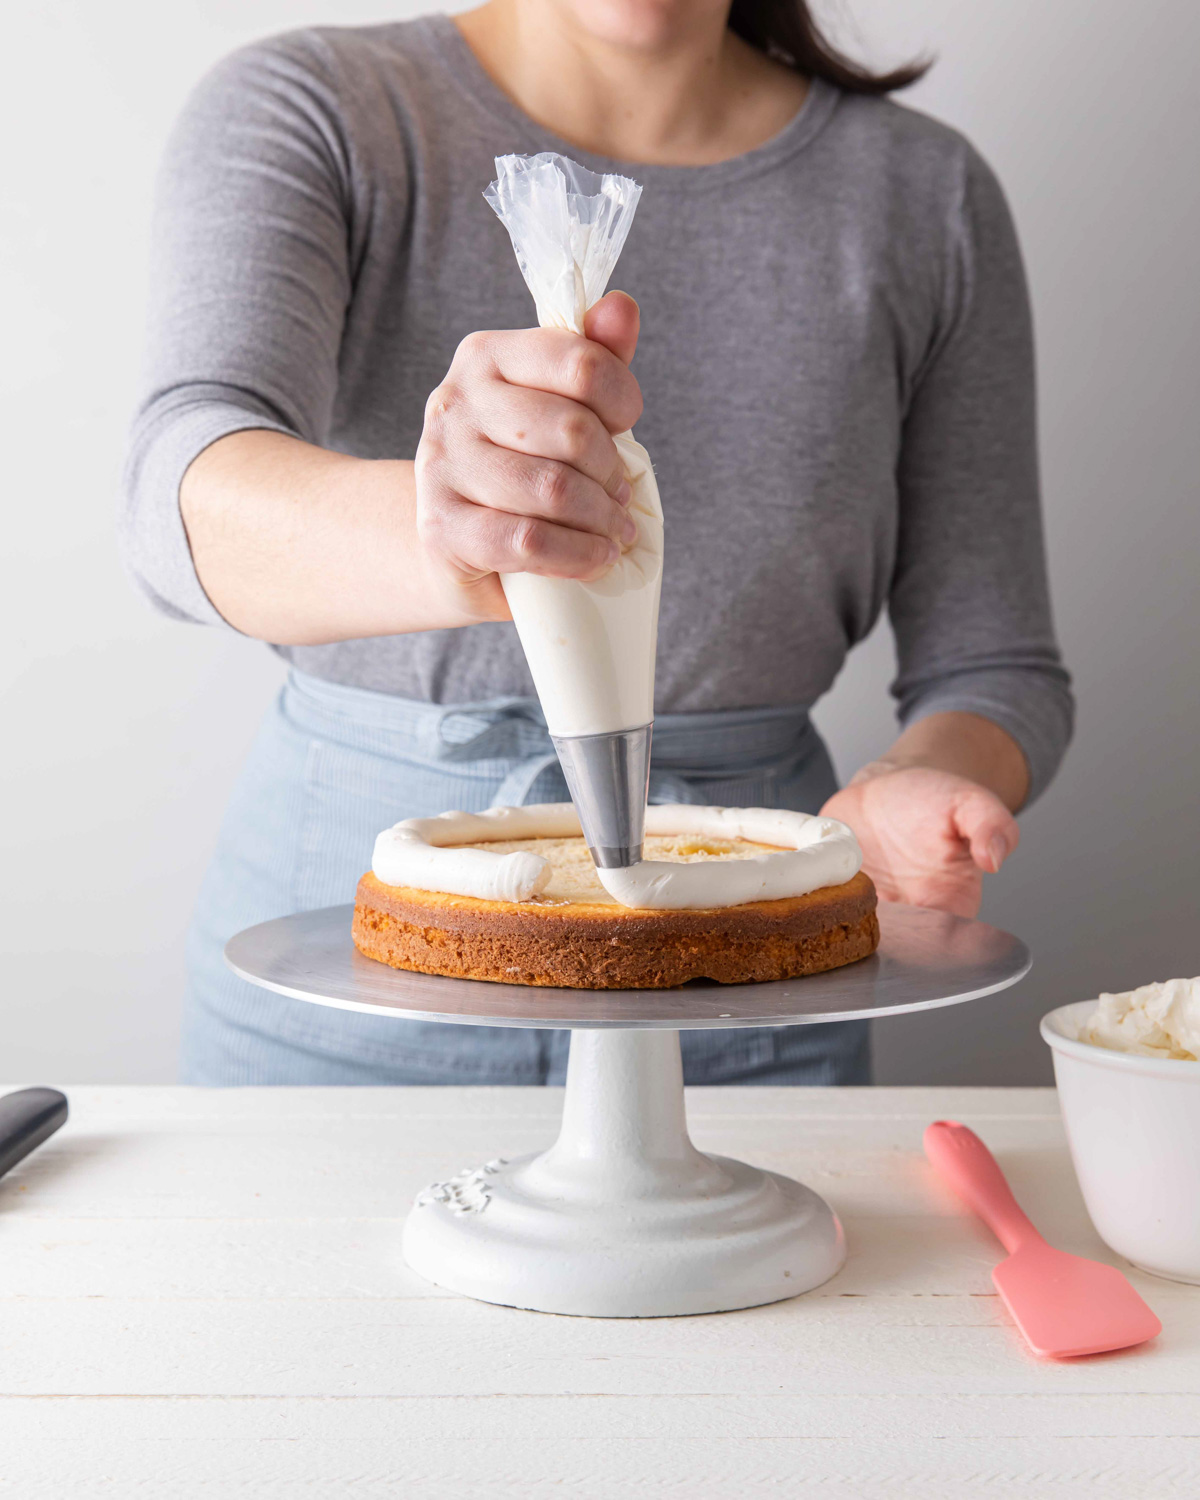
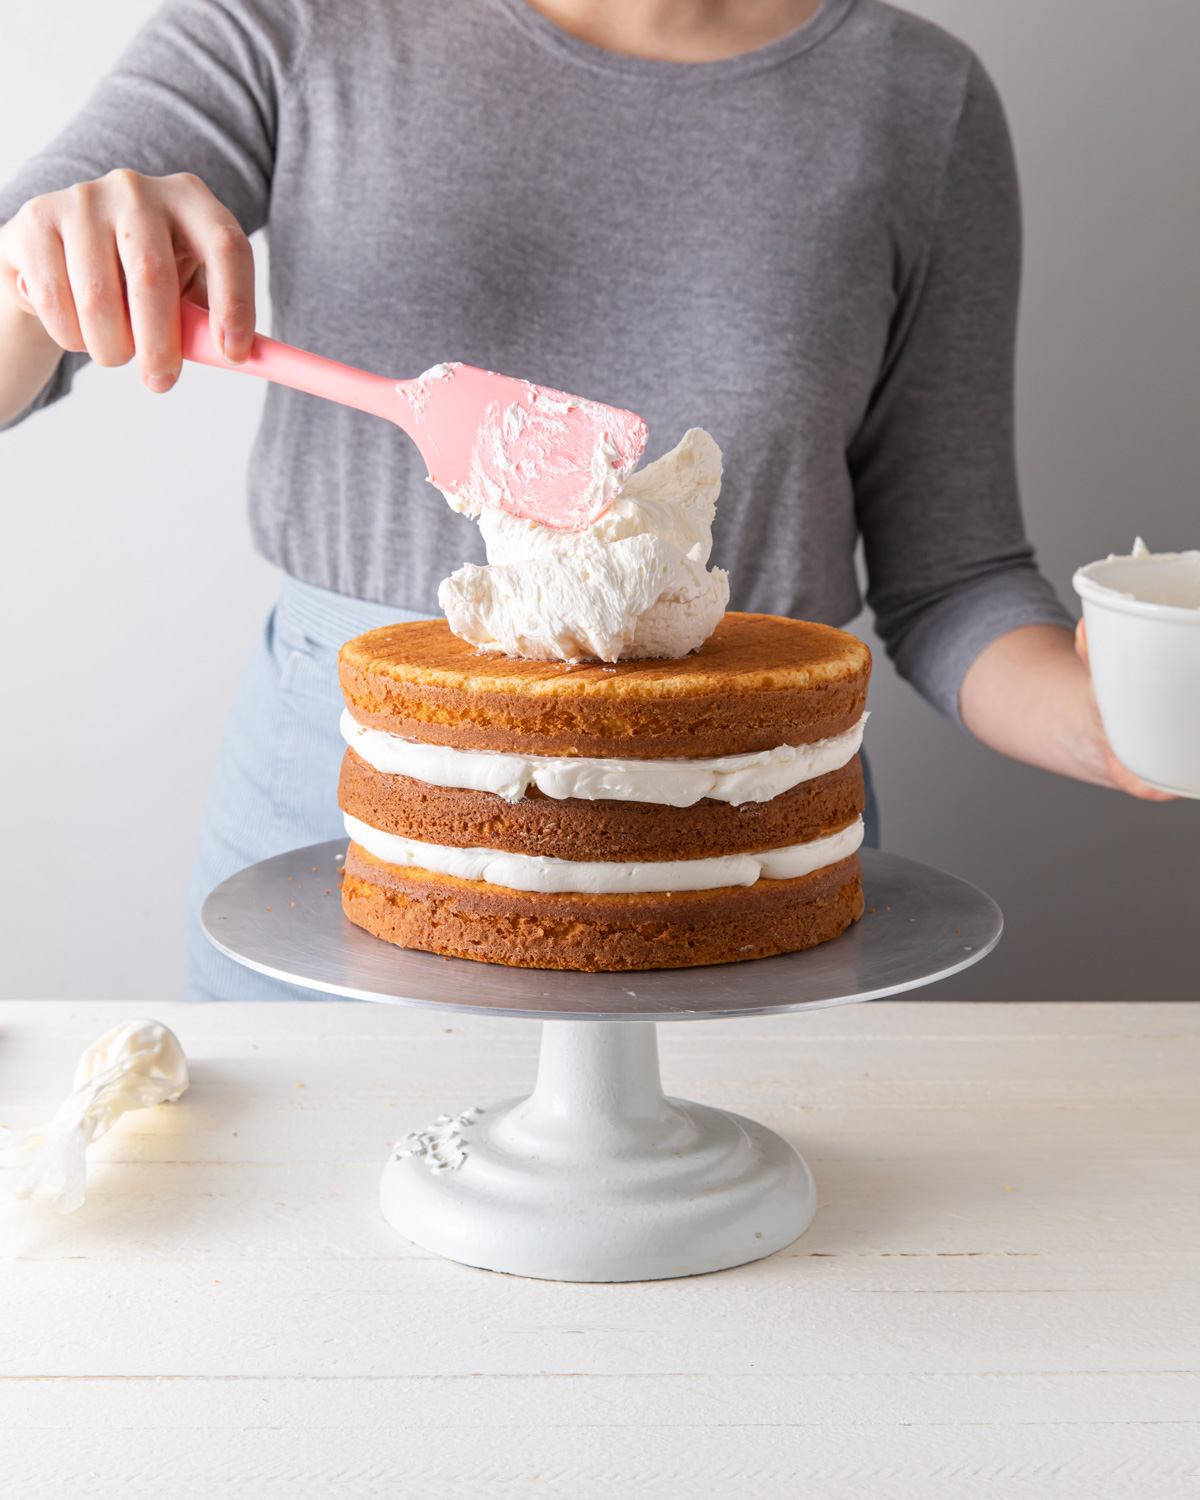
Fill the frosting dam with filling of choice. Evenly spread with an offset spatula as needed.
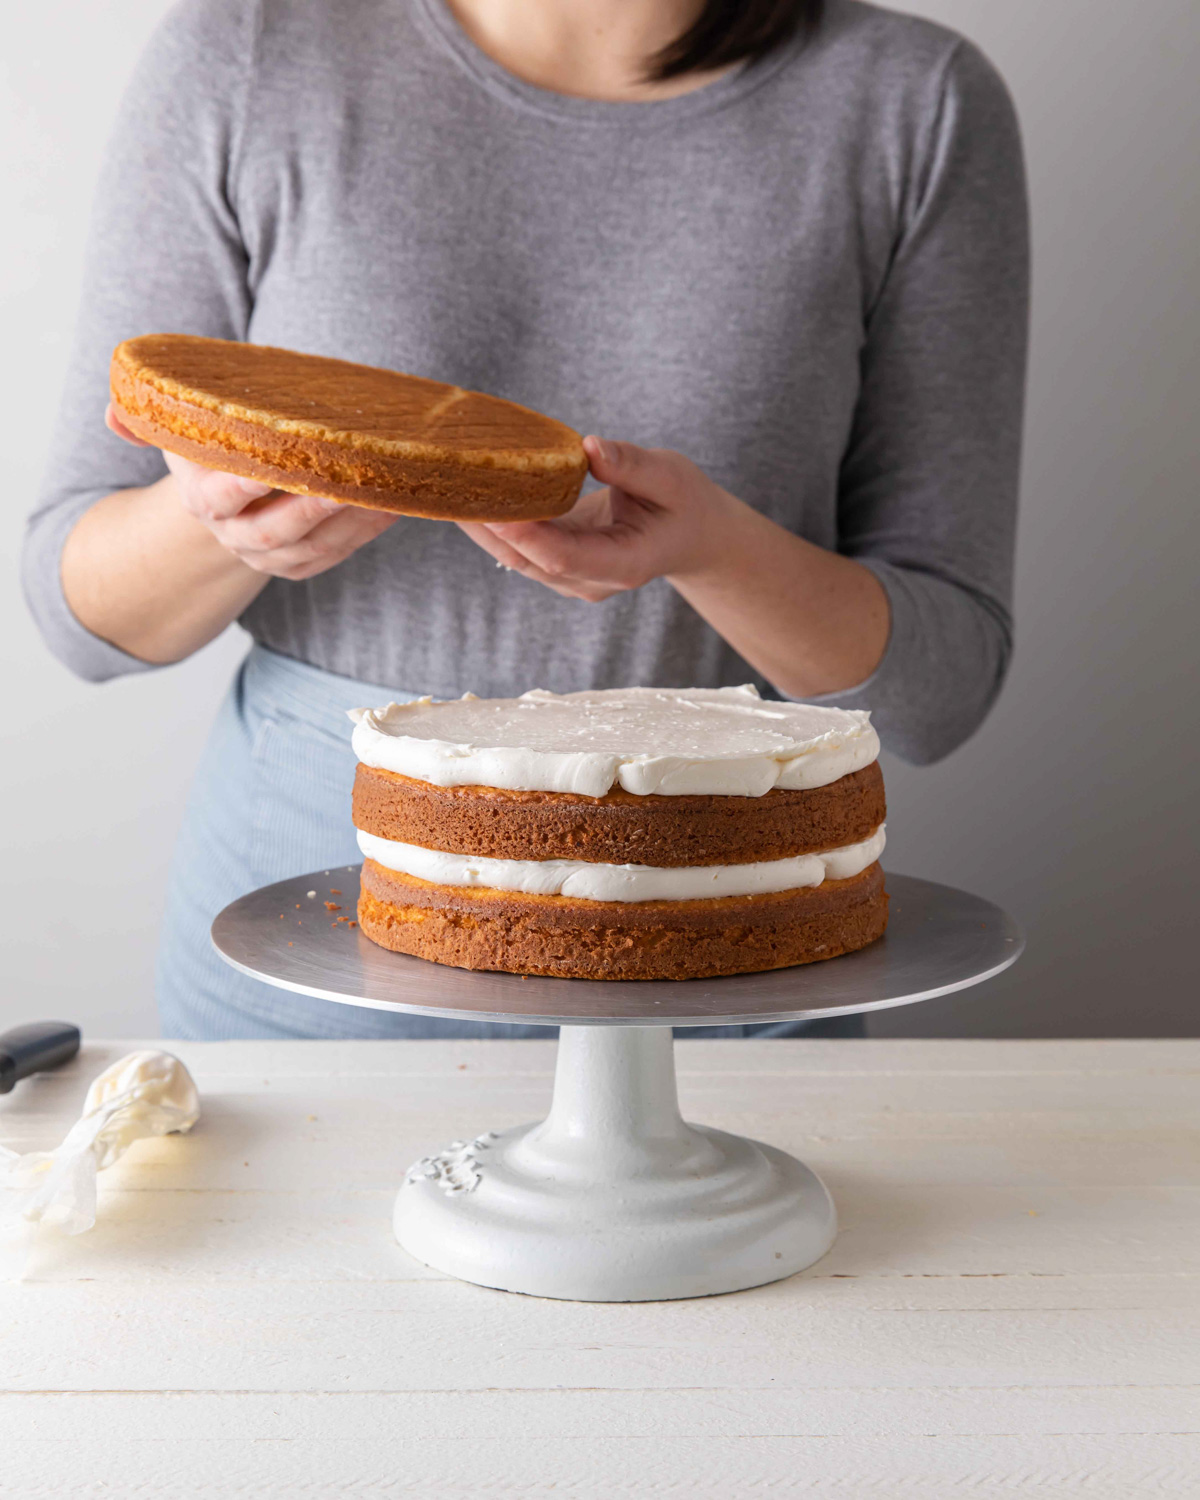
Place the second layer of cake on top.
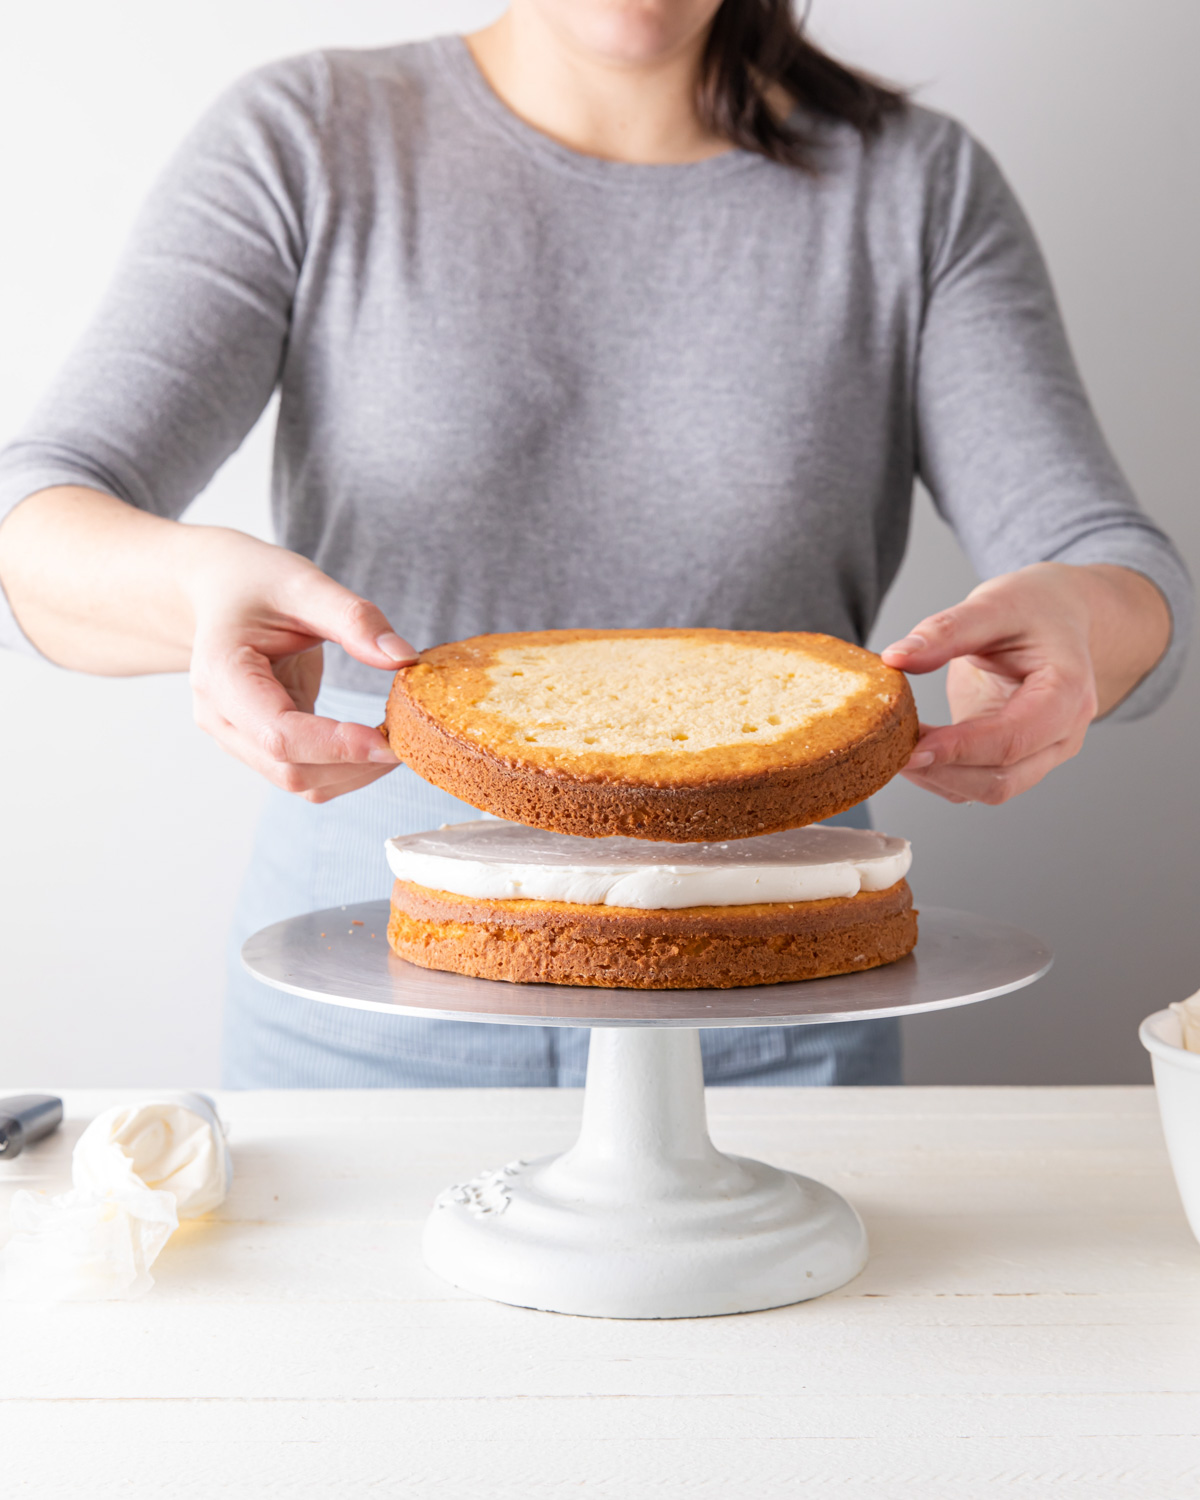
Repeat with the remaining layers. The last layer of cake should be placed on up-side-down, or more importantly, cut-side-down to help keep crumbs to a minimum when we start icing the outside.
Now is your chance to make sure everything is straight and level. Don't be afraid to adjust as needed. If the cake is starting to lean, fix it!
Lastly, Take a step back and make sure the sides are nice and straight. If not, feel free to get right in there with your hands to push and manipulate the layers so that they are straight.
Of course, this can only be done to a certain extent. Ideally, the cake layers start out nice and flat, and the cake continues to stay level. Take a long serrated knife to even out any major humps and lumps.
Crumb Coat the Cake
The crumb coat is the inner layer of icing that traps all of the crumbs, keeping you final coat nice and clean.
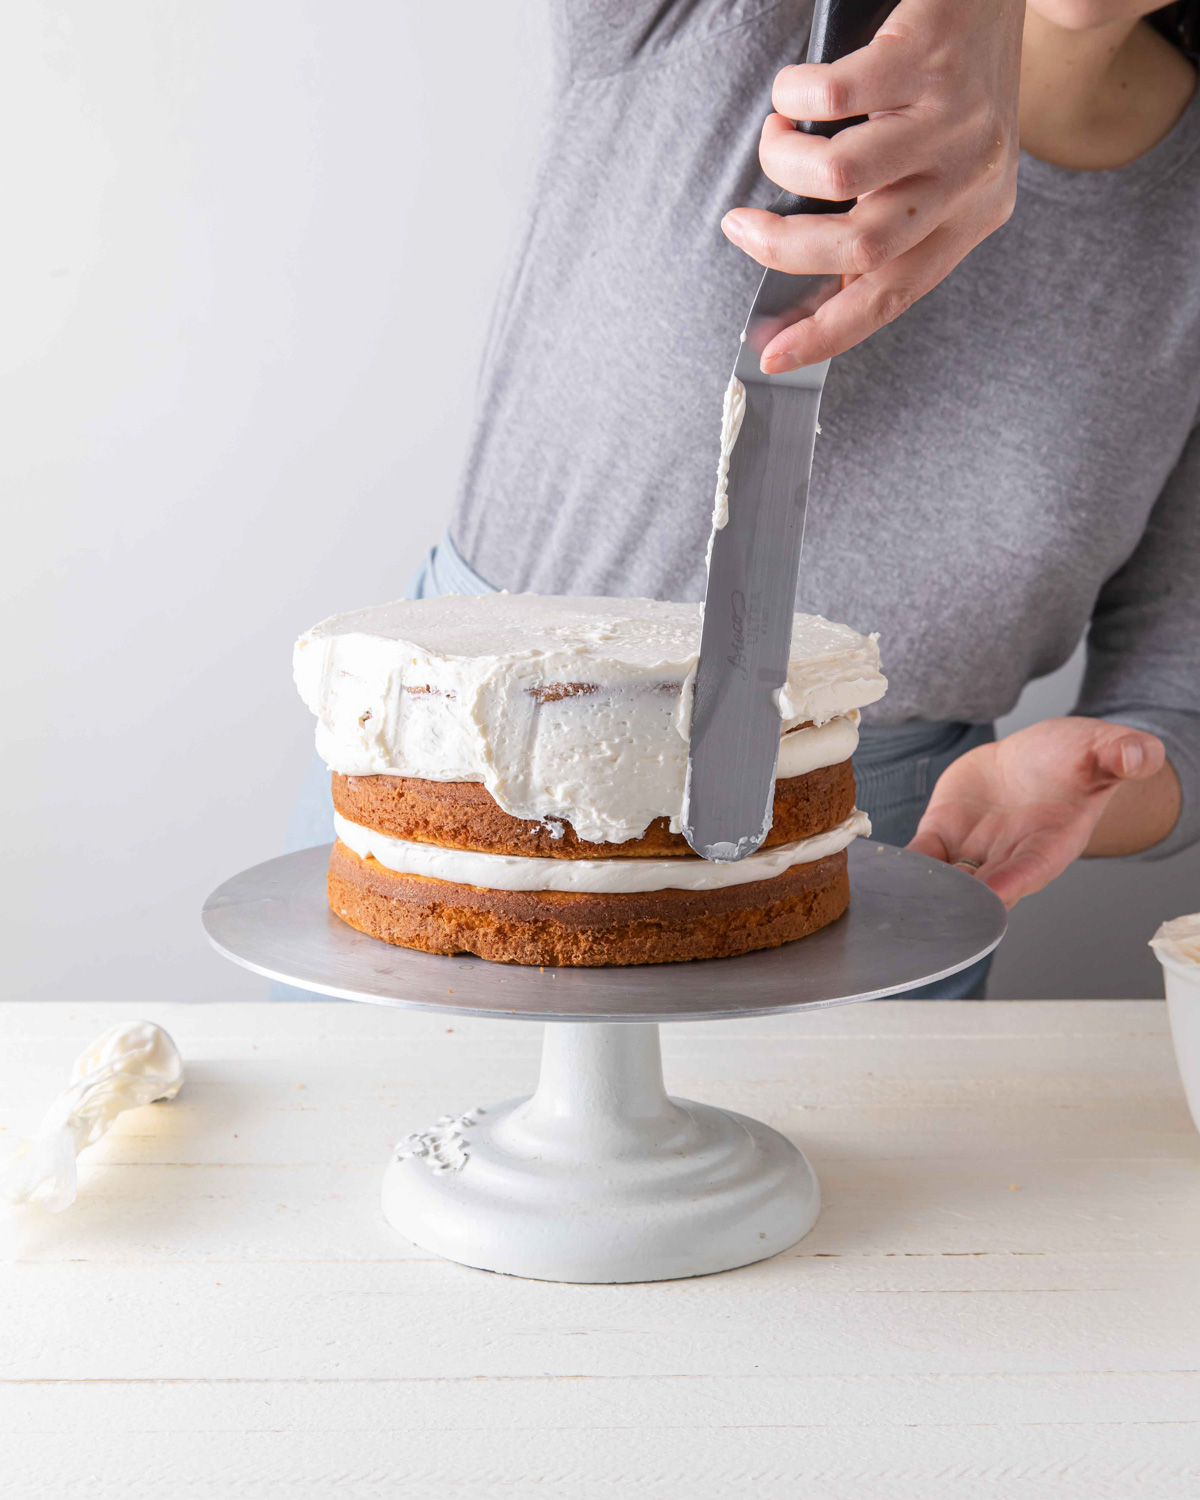
First, fill in any major gaps between the layers of cake with additional frosting. Begin to even out the frosting with an offset or straight metal spatula.
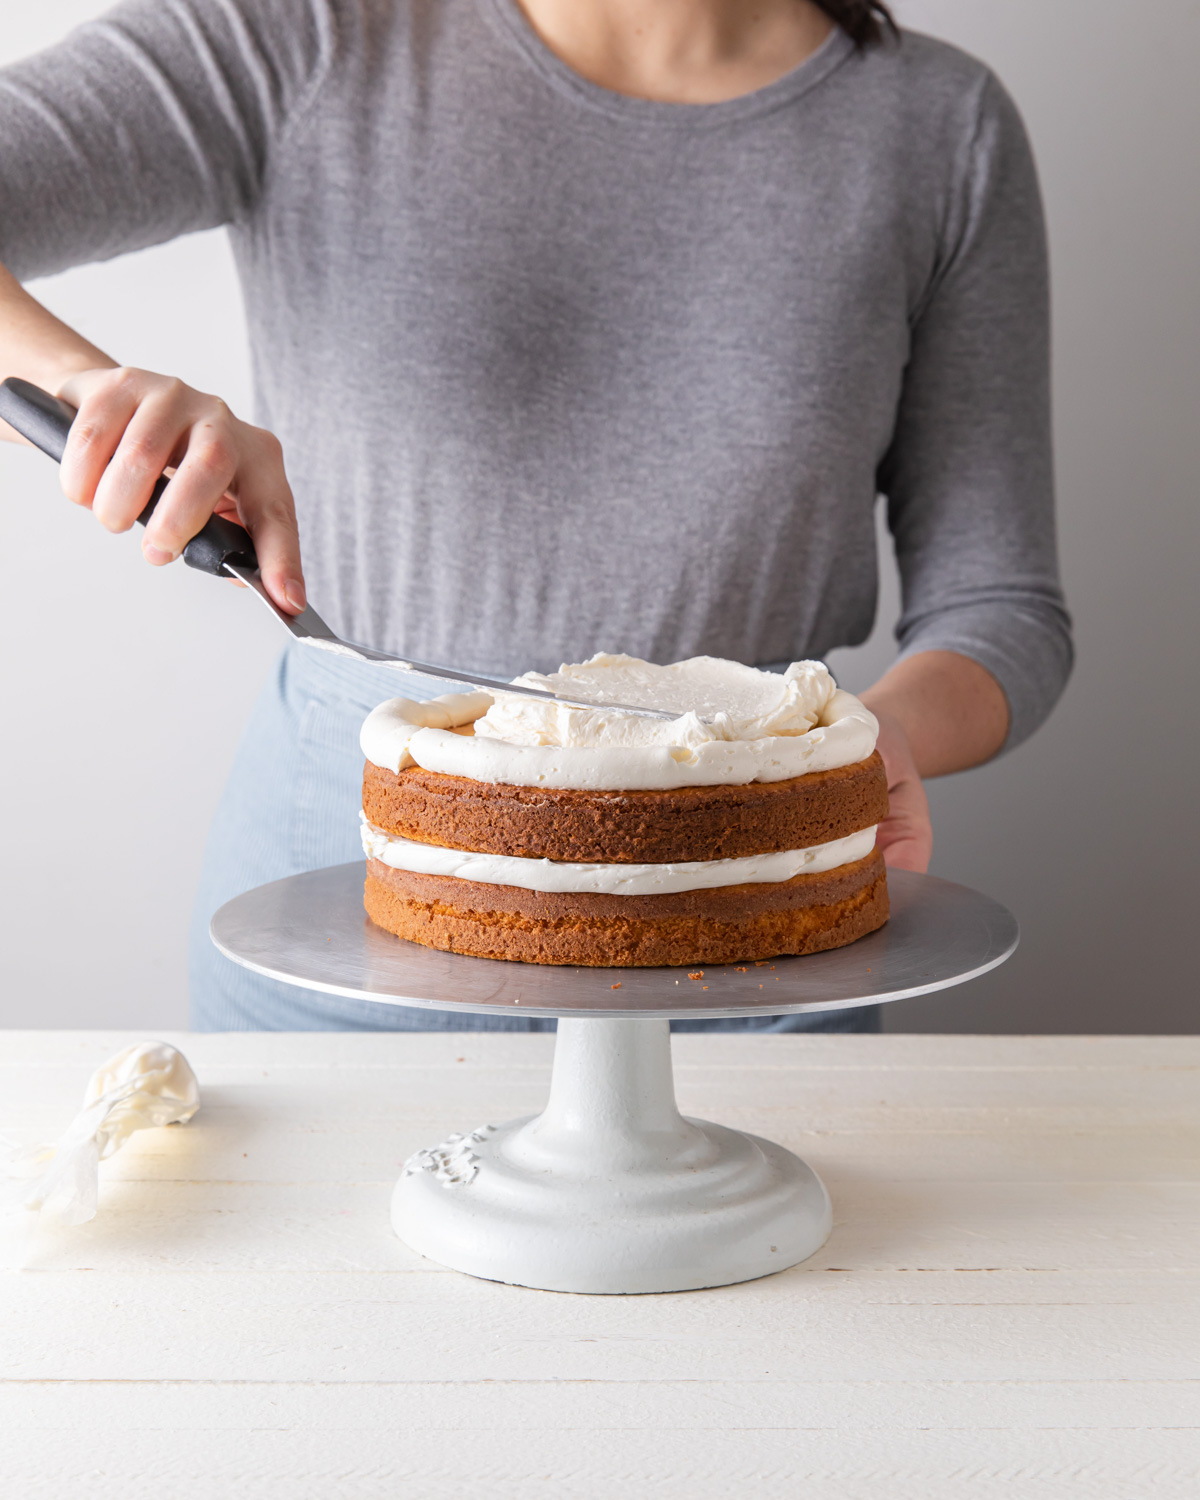
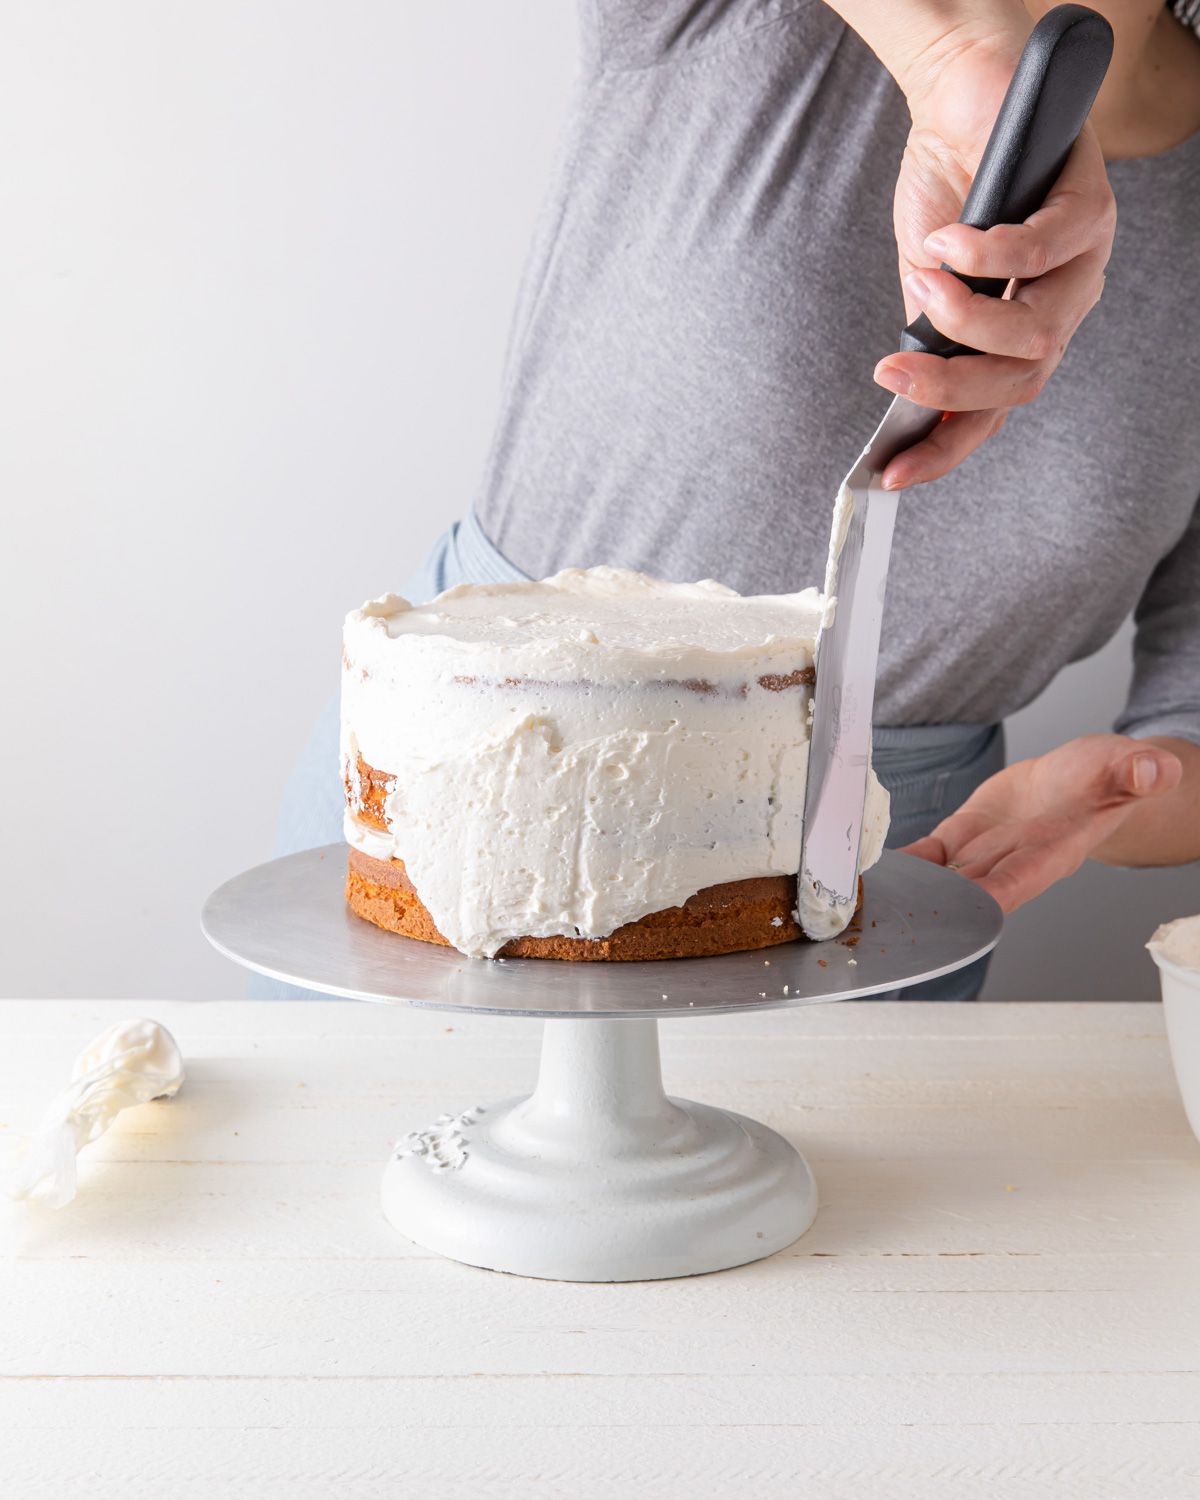
Place a medium dollop of frosting on top of the cake. Use your offset spatula to spread the frosting over the top of the cake, making is flat and even. Push any excess frosting towards the edges, allowing them to overhang slightly.
Starting with any frosting that hangs off the top edge of the cake, begin evening out the frosting on the sides of the cake. Add more frosting as needed. The goal is to create a thin, even layer of frosting that completely coats the cake. It does not need to be perfectly smooth, but should be even.
Lastly, chill the cake in the refrigerator for about 15 minutes - or until the frosting sets. It should not be left to get too cold, or you will be fighting between different temperatures of frosting when it comes to the final layer.
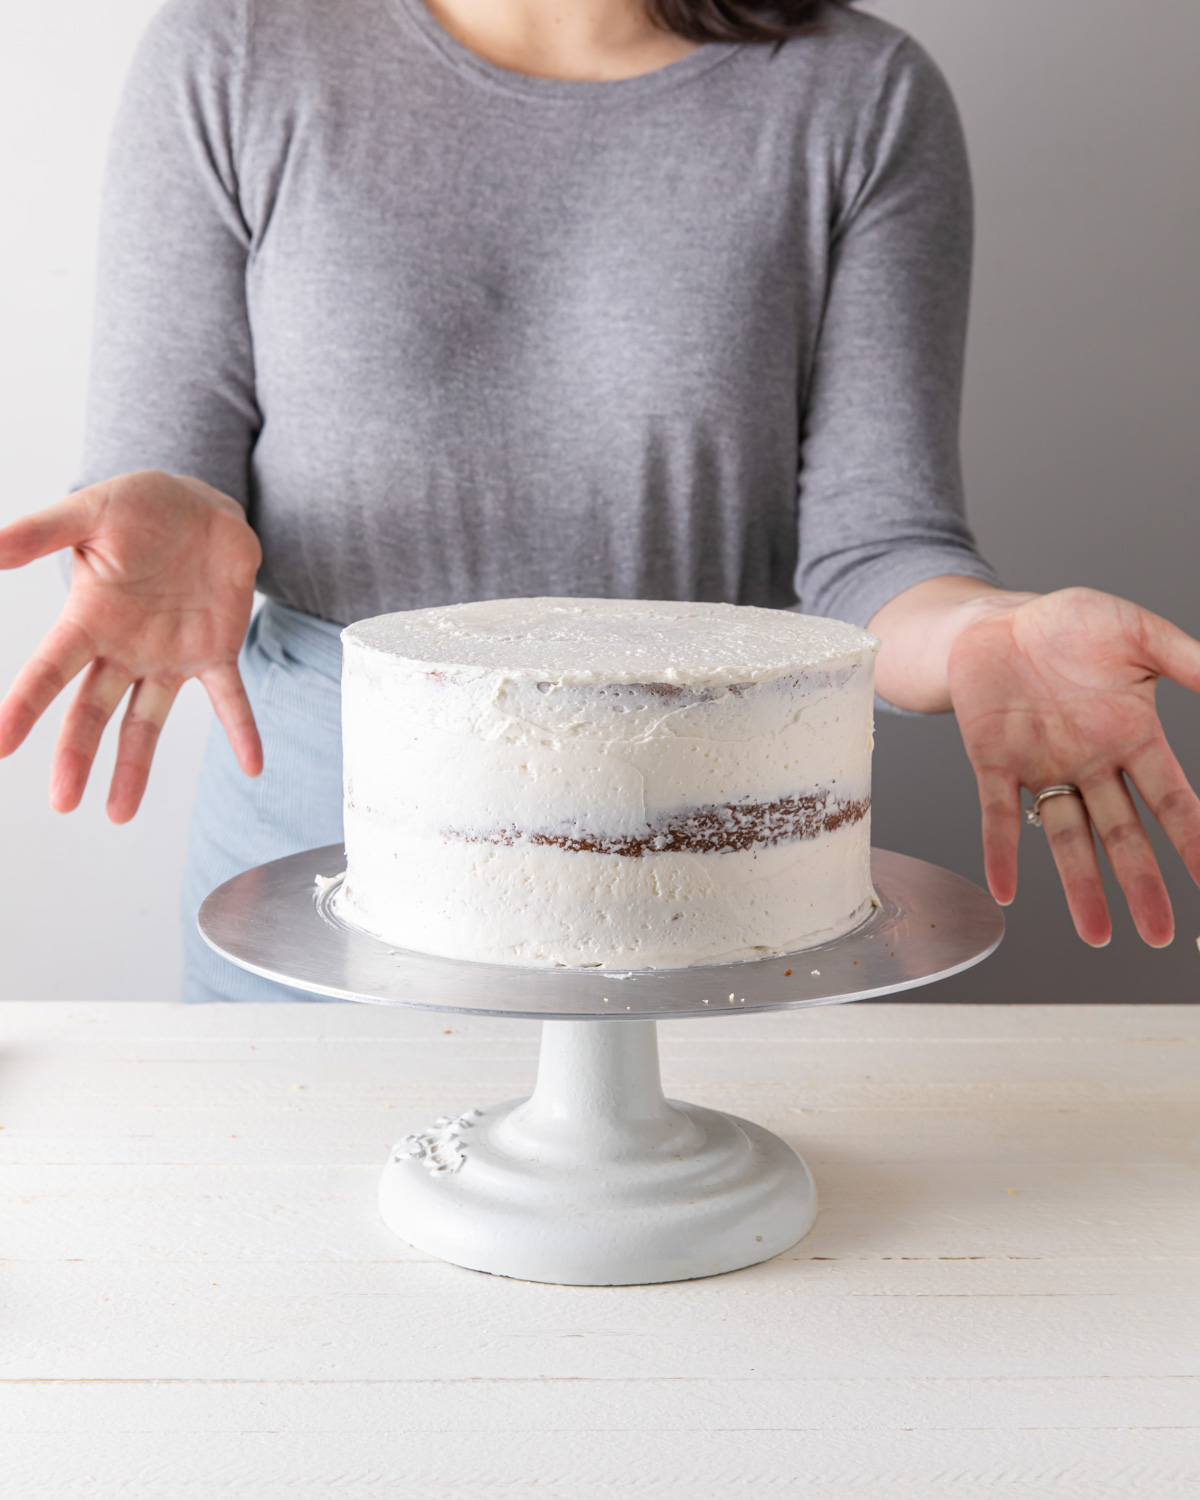
From here, you are ready to ice the cake!
Lisa Murphy
I just wanted to let you know that there are so many ads on this post that I couldn't make out the recipe on my MacBook. I could see small parts of it between ads, but it was so broken up that I can't even tell if I am interested in trying this recipe. Maybe someone viewing on a big screen would fare better, but overall, this content is unusable to me.
stylesweet
Thank you so much for letting me know =)