Last updated on August 28th, 2024 at 11:27 pm
I’ve been anxiously anticipating this day for nearly two years. From the first recipes suggested to my literary agent to the final edits made on the images, it seems like I’ve been waiting forever for my book to be released out into the real world.
Today.
April 19th.
Layered: Baking, Building, and Styling Spectacular Cakes is finally here!!!
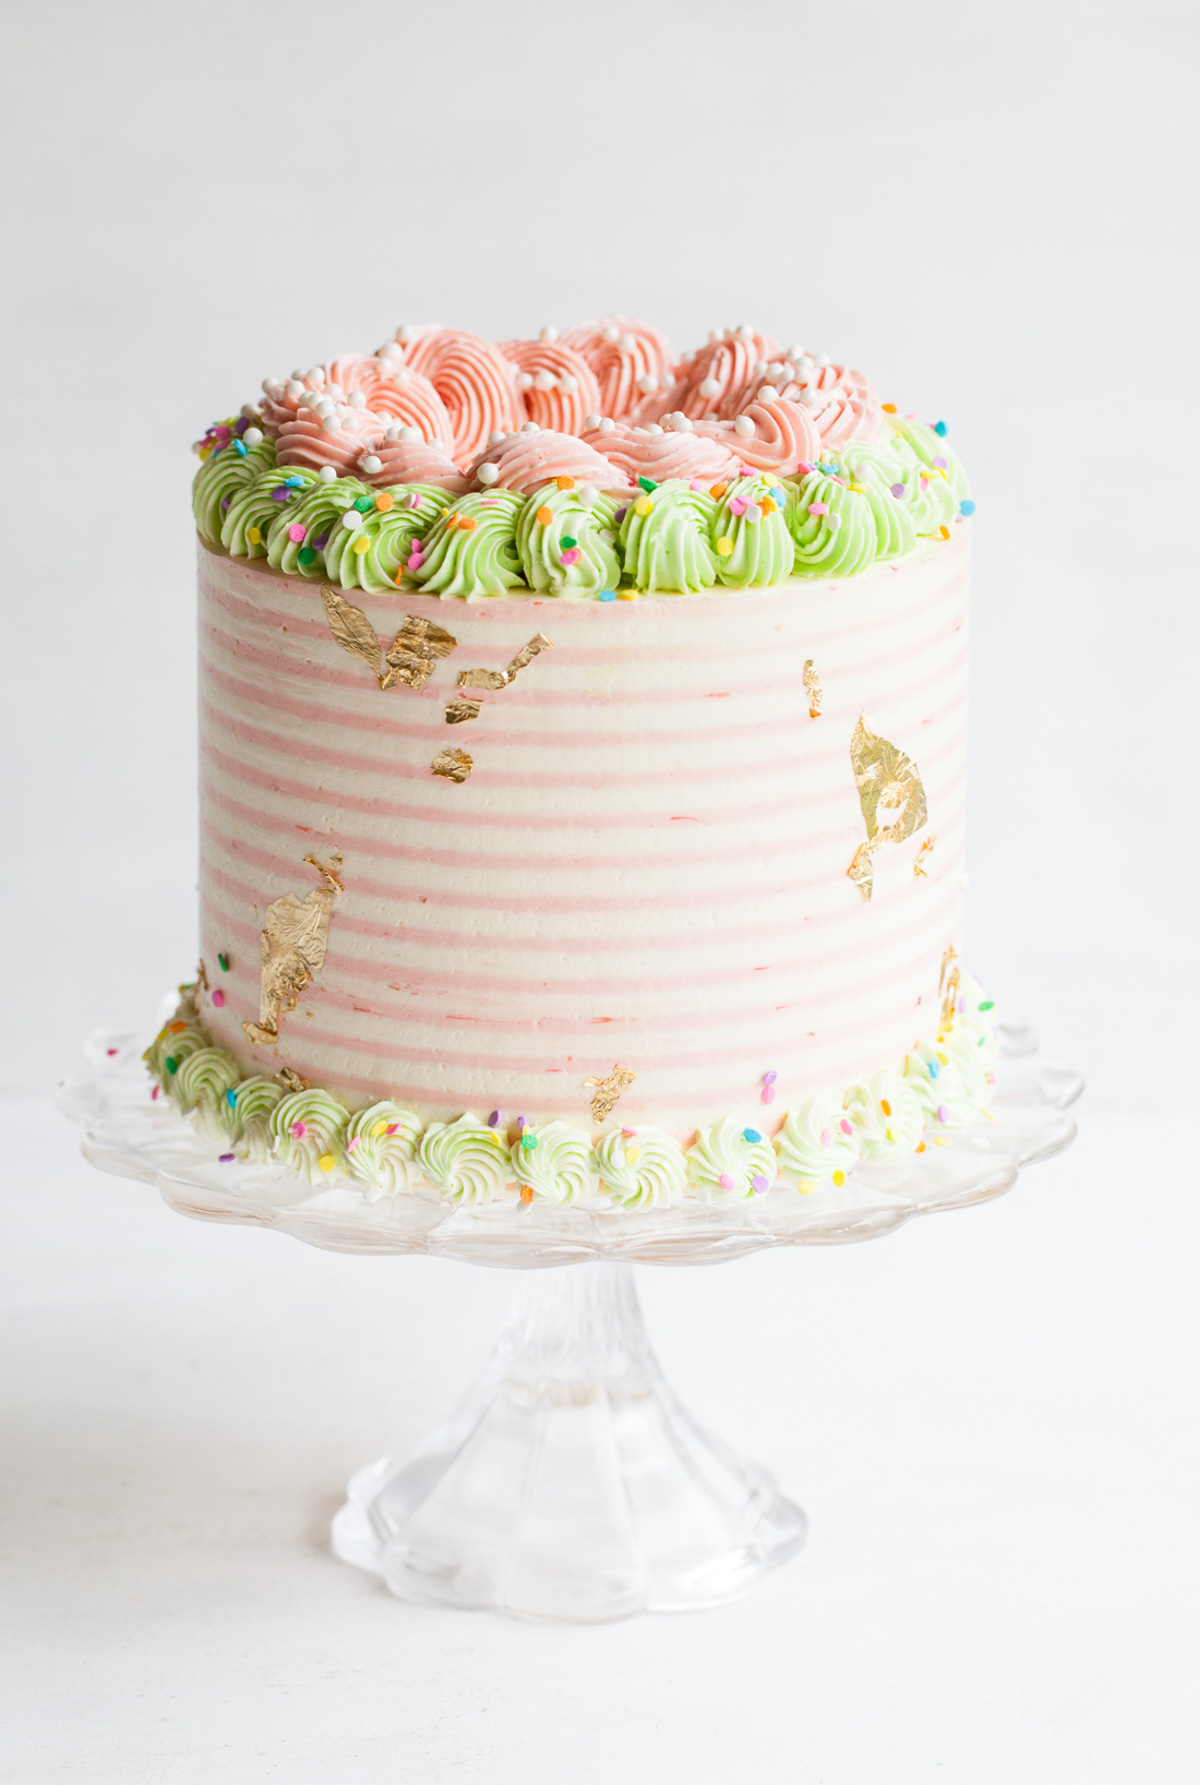
Time to throw confetti (or sprinkles) and celebrate with this Unicorn Cake – because dreams really do come true.
Recipe
Rhubarb Crisp Cake
Ingredients
Vanilla Bean Cake
- 2 ½ cup cake flour
- 2 teaspoon baking powder
- ¾ teaspoon salt
- ¾ cup unsalted butter softened
- 1 ½ cup granulated sugar
- 1 vanilla bean seeds scraped out
- 1 teaspoon vanilla extract
- 3 eggs
- 1 egg yolk
- 1 cup whole milk
Swiss Meringue Buttercream
- ½ cup + 2 tbsp egg whites
- 1 ¼ cup granulated sugar
- 2 cups unsalted butter at room temperature
- 2 teaspoon pure vanilla extract
Rhubarb Compote
- 1 ¾ cup fresh strawberries hulled and quartered
- 1 cup fresh rhubarb cut into ¼-inch pieces
- ½ cup granulated sugar
- 2 tablespoon fresh lemon juice
Oat Crumble
- ½ cup quick-cooking oats
- ¼ cup sliced almonds
- ¼ cup firmly packed brown sugar
- 3 tablespoon unsalted butter at room temperature
- 2 tablespoon honey
- ½ teaspoon ground cinnamon
- ¼ teaspoon salt
Instructions
Vanilla Bean Cake
- Grease and flour three 6-inch round pans and set aside. Pre-heat oven to 350 degrees.
- Sift the flour, baking powder and salt together. Set aside.
- Using an electric mixer, beat the butter until smooth.
- Add in the sugar and vanilla bean seeds. Continue to mix on medium speed until completely creamed together. The mixture should be light and fluffy.
- One at a time, mix in the eggs and egg yolk. Mix in the vanilla.
- Stop mixing and scrap down the sides and bottom of the bowl.
- In alternating batches (starting and ending with the dry ingredients), add in the flour mixture and milk.
- Mix on medium-low for no more than about 20 seconds after the last streaks of flour have disappeared to prevent over-mixing.
- Divide the batter evenly between the two pans and bake for about 24-26 minutes, or until a toothpick inserted into the center comes out clean.
- Cool on a wire rack for 15 minutes before removing the cakes from their pans.
- Continue to cool completely (or chill wrapped in plastic) before trimming and torting.
Swiss Meringue Buttercream
- In the bowl of an electric mixer, whisk together the egg whites and sugar briefly by hand.
- Place a few inches of water in a medium saucepan and heat over medium. Place the mixing bowl on top of the saucepan to create a double boiler. Heat egg white mixture until it reaches 155 to 160 F degrees on a candy thermometer – or until hot to the touch. Once hot, remove the bowl and carefully return it to the electric mixer.
- Fitted with the whisk attachment, mix on high until medium-stiff peaks, or the outside of the bowl returns to room temperature – about 8 minutes. Stop the mixer and swap out the whisk for the paddle attachment.
- With the mixer on low, add in the vanilla and butter – a couple tablespoons at a time. Turn the mixer up to medium-high and mix until smooth.
Rhubarb Compote
- Combine the strawberries, rhubarb, sugar, and lemon juice in a medium saucepan and cook them over medium-high heat, stirring intermittently with a wooden spoon, until the juices start to bubble.
- Reduce the heat to maintain a simmer and cook for 8 to 10 minutes, or until the fruit starts to break down. Remove the pan from the heat and let cool.
Rhubarb Buttercream
- In the bowl of a stand mixer fitted with the paddle attachment, mix 1 ½ cups of the buttercream until silky smooth.
- Add 1⁄3 cup of rhubarb compote (reserve the rest for serving) and mix until combined.
Oat Crumble
- Preheat the oven to 375°F. Line a baking sheet with parchment paper.
- In a medium bowl, mix together the oats, almonds, brown sugar, flour, butter, honey, cinnamon, and salt with a wooden spoon until combined. The mixture should resemble clumps of sand.
- Sprinkle it over the lined baking sheet and bake, stirring halfway through, for 8 to 10 minutes, or until golden brown. Let it cool and crumble the mixture into smaller pieces to make cutting the cake easier.
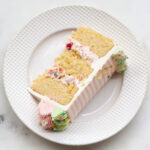
Assembly
- Once the cakes have completely cooled, level them and choose which layer will be at the bottom. Place it on a cake plate or serving dish.
- Spread on about ¾ cup of the rhubarb buttercream with an offset spatula. Sprinkle it with about a 1⁄2 cup of the oat crumble.
- Top with the next layer of cake and repeat with the buttercream and remaining crumble, finishing with the final layer. Frost the top and sides cake with the remaining vanilla buttercream.
Decoration
- Use an icing comb on the frosted cake and chill for about 15 minutes to firm up the ridges. Tint a portion of the remaining buttercream pink, and fill in the gaps of the chilled cake by icing right over it. Clean up the sides by using an icing smoother or bench scrape to reveal the stripes.
- To create the top portion of the cake, I used a closed star tip to pipe spirals of frosting around the edges. Using a different color, I piped a second row of spirals on top. For the bottom border, I piped individual rosettes. Use tweezers or the tip of a parking knife to apply the edible gold leaf.
Lyndsay Sung
SOOOOO MANY CAKEY CONGRATULATIONS to you, Tessa!!!! this cake is just everything - you are an amazing woman and your book, truly, is freaking great. There are no duds in this book and SO much great information! (I remember having a tea date with you when we were talking about literary agents!!!) So excited and happy for you and I am certain so many others are going to fall in love with Layered!!! xo Lyndsay
Tessa Huff
Thank you, again, Lyndsay! It was great to see you this morning! It made me so happy to watch you read to BBH too. So cute. Thank you for the card!
Laura
This cake is seriously stunning! The stripes, the gold leaf, the piping!!! GAH. Just love it. So whimsical and fun! HUGE congratulations on your release day! I'm so thrilled to have a copy of your book in my kitchen, and can't wait to bake more incredible cakes from it in the future.
Hope you have an amazing day and enjoy every second of it!!! xo
Tessa Huff
Thank you, Laura!! What a crazy, weird week it has been. Ahhh, lol. Can't wait to see what other cakes you might make. Happy Baking!!
Holly Wade
It's beautiful! And congrats! I'm so excited to get my book in the mail ASAP 🙂
Tessa Huff
Thank you! I really hope you enjoy the book. I appreciate the support!
Dani Elis
This looks absolutely stunning (and DELICIOUS)!!! Big Congrats on the book 🙂 can't wait to get my hands on a copy!!
Tessa Huff
Thank you! It sure was a fun cake to create, hehe. Happy Baking!
Beverly Perrone
Just ordered my copy from Amazon! Can't wait to get it- congratulations!
Tessa Huff
Thank you so much! I sure hope you enjoy it =)
Courtney C.
HAPPY HAPPY BOOK RELEASE, TESSA!!! You are such an inspiration. Layered is on its way via Amazon and I so can't wait to get my lil hands on all the gorgeous cakes and recipes 😀
Tessa Huff
You are so sweet - thank you!!! I really hope you enjoy the book. Thank you for the support!
Hope Woodhouse
Congratulations!!!! All of the cakes made from your book look amazing and delicious! I can't wait to get my hands on my own copy and start baking your creations 🙂 This cake (like the rest) is absolutely beautiful. I love the pale pink stripes, the gorgeous piping and the delicate sprinkles. You are so talented and deserve all of the celebratory cake today! Congrats again!
Tessa Huff
Thank you! You are so kind. Happy Baking =)
Laura Dembowski
This is such a beautiful cake! Huge congratulations on the book, I have no doubt it is amazing. Kudos to you for following and achieving your dreams too. Too many people don't go after what they really want. I work at my dreams every day. I haven't achieved them yet, which is difficult, but reading this post gives me hope and shows me that it is possible.