Last updated on November 17th, 2025 at 08:57 pm
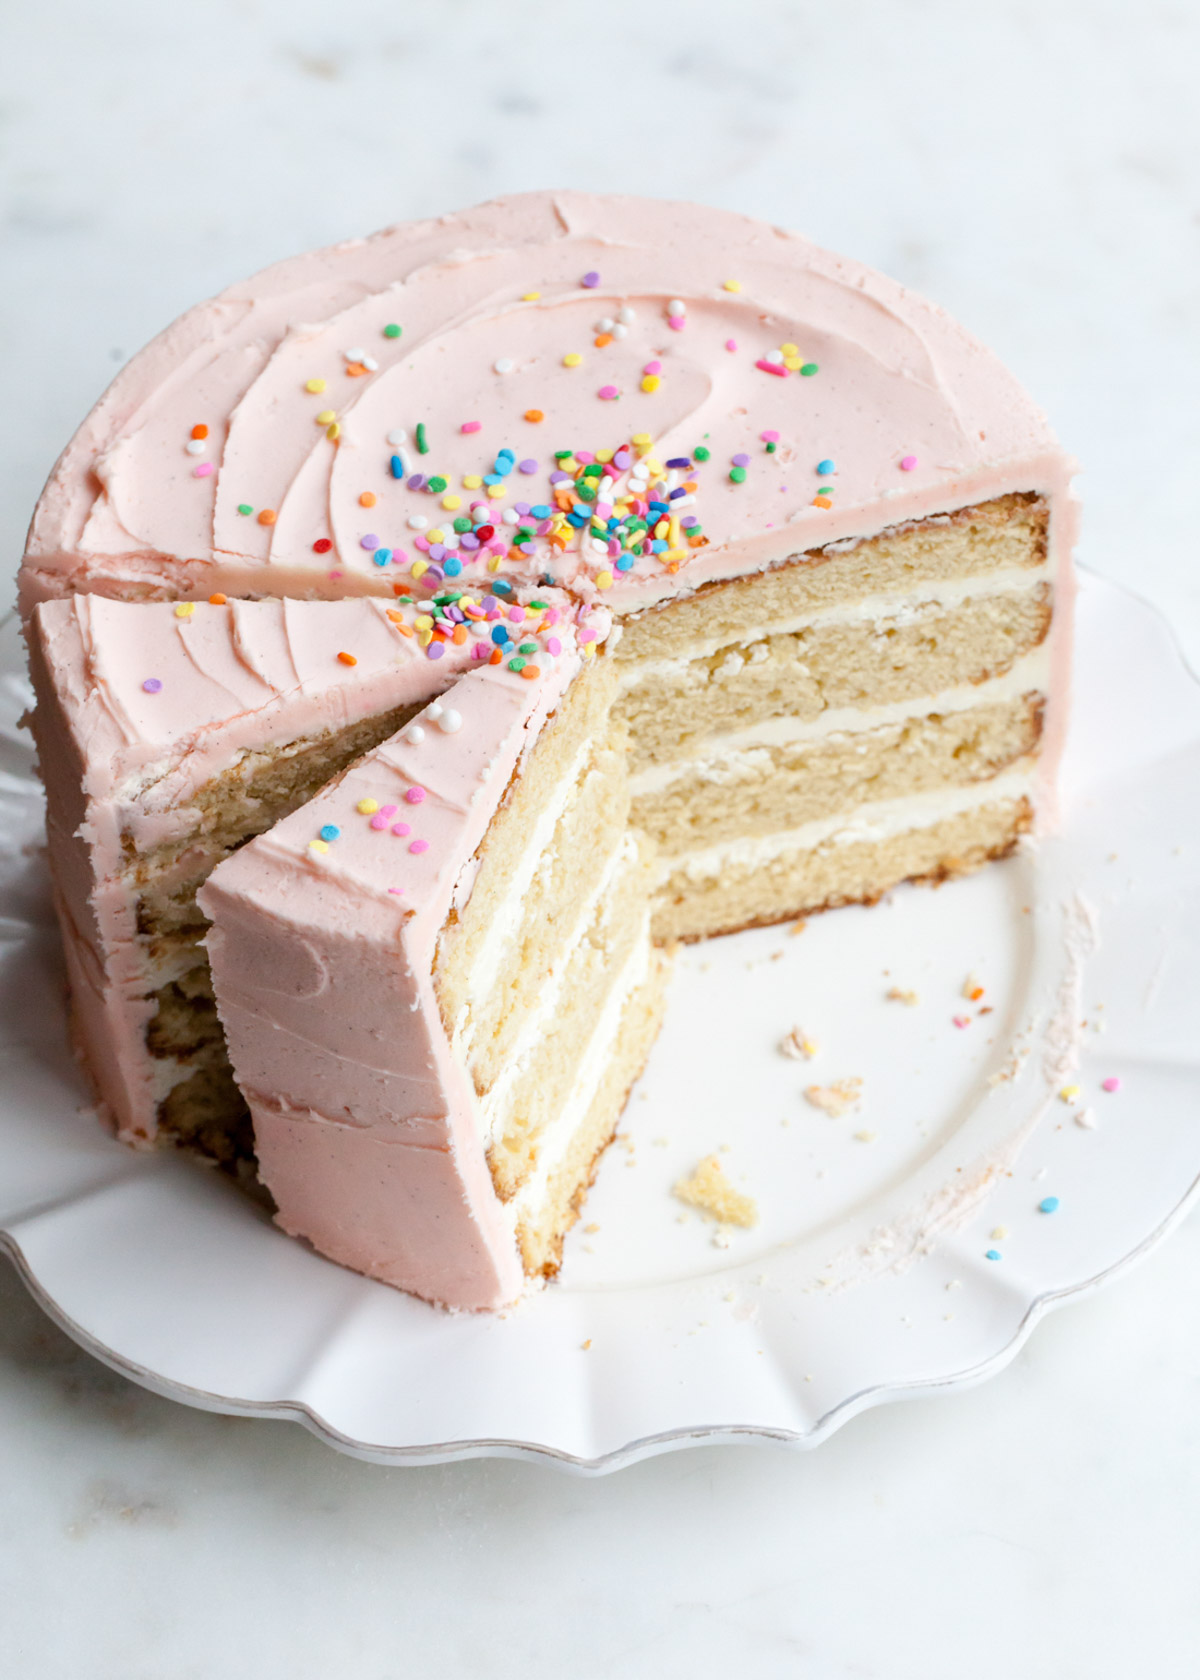
Want fluffy, tender cakes? Then the creaming method is for you.
The first step to making moist and springy butter cakes is understanding the creaming method. This process is the way and order in which ingredients are mixed together to make light and fluffy, butter-based cakes.
Different mixing methods are used depending on if you want a fluffy cake, a tender cookie, or a flaky pastry. When it comes to moist, tender cakes, I can’t preach about the importance of the creaming method enough.
Jump to:
What is the Creaming Method?
The Creaming Method is the process used to make butter-based sponge cakes. Here, cream (verb) is the act of mixing, not the dairy product. The method starts by creaming together a plastic solid fat (like softened butter, coconut oil, or shortening) with a dry crystalline sugar (like granulated sugar) until combined into an aerated mixture.
Other mixing methods include: Reverse Creaming Method, One-Bowl, Foam Method, Sponge, and Muffin Method
Why Does it Work?
While the ingredients are mixing, sugar crystals cut into the pliable butter to create little air pockets.
Meanwhile, air from the mixer and paddle attachment is forced into little pockets to lighten the mixture and, in turn, leaven the batter once it bakes.
It is important that the butter is not too soft or melted, or it will not be able to hold the little air pockets.
Next, we are forcing liquid into fat and don’t want to break our beautiful emulsion. Using room temperature milk and eggs, added one at a time, will keep the batter smooth and homogeneous.
How Does the Creaming Method Make Fluffy Cakes?
The main purpose of the creaming method is to aerate the batter (often combined with chemical leaveners like baking powder) to lift the cake. In the heat of the oven, the cake rises from the expanding air bubbles to make a light and tender cake.
Properly creamed butter and sugar, using room temperature eggs, and alternating the dry ingredients with the wet all make for a more homogenous batter. This helps prevent over-mixing and baking dry, dense cakes.
When To Use the Creaming Method
If a recipe calls for softened butter, then you will likely use the creaming method. The creaming method does not work with liquid fats (melted butter or oil).
Use the creaming method to produce tender, butter, fluffy cakes with an open crumb. Use the reverse creaming method for cakes with a soft yet tight crumb and even rise.
Ingredients
The Creaming Method is most often used for butter-based cakes. You will see other recipes for items like cookies that use parts of the creaming method (most mixing the butter and sugar together until fluffy), but here are the ingredients typically found in a butter-based cake:
- Unsalted butter or other solid fat - softened to the correct consistency
- Granulated sugar
- Large eggs
- All-purpose or cake flour
- Baking powder and/or baking soda
- Kosher salt
- Vanilla extract
- Milk, buttermilk, sour cream, and/or yogurt
Tools and Equipment
I highly recommend using a stand mixer fitter with the paddle attachment. A hand mixer will work in a pinch, but do not skimp on mixing the sugar and butter. This will likely take a bit longer when using a hand mixer.
Use a large rubber spatula to scrape down the sides and bottom of the bowl throughout the process.
Instructions
The most crucial step of the creaming method is mixing softened butter with granulated sugar until light and fluffy. Not sure what that means? Take a look:
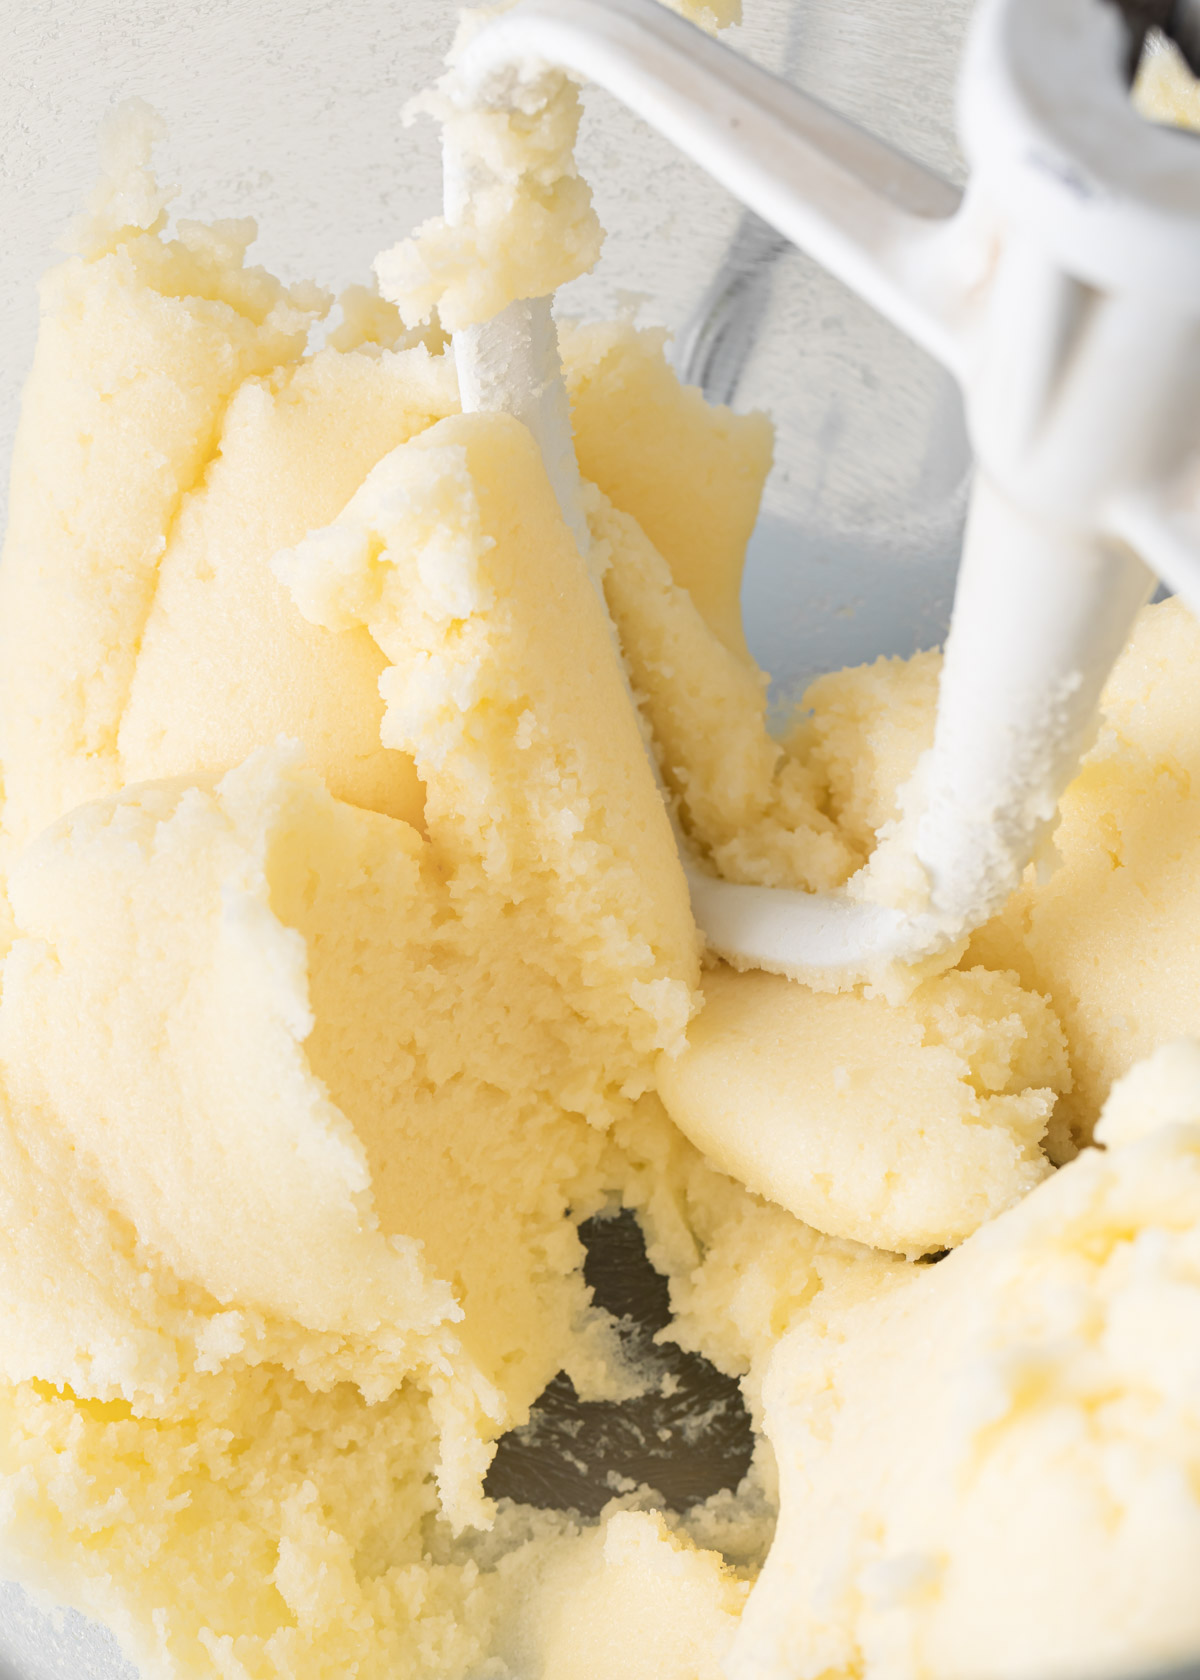
Softened butter and granulated sugar mixed together on medium speed for about 2 minutes. The mixture is quite heavy and dense.
Softened butter and granulated sugar mixed together on medium speed for about 3 minutes. It is starting to lighten up.
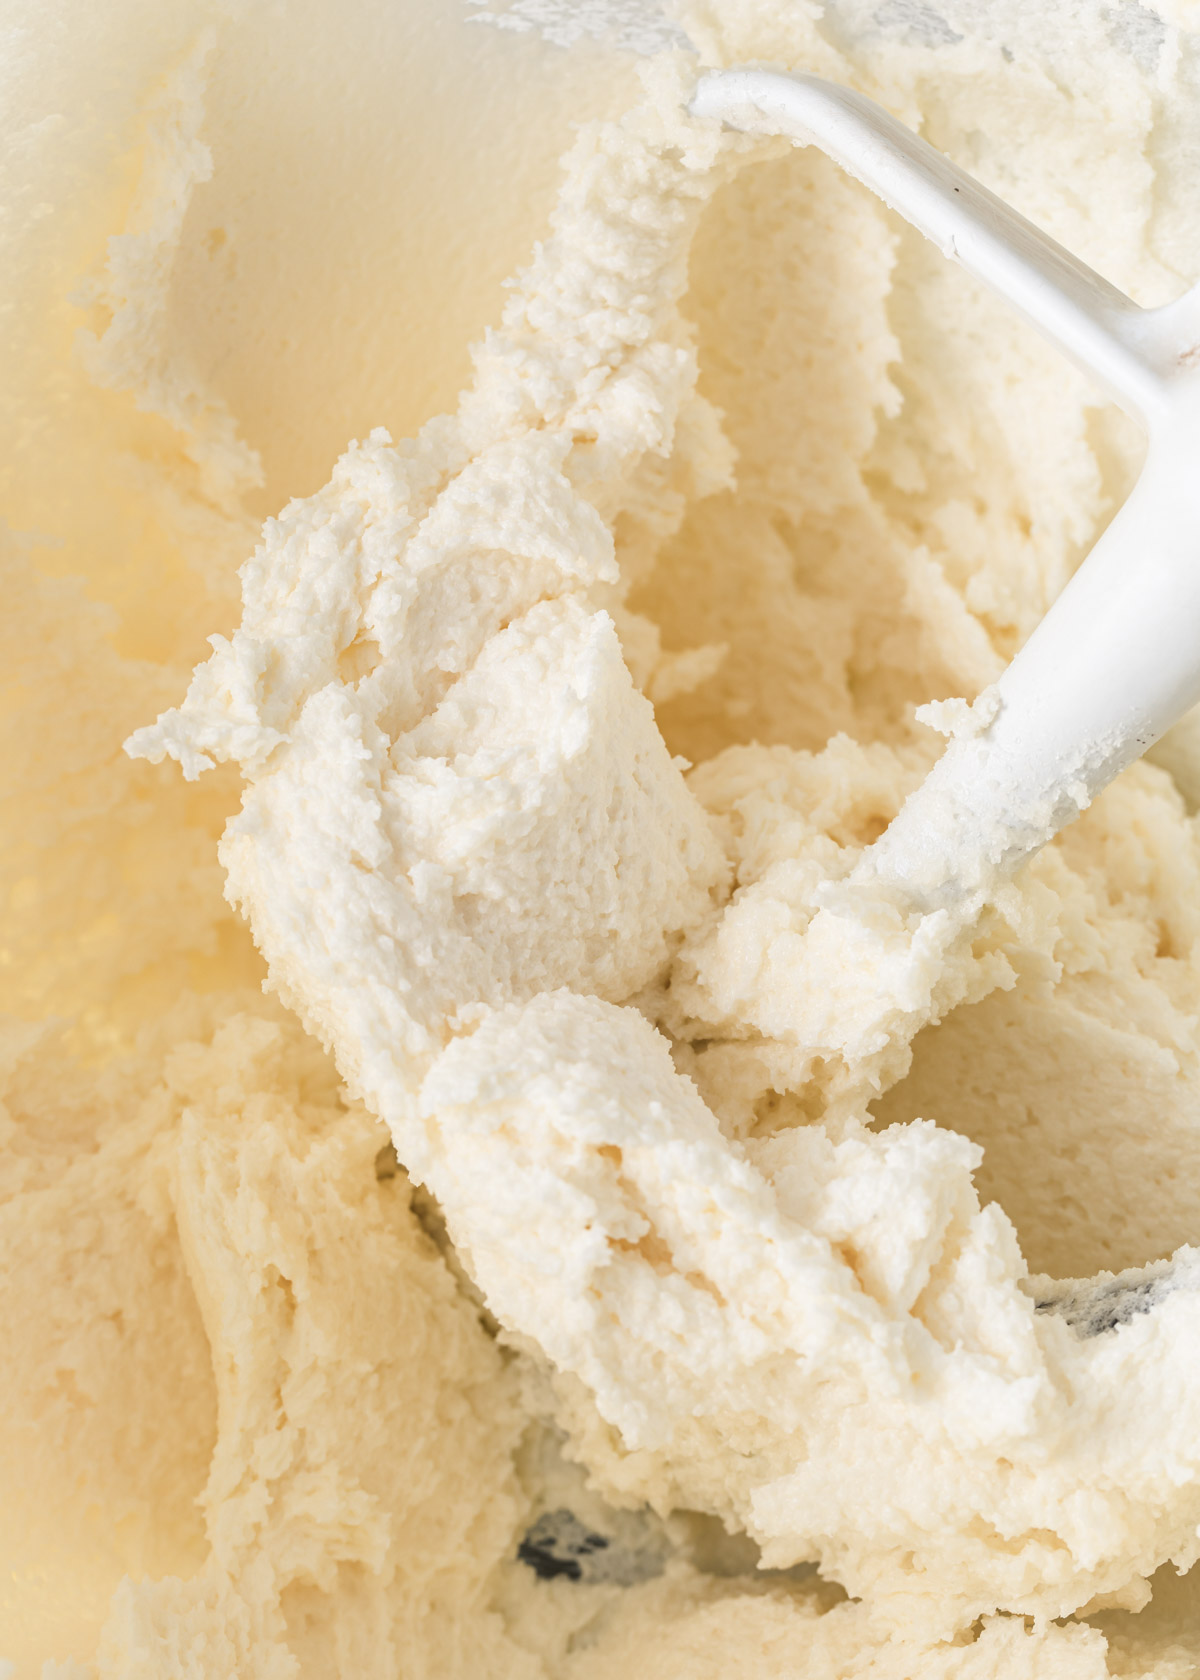
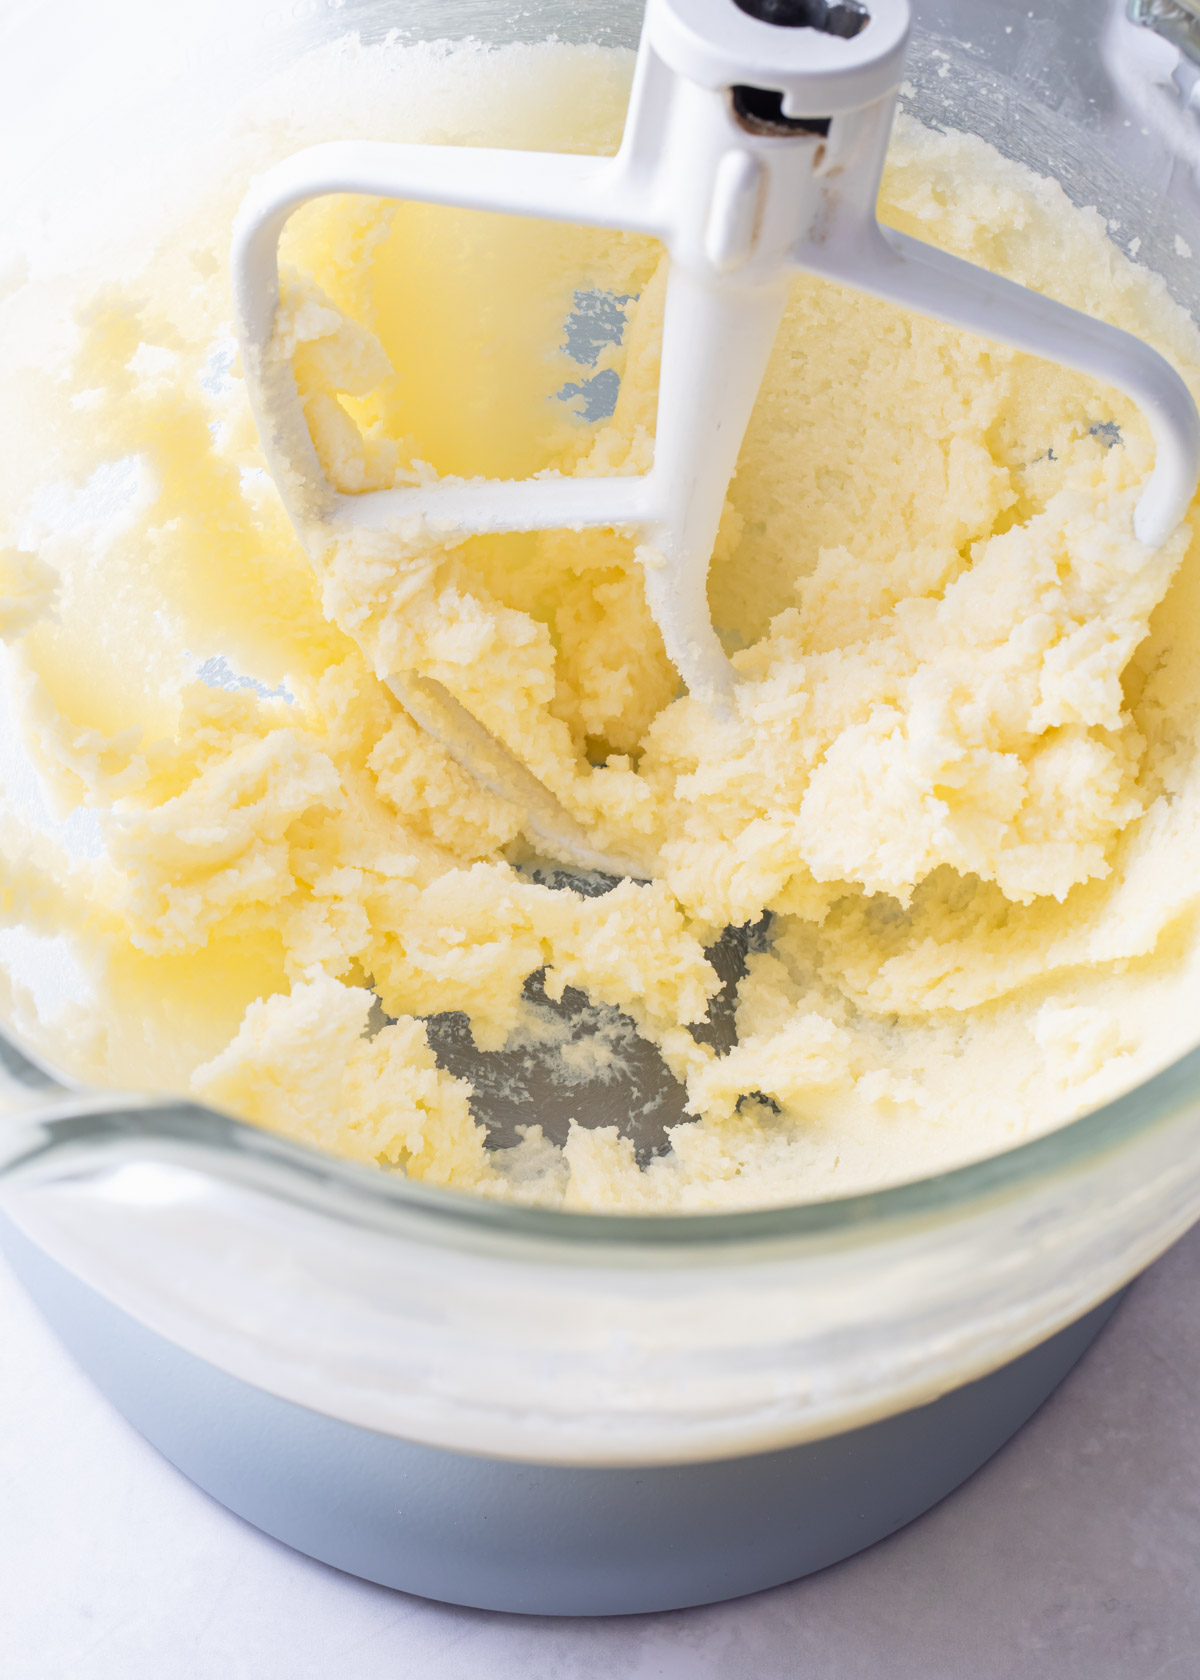
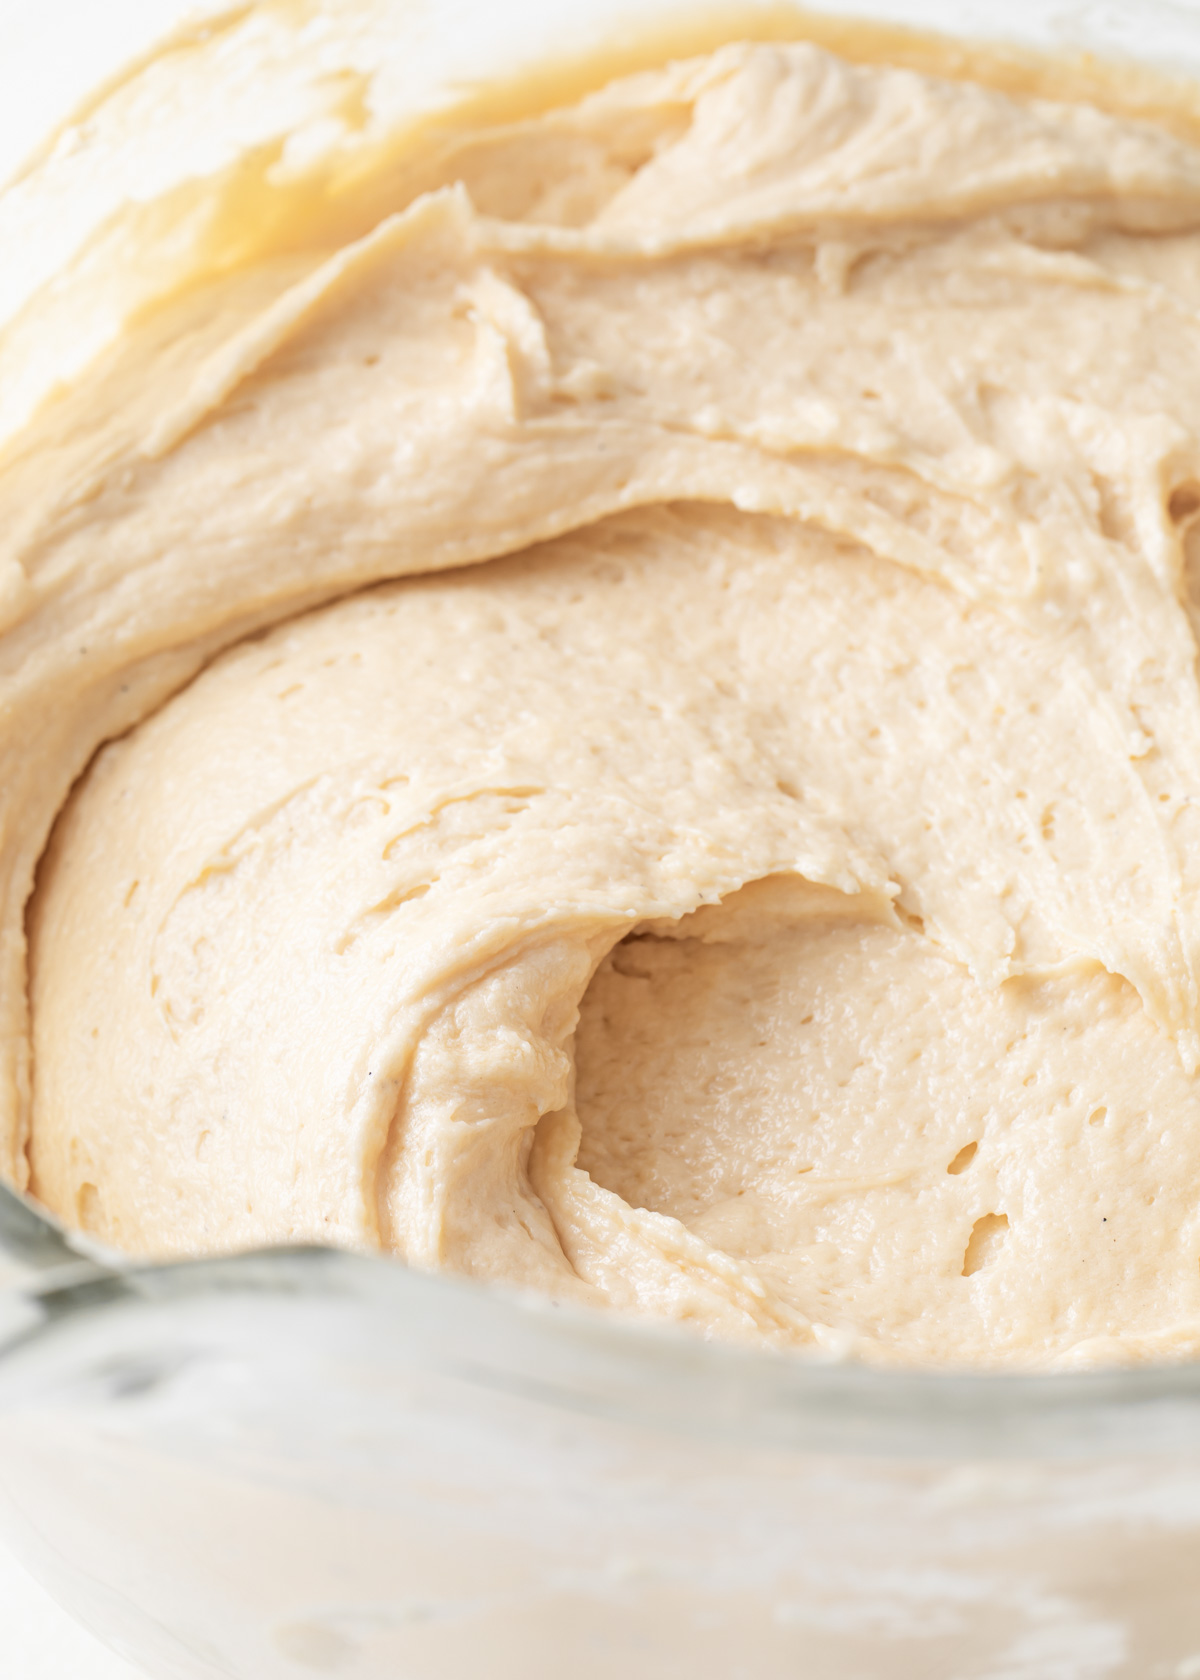
Softened butter and granulated sugar mixed together on medium speed for about 5 minutes. It is light, pale in color, and fluffy.
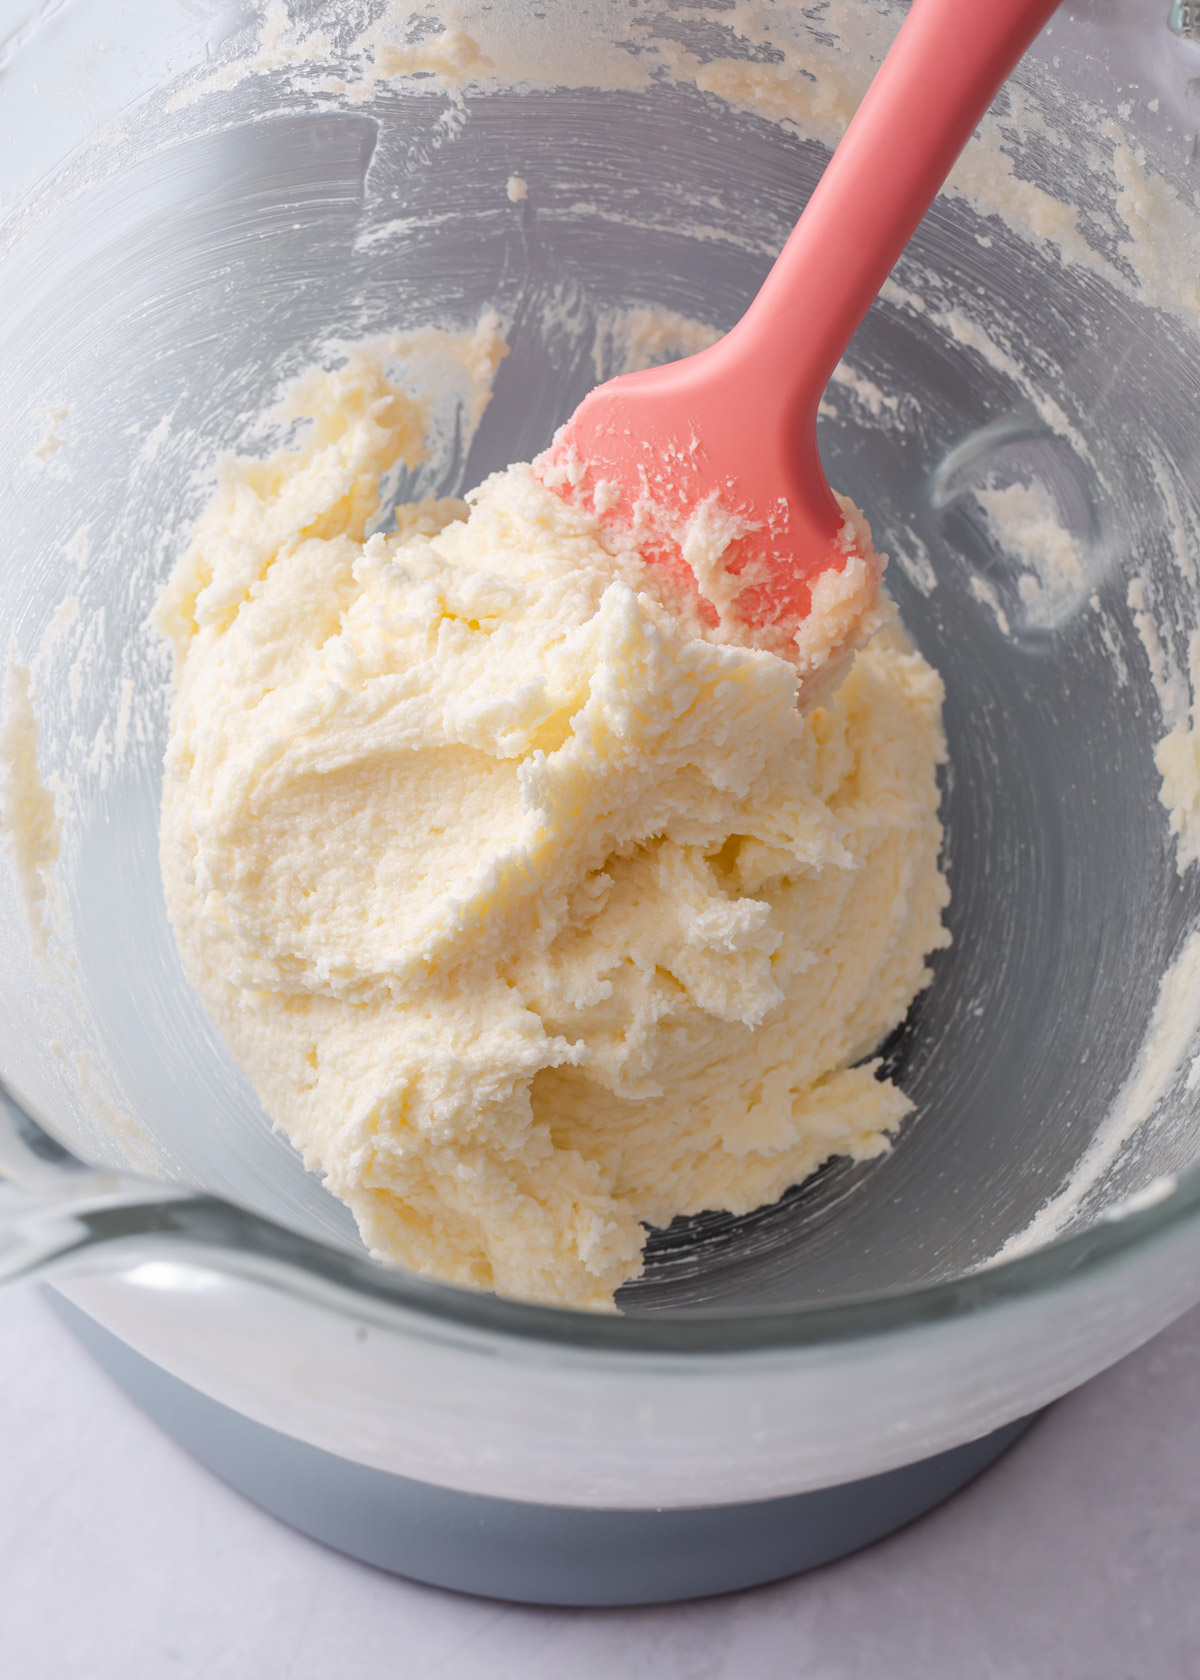
Properly creamed butter and sugar. It should hold its fluffy texture. If over-mixed, it will start to collapse.
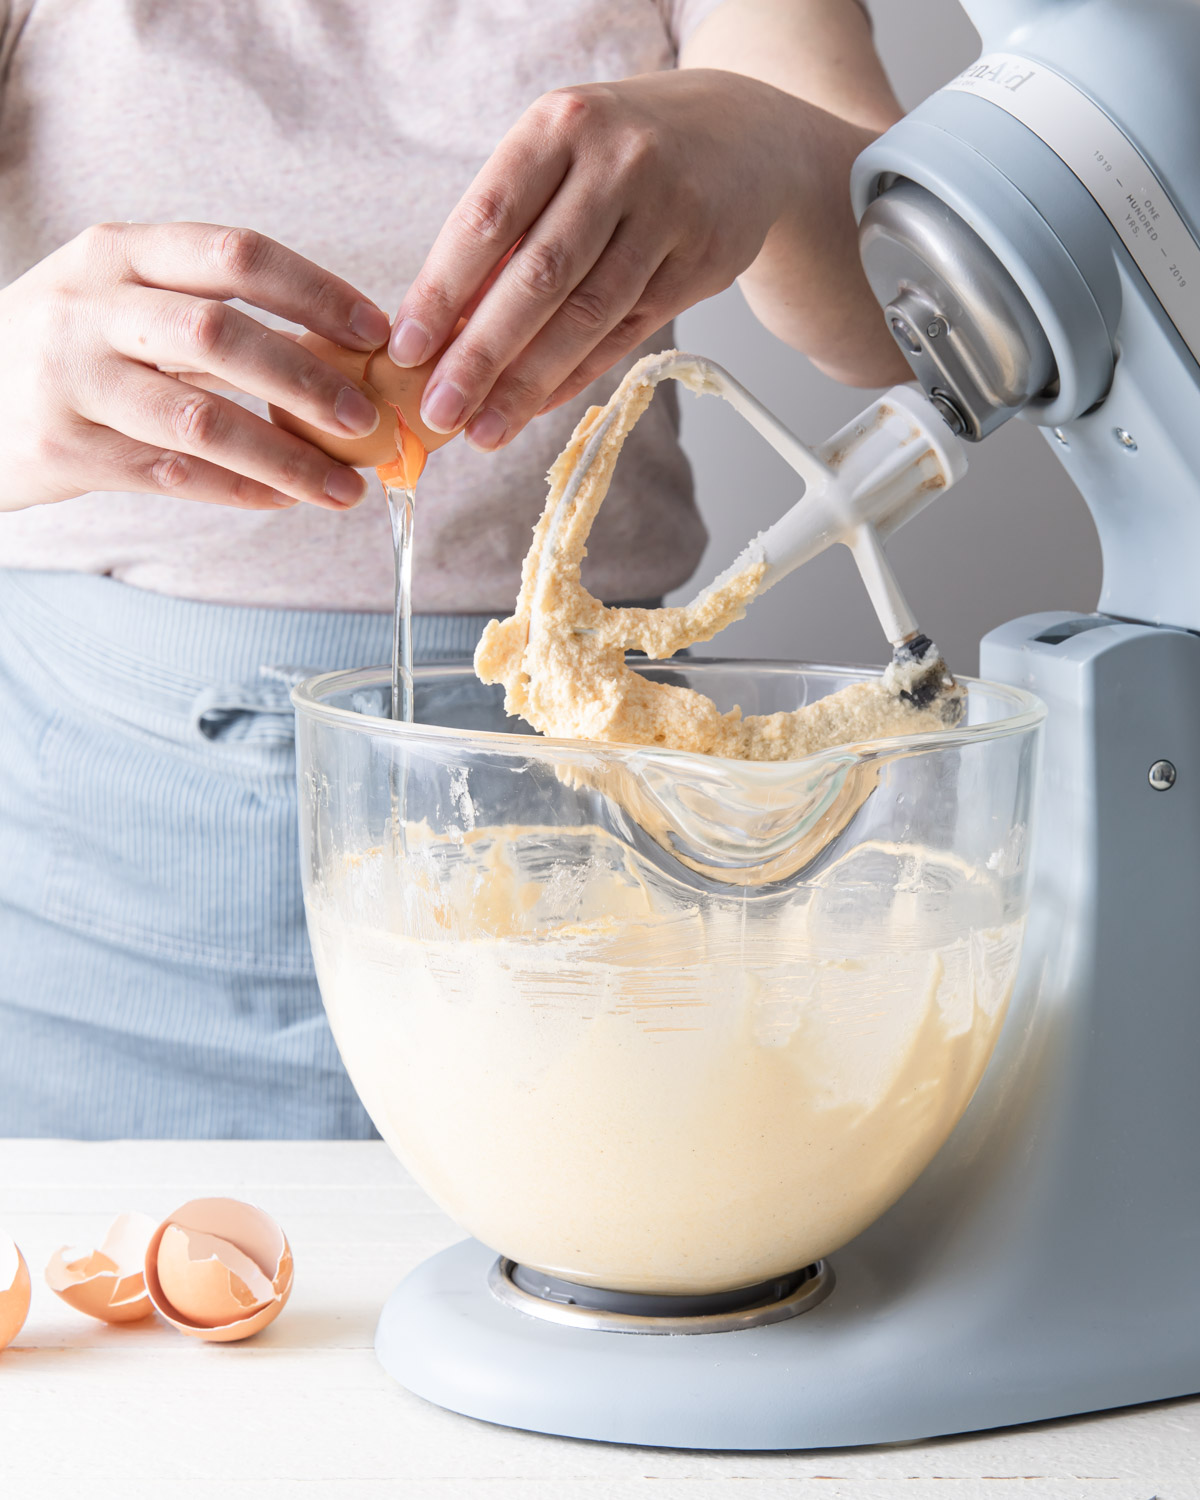
Next, mix in the eggs. Add the eggs, one at a time, to allow them to emulsify and absorb properly into the butter-sugar mixture without ruining the fluffy mixture you just created.
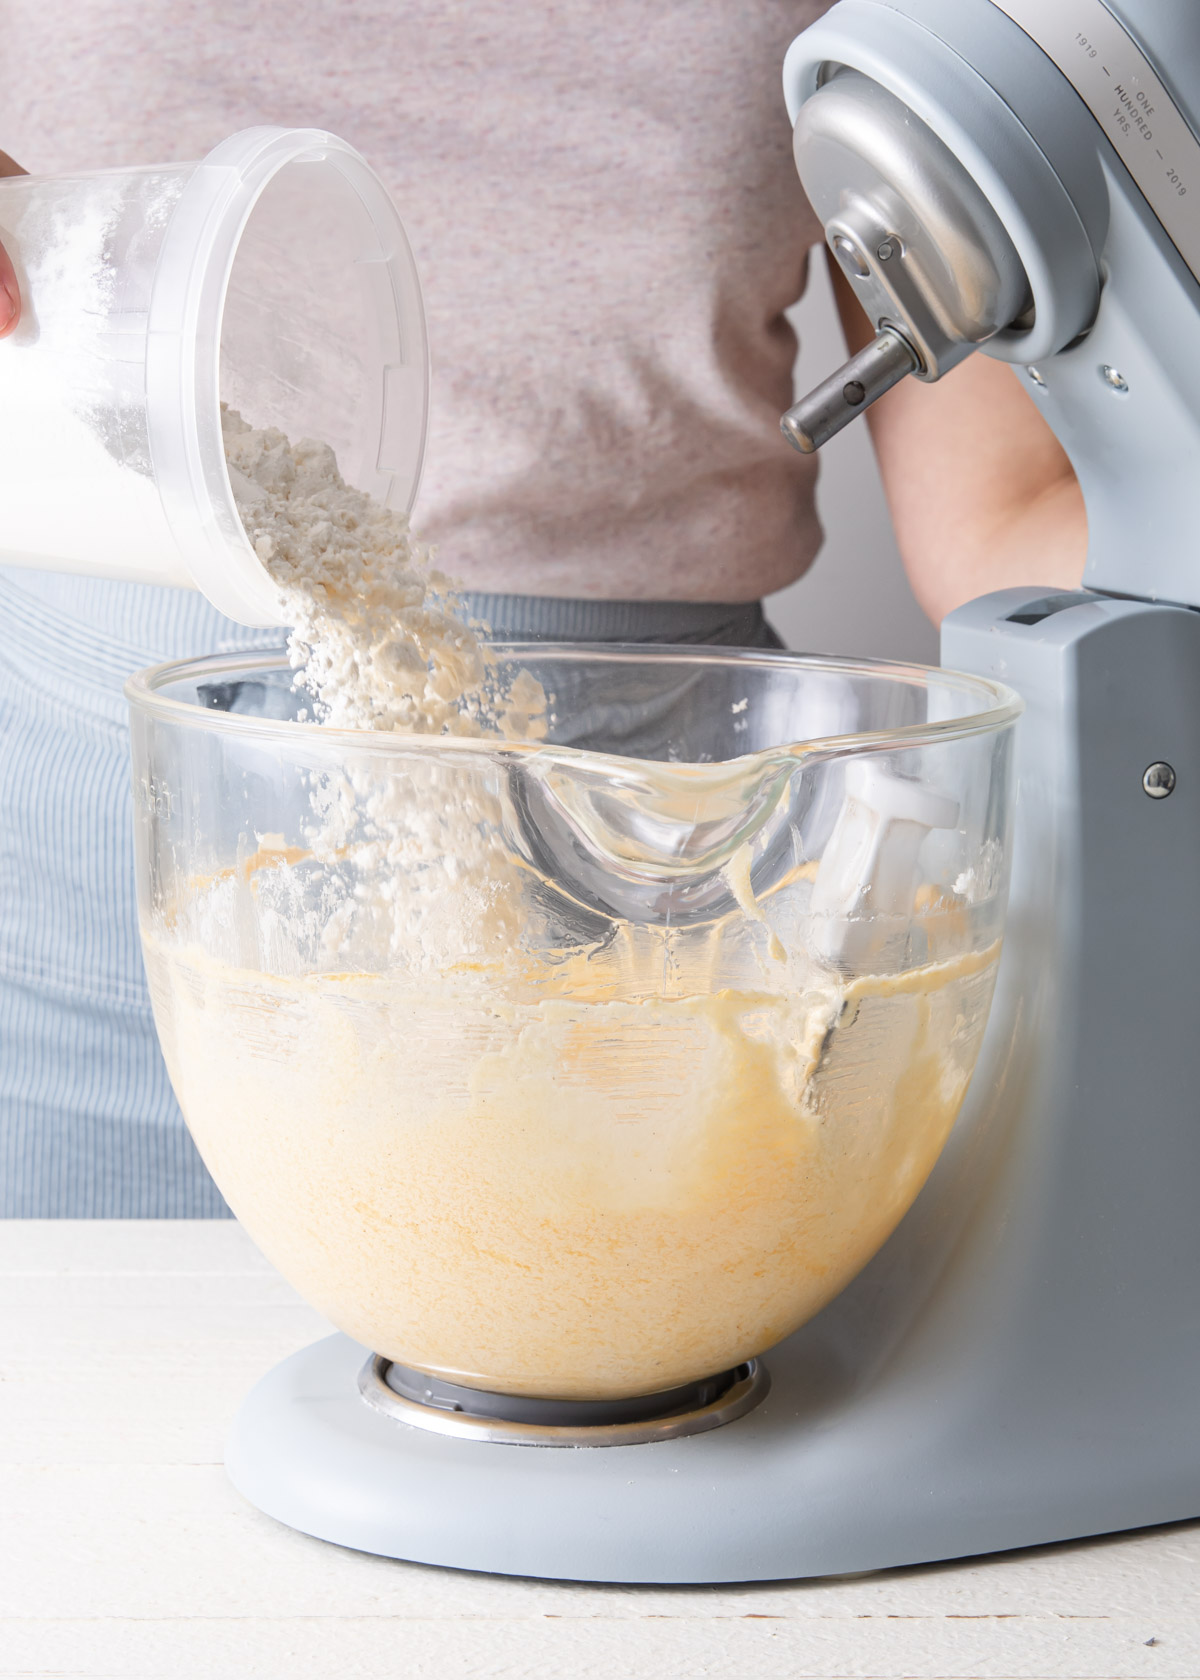
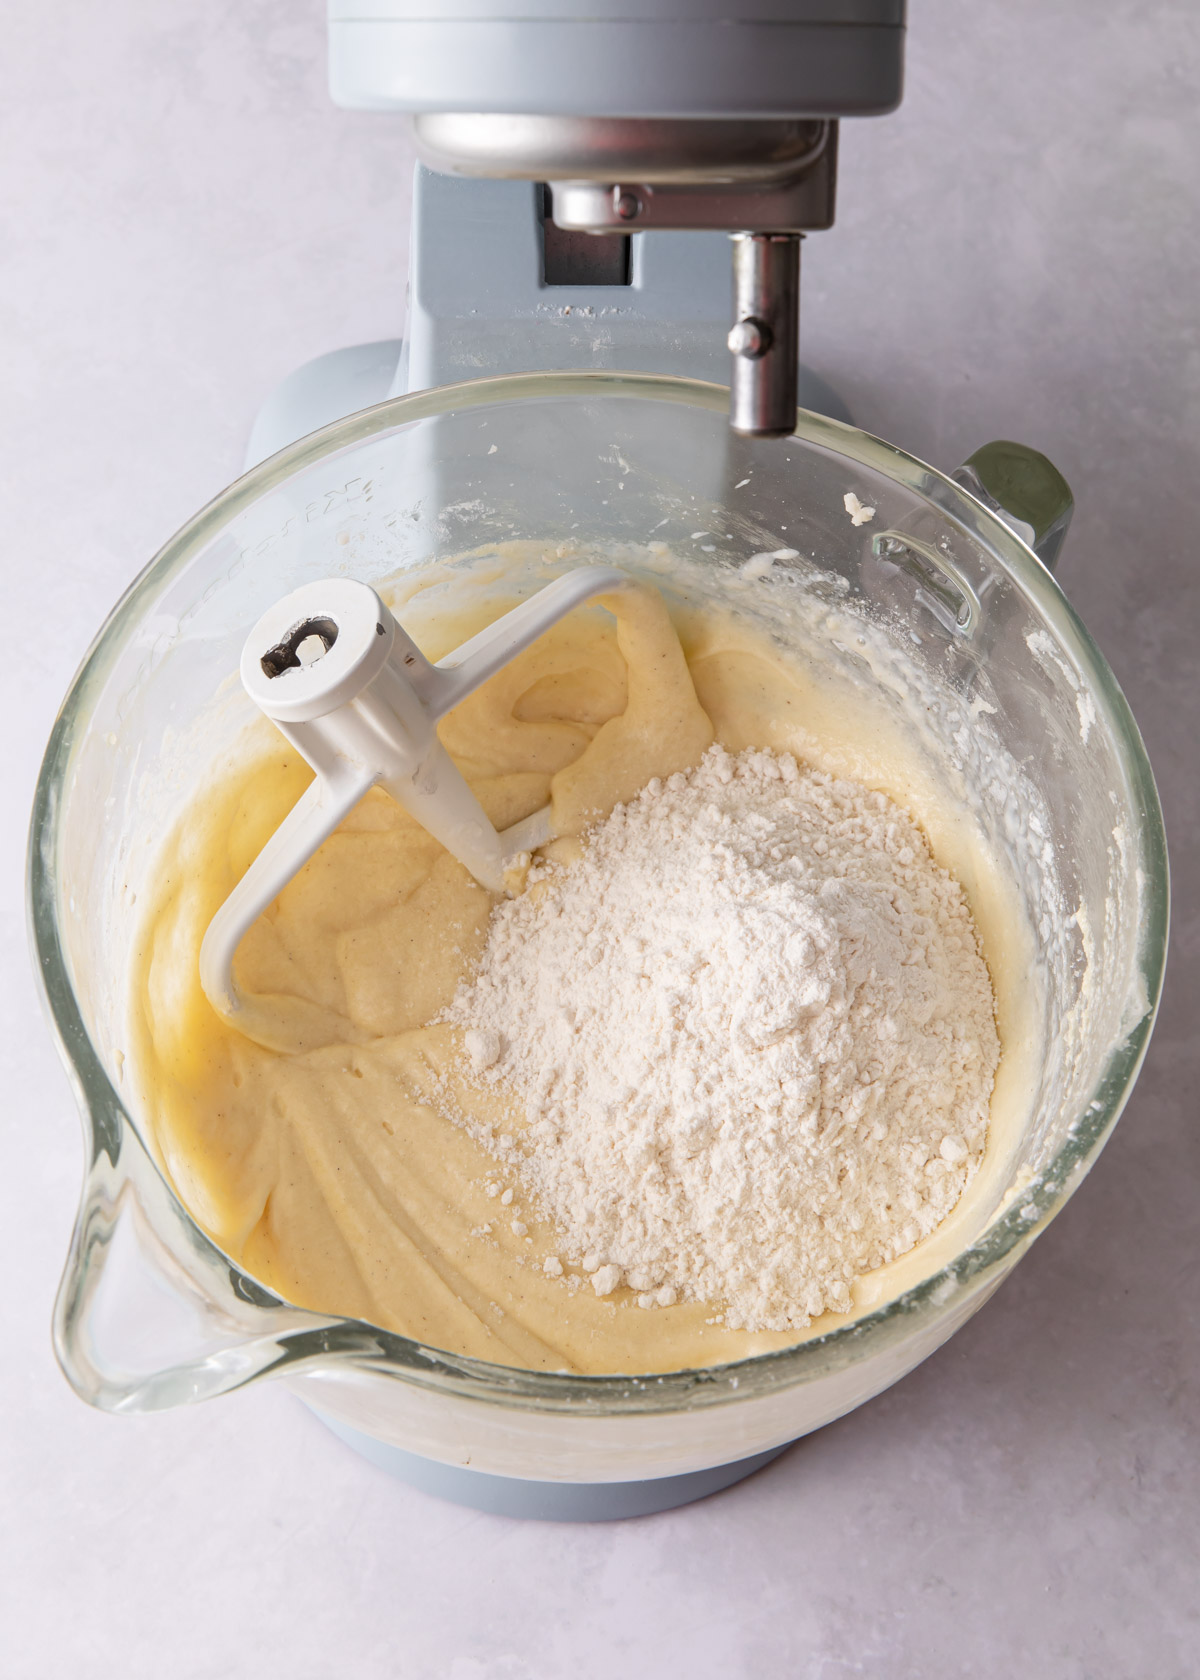
Add in half of the dry ingredients and mix just until they combine into the batter.
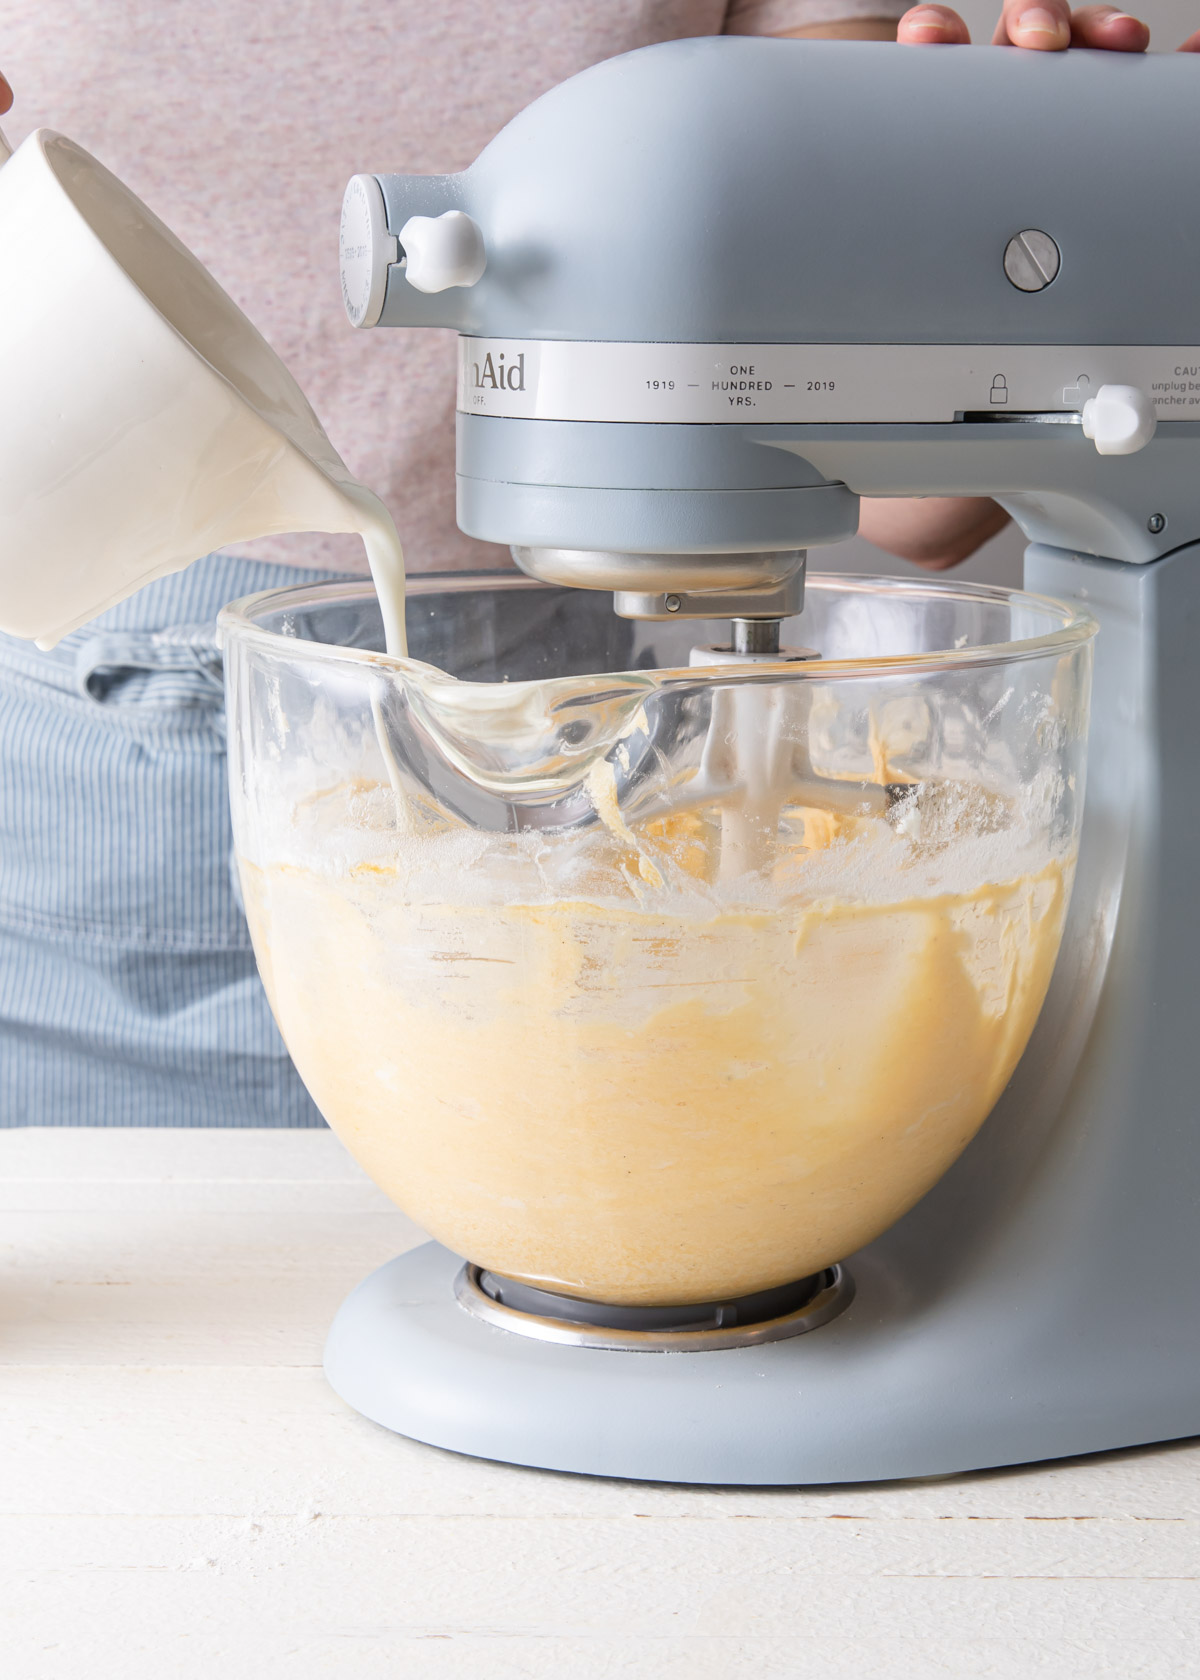
Alternate the dry ingredients with the milk or liquid for better absorption.
Finish by add the remaining dry ingredients and mixing until just combined.
Mix the cake batter until smooth - but no more than 30 seconds on medium speed after the last streaks of flour disappear.
Substitutions
The same principals of the creaming method work for similar recipes and alternative ingredients.
- Oil - You need some solid fat to cream with the butter, but some recipes use oil in addition to butter. Add it in after the butter and sugar cream together.
- Coconut Oil - Substitute a portion or all of the butter with solid yet soft coconut oil like in this matcha cake.
- Brown Butter - if browning the butter, refrigerate it until it returns to a solid yet soft state like in this brown butter frosting.
The creaming method should adapt easily to non-dairy, plant-based butters and milks as well.
Top Tips
It is imperative that all of the ingredients are the proper temperature for the Creaming Method to work. The butter should be soft enough to easily hold a fingerprint when press, but not melted or greasy. The eggs and dairy need to be room temperature.
Do not over-cream the butter and sugar together or the mixture will lose its structure and collapse.
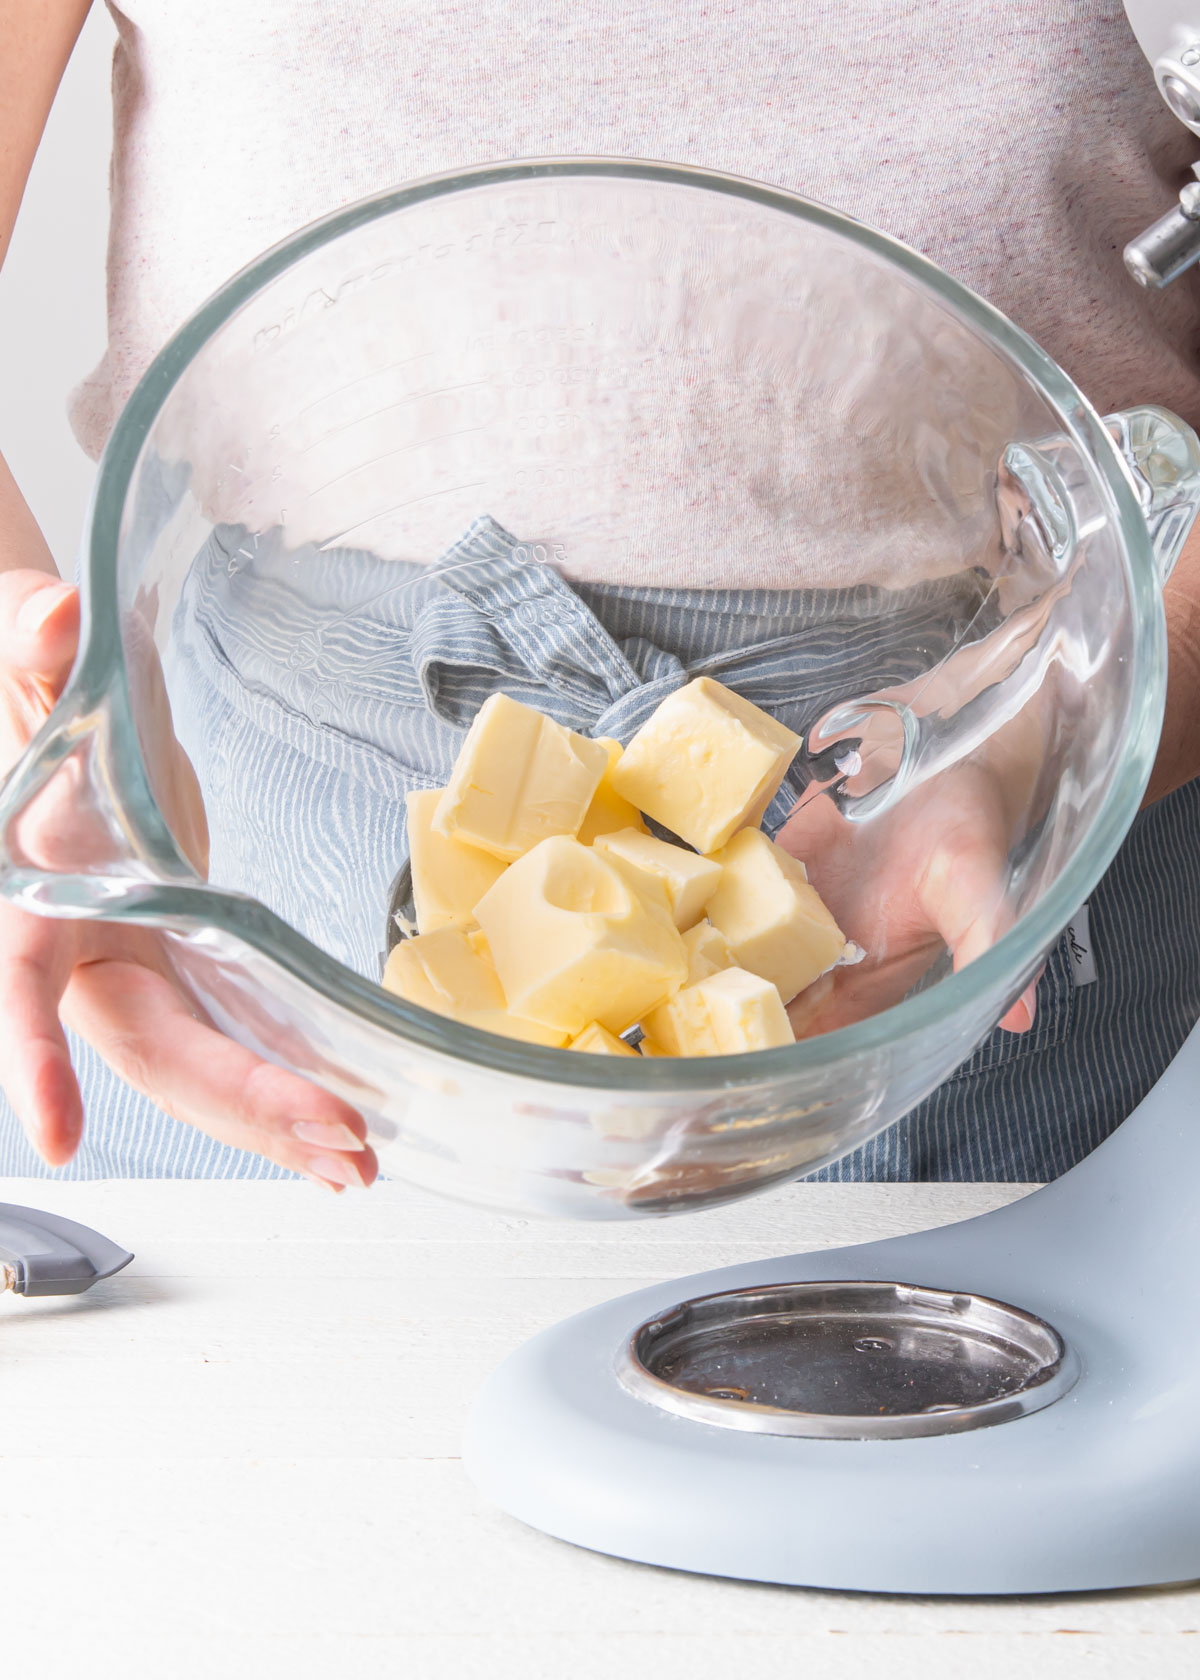
Properly softened butter should be pliable. You should be able to create a fingerprint in the butter without much effort. It should not, however, be greasy or have started to melt.
It will take anywhere from one hour or overnight the soften butter at room temperature. Dicing the butter will help it soften faster. In a pinch, you can microwave, but make sure it does not melt.
Related
Looking for recipes that use the creaming method? Try these:
Creaming Method Steps
Learn how to properly use The Creaming Method to make fluffy, moist, buttery cakes.
- Combine the dry ingredients
Whisk or sift together the dry ingredients - typically flour, baking powder/soda, and salt. This ensures the chemical leaveners are evenly distributed and that there are no lumps. Set aside.
- Cream the butter and sugar
Using an electric mixer (use a paddle attachment on a stand mixer), cream together softened butter and granulated sugar until light and fluffy. Mix on medium speed for 4 to 5 minutes. Stop and scrape down the bowl with a rubber spatula every couple of minutes. When done, the mixture will be light, pale in color, and fluffy.
- Add the eggs
Next, mix in the eggs. Add the eggs, one at a time, to allow them to emulsify and absorb properly into the butter-sugar mixture without ruining the fluffy mixture you just created.
- Alternate the dry ingredients and liquids
Add in half of the dry ingredients and mix just until they combine into the batter. Alternate the dry ingredients with the milk or liquid for better absorption. Finish by add the remaining dry ingredients and mixing until just combined.
- Finish mixing
Mix the cake batter until smooth - but no more than 30 seconds on medium speed after the last streaks of flour disappear.
- Bake!
Spoon the batter into the appropriate cake pan and bake according to the recipe.
Leave a Reply