Last updated on November 4th, 2024 at 09:44 pm
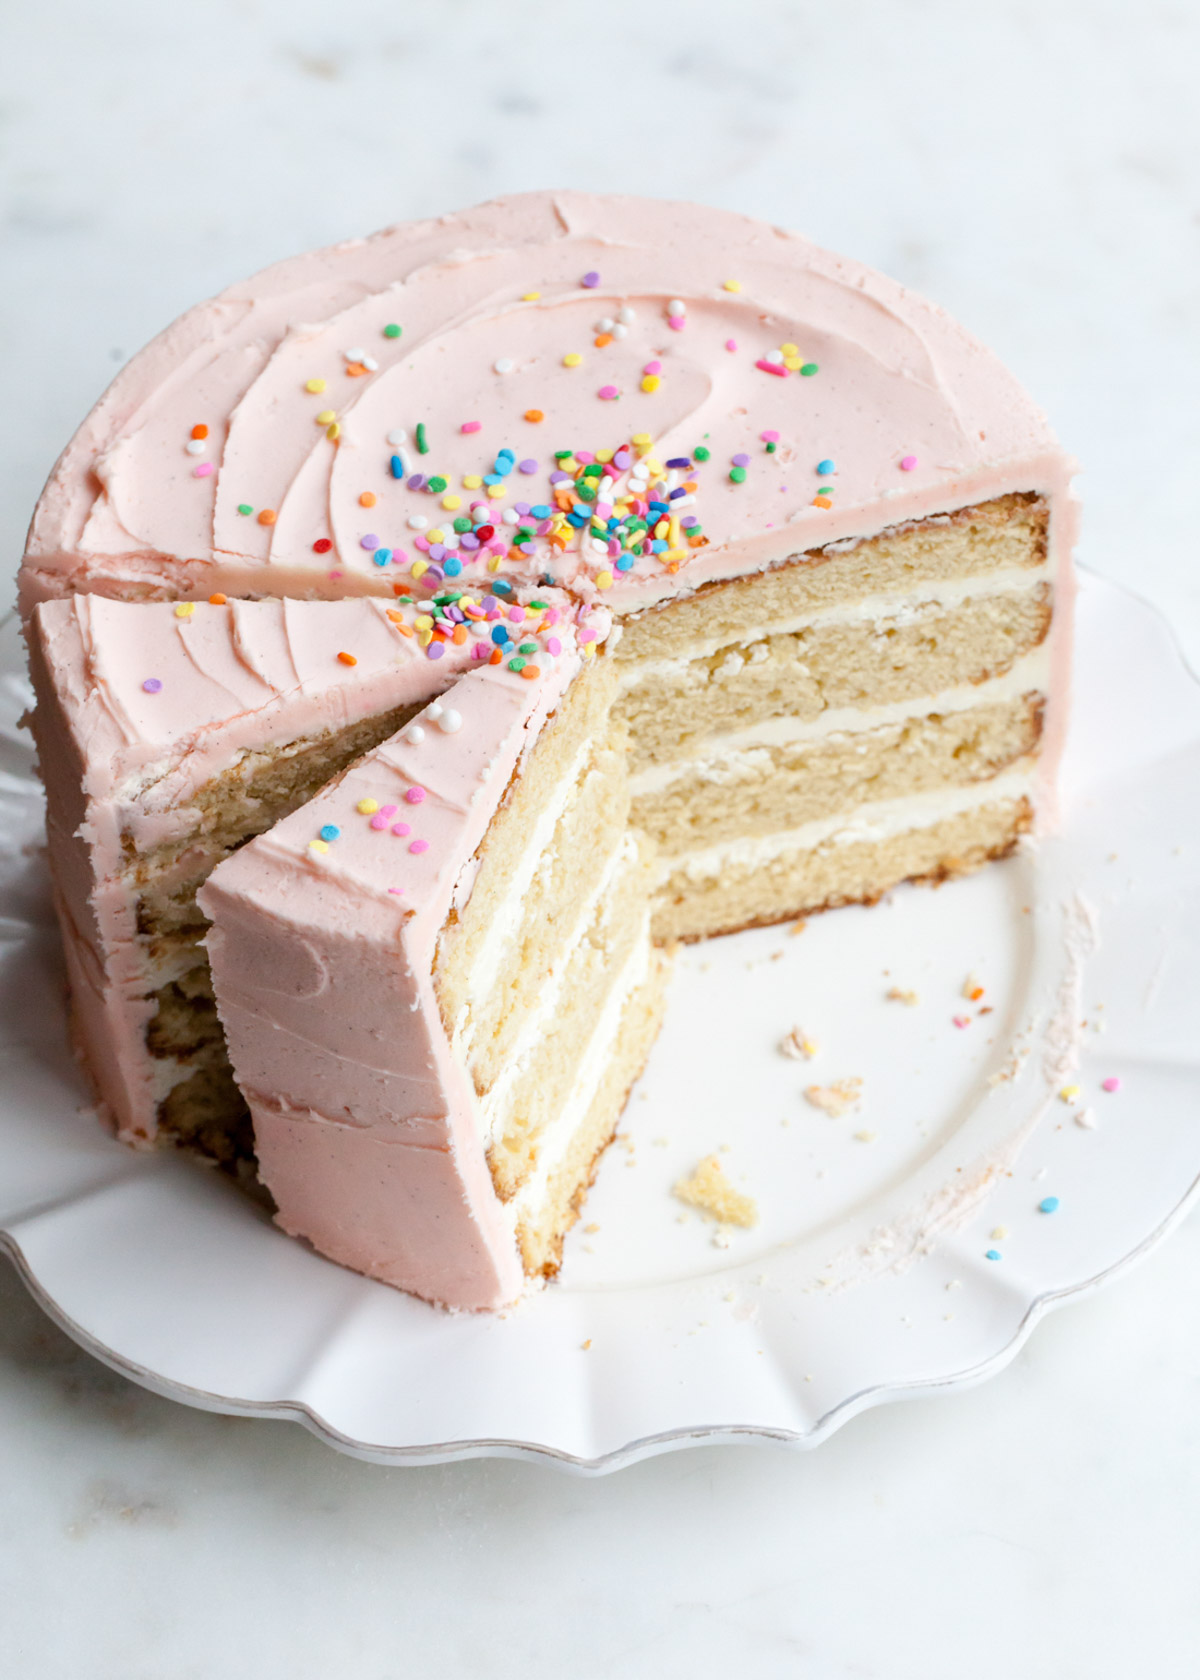
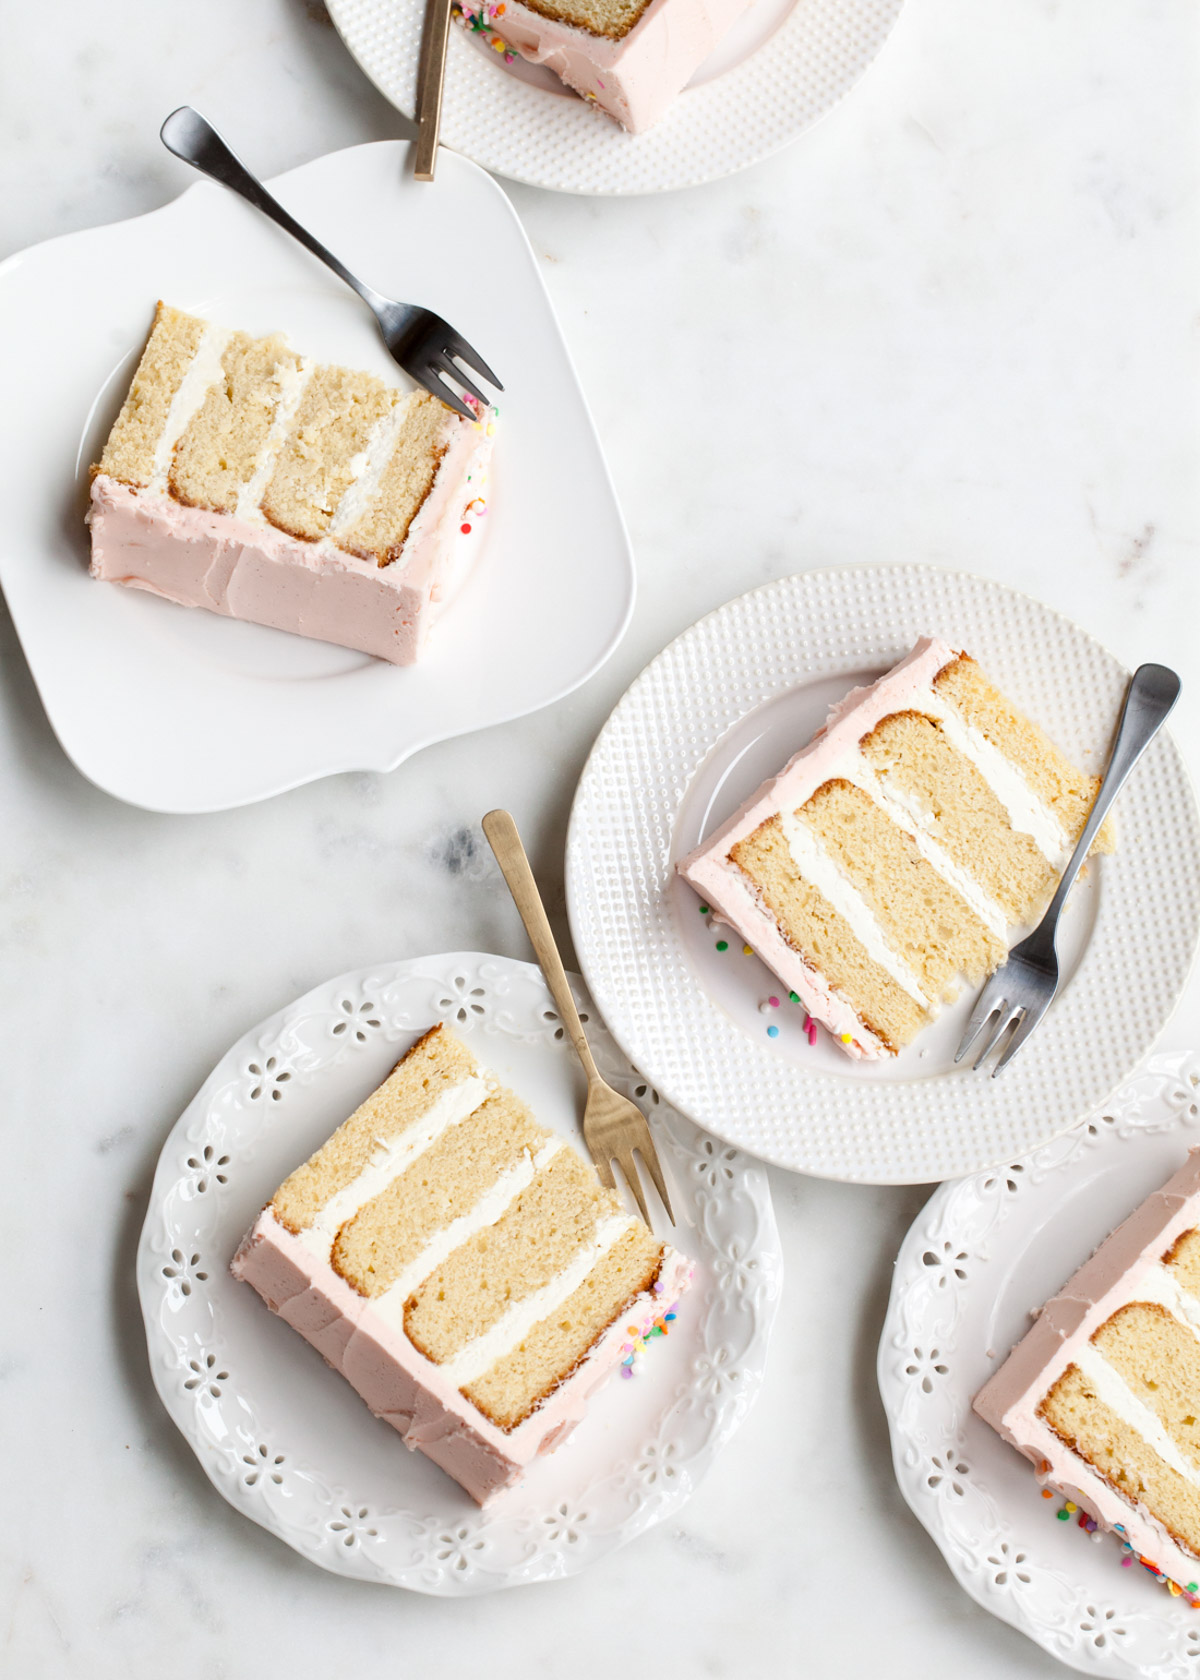
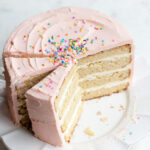
This tender vanilla bean cake is moist and velvety. Paired with fluffy vanilla buttercream, this cake is perfect for all occasions.
It’s moist and tender while still being sturdy enough to withstand nearly any filling and able to be stacked sky-high into an impressive layer cake without toppling over. Best of all, its velvety crumb tastes like real vanilla!
Pair this cake with my favorite, not-so-sweet Whipped Buttercream Frosting!
5 TIPS FOR BAKING A VANILLA BEAN CAKE
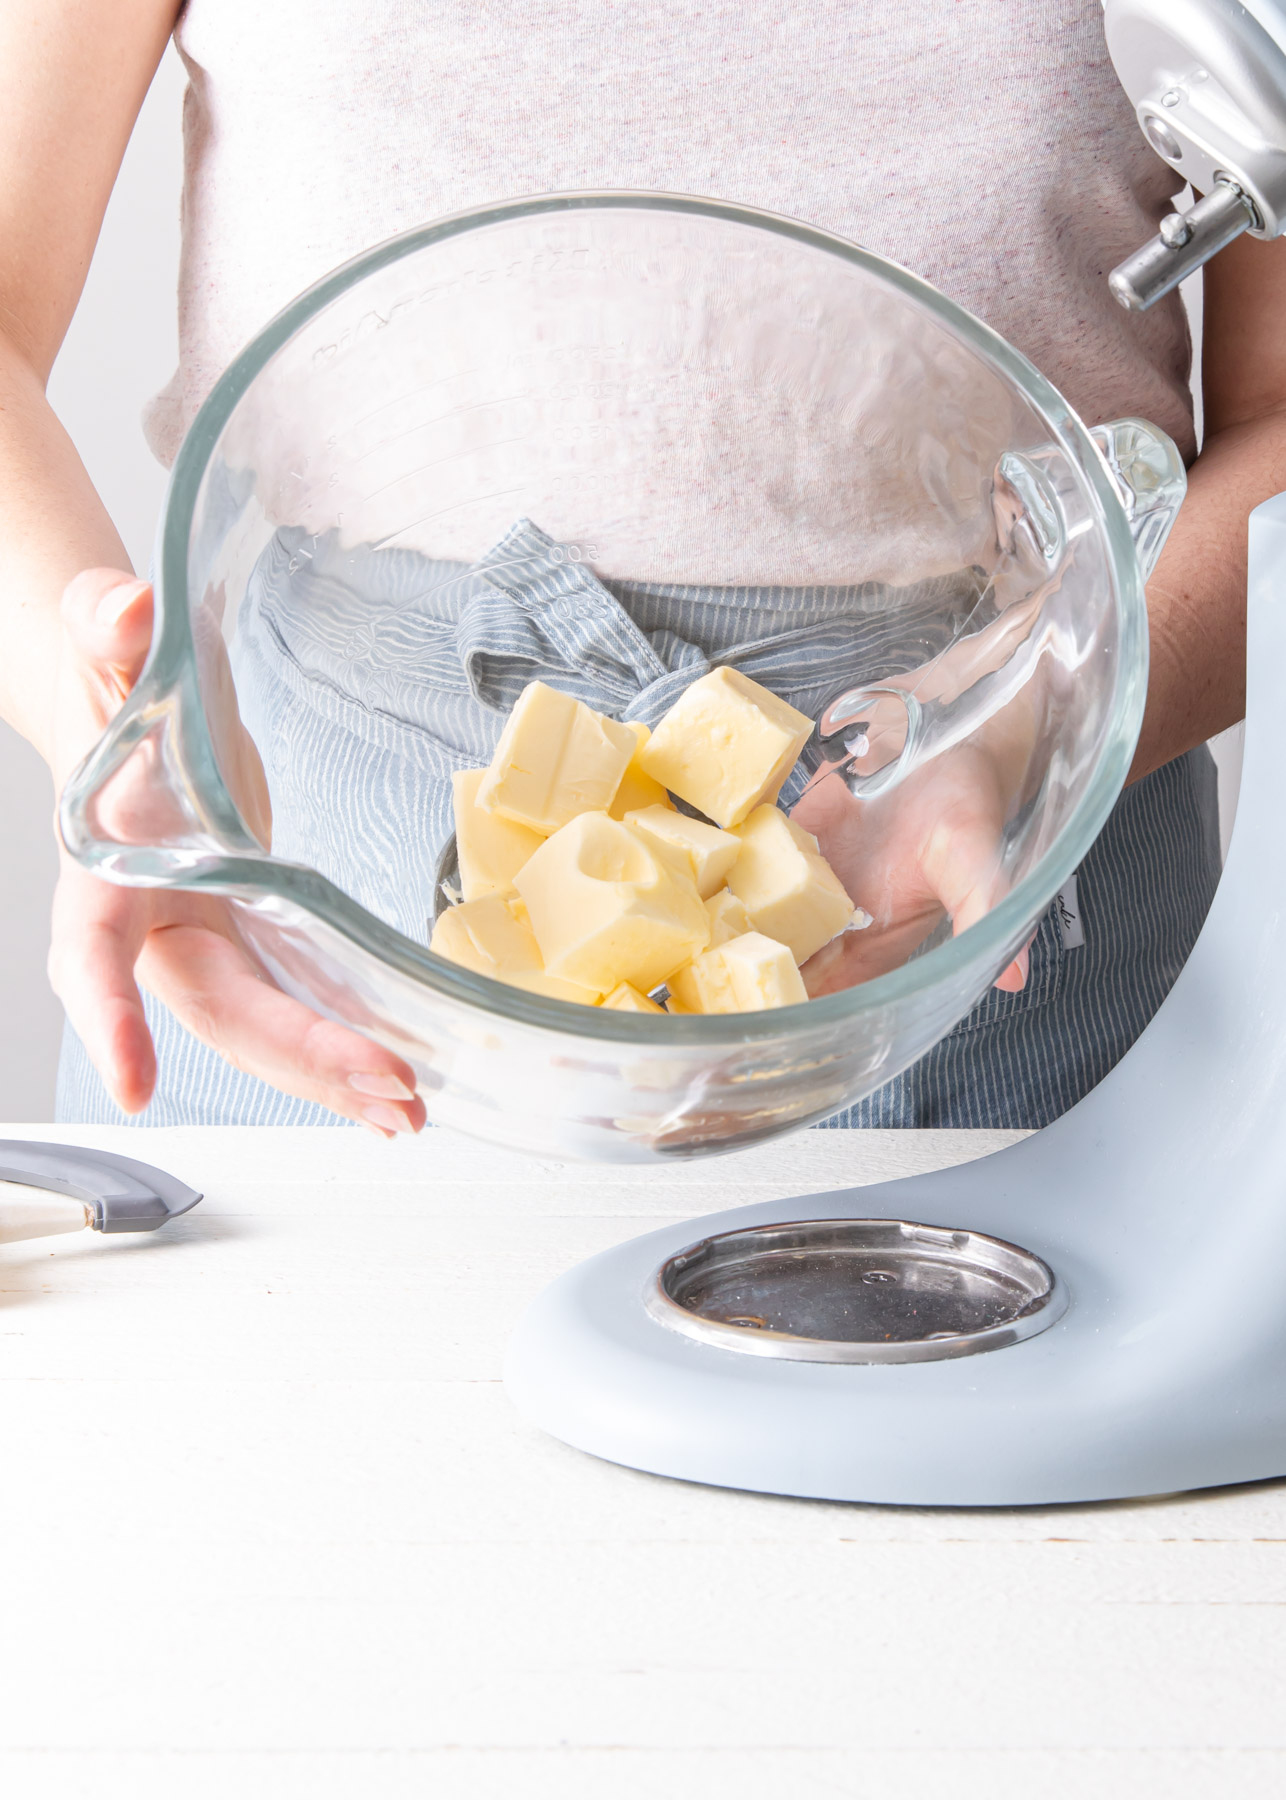
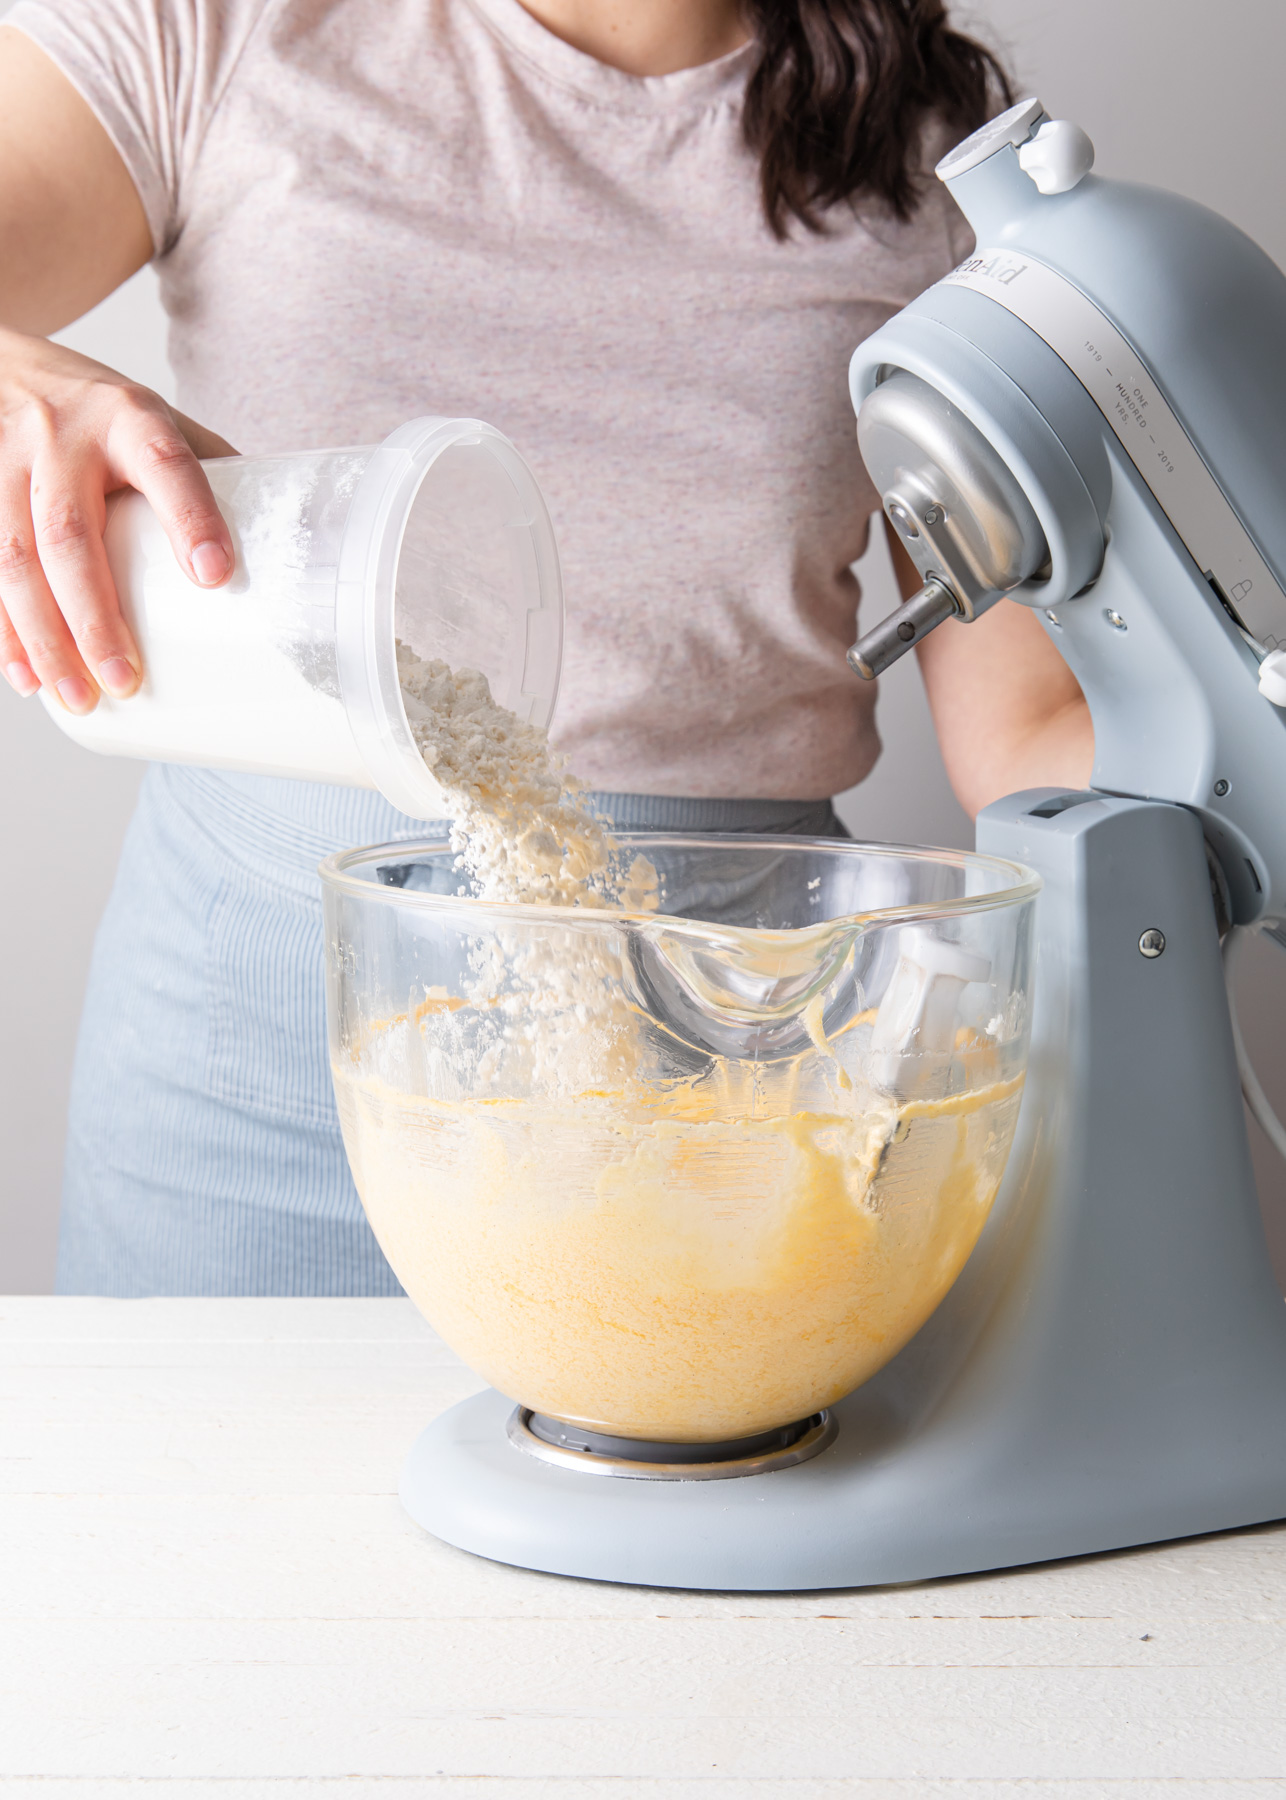
Start with room temperature ingredients
The best way to create a smooth batter is to start with ingredients that are all the same temperature.
In a butter cake, the butter must be soft enough to properly cream together with the sugar. So if the butter must soft (room temp), so should the eggs and milk.
To bring eggs to room temperature quickly, place them in a bowl of luke-warm water as you prep and measure your remaining ingredients.
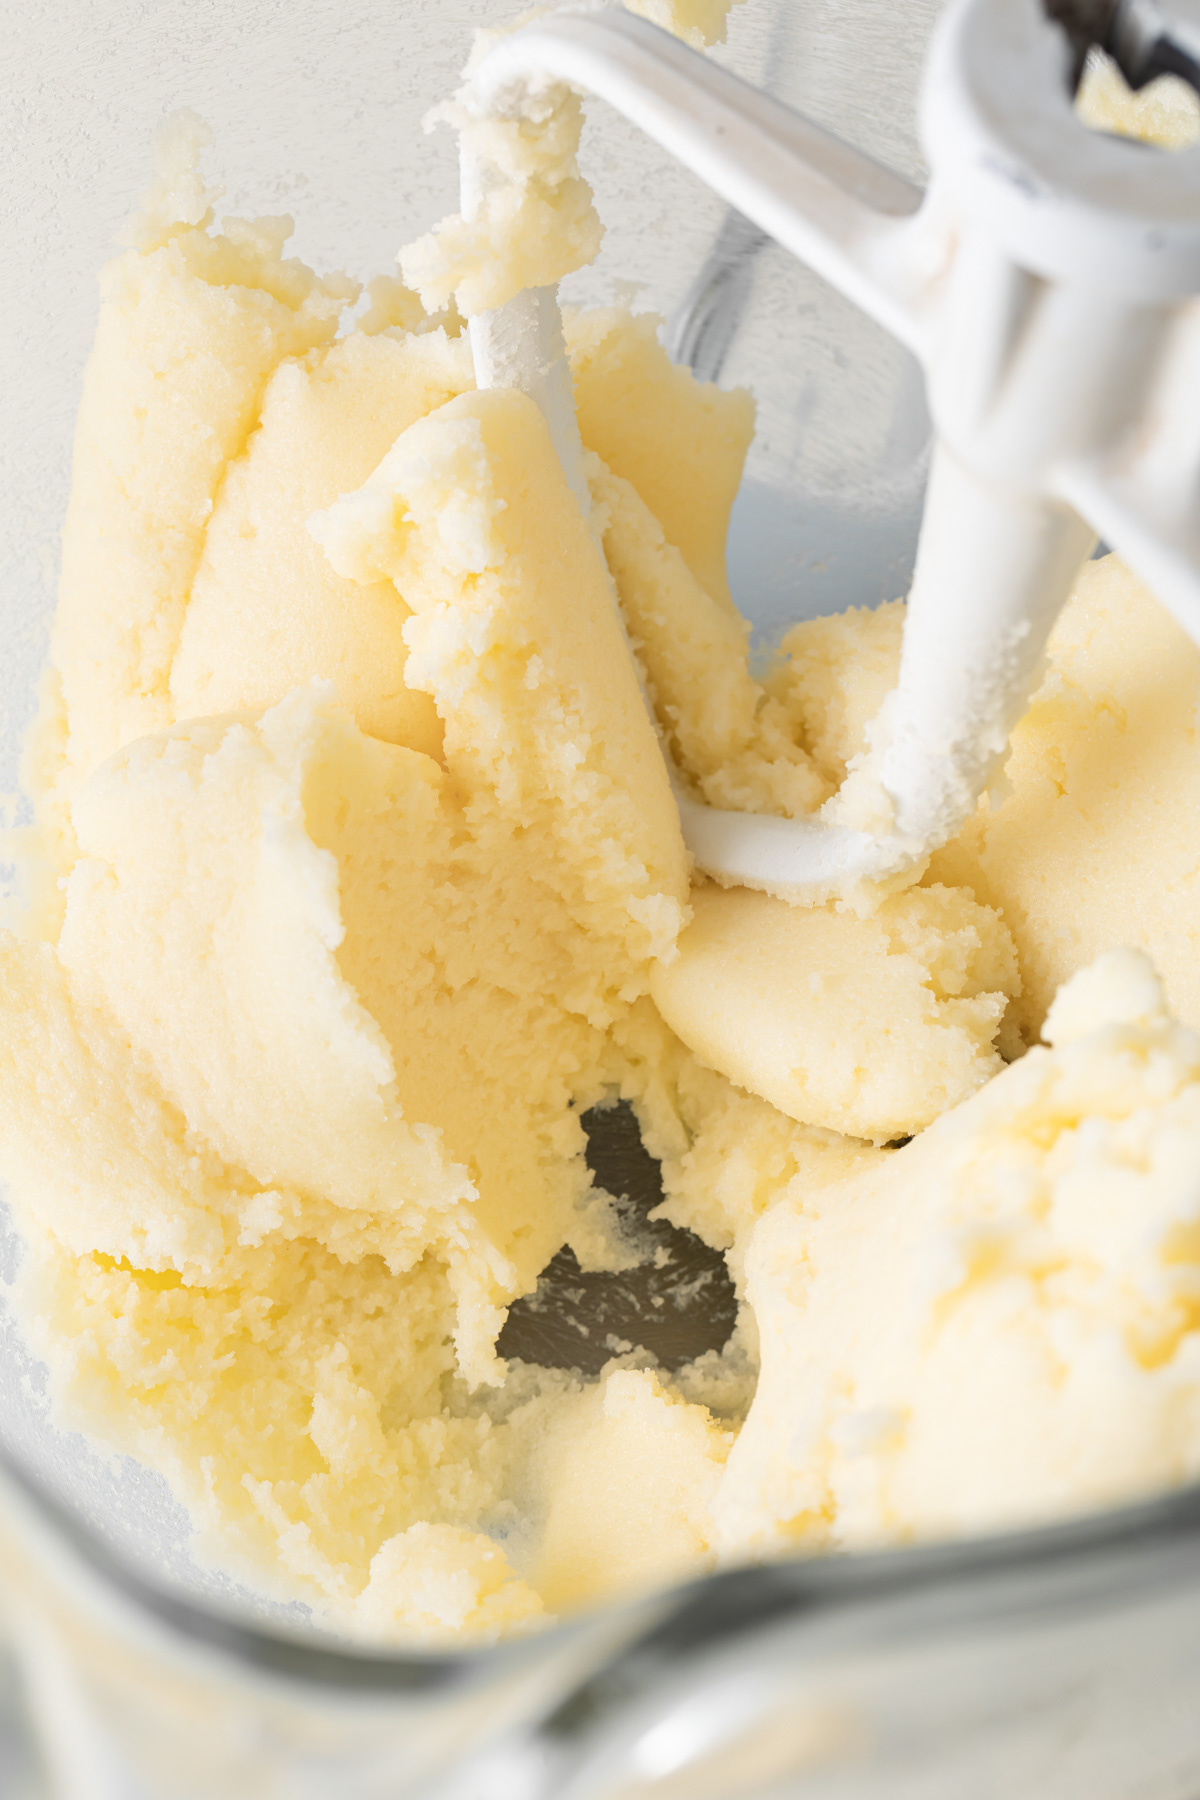
Properly cream butter and sugar
Creaming together the butter and sugar is crucial step that can be easily overlooked.
With the Creaming Method you must start with softened butter. Once it is mixed until smooth, add in the sugar and crank up the speed of the mixer.
While mixing on medium-high, the butter-sugar mixture will transition through a few different stages: At first, the sugar and butter will just casually dance around the bowl then start to incorporate together. As they get mixed, the two ingredients will start to clump together in the center of the bowl and around the paddle.
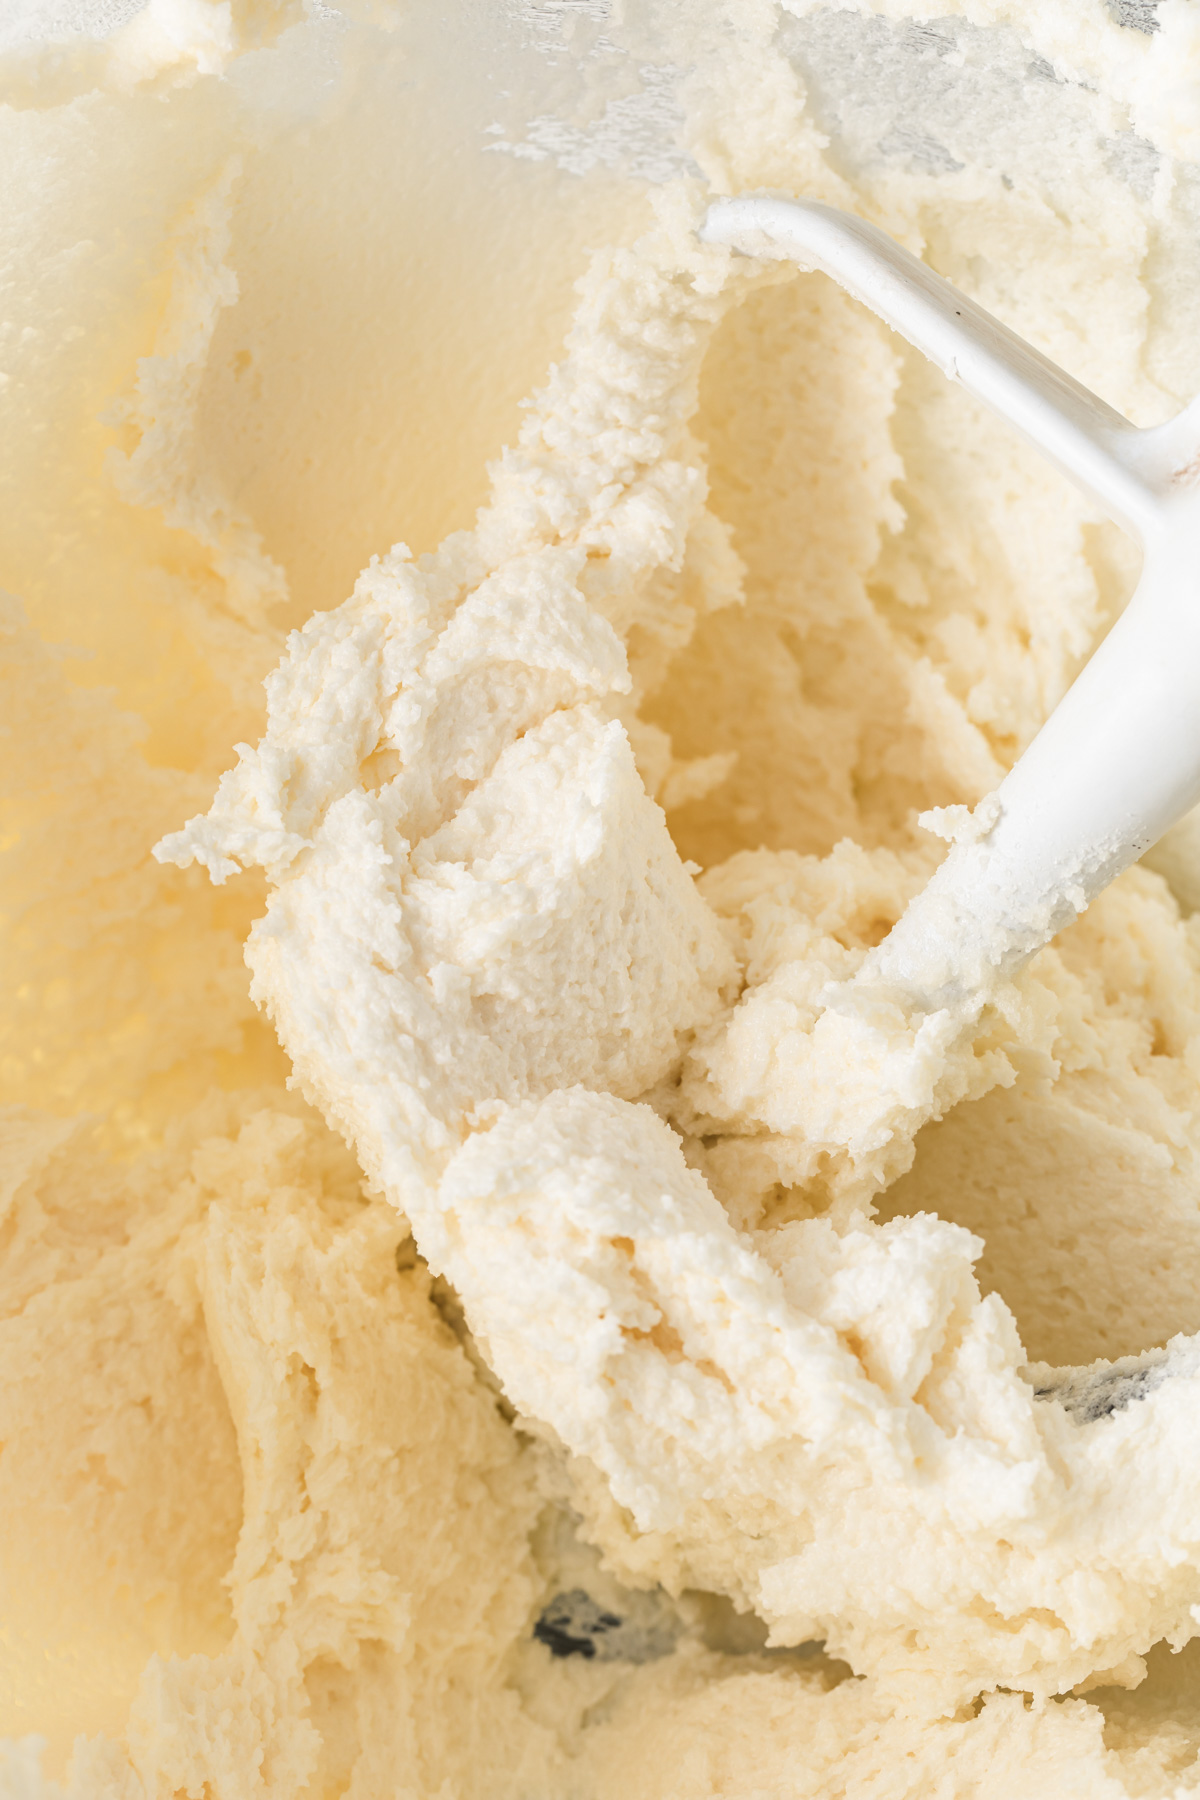
As you continue, more and more air is getting driven into the mixture as the sugar granules cut into the butter. Once creamed, the mixture will begin fall back off of the paddle and start to coat the inside on the bowl. It should be light, fluffy, and pale in color.
Consider using cake flour
The protein in flour relates to gluten formation - giving everything from cakes to bread structure. For lighter, more delicate cake layers, try using cake flour, or even a mix of both cake and all-purpose (as I have done in the recipe below) for a sturdy yet tender cake that is great for layering.
When to use baking powder and baking soda
Baking powder and baking sodas are both are chemical leaveners, but whether or not a recipe calls for both comes down to the addition of acid.
Baking soda is used to neutralize the acids in a recipe (lemon juice, buttermilk, sour cream, chocolate), but using too much can leave an awful taste behind. When more “lift” is required beyond the neutralization of these acids, baking powder may also be called for.
Baking powder and baking soda are not interchangeable, so be sure to read your recipe carefully.
Read the directions thoroughly
Before even getting started, read the directions in their entirety. This will alert you to any steps that need to be completed in advance while also getting you comfortable with what is to come. Often recipes move quickly, so reading the whole recipe first will help prevent any big surprises down the road.
Next, measure out all of the ingredients and start pre-heating the oven, when called for. This also gets us into the habit of pulling cold ingredients out to bring to room temperature before you start mixing (see tip 1).
Baker's Notes for Vanilla Bean Cake
- Scrape the sides and bottom of the mixing bowl often.
- Check for doneness instead of relying only on the clock. A toothpick inserted into the center of a cake should come out clean or with few crumbs when done.
- Prepare the cake pan according to recipe. When in doubt, line the bottom with parchment.
- Allow cakes to cool slightly, but not fully, on a wire rack before taking them out of their pans
- Chilling cakes in the refrigerator (wrapped well in a double-layer of plastic to prevent them from drying out) will make them easier to cut and frost. A chilled cake tends to crack and crumble less.
- If making in advance, a well-wrapped cake will typically stay fresh in the refrigerator for a few days or in the freezer up to about two months.
- To evenly distribute the batter between multiple cake pans, use a kitchen scale. Using a scale is much easier and cleaner than trying to measure out the batter in measuring cups then transferring it to the cake pans.
- Sift together the dry ingredients either with a sifter, mesh sieve, or even just a whisk. This not only ensures that there are no lumps in your flour, but that everything (particularly the baking powder and soda) gets evenly distributed.
- If your vanilla bean is not soft and flexible, soak in hot tap water until pliable. Place bean on a cutting board and slice lengthwise, using a sharp knife or razor. Open bean and scrape seeds out using the tip of a knife.
But first, learn how to stack and fill a cake.
Layer Cake 101
New to cake decorating? Start here:
Easy Textured Buttercream Cakes
How to Make Beautiful Layer Cakes
Buy my books! Layered and Icing on the Cake
Recipe
Vanilla Bean Cake
Ingredients
For the Vanilla Bean Cake
- 1 ½ cups all-purpose flour
- 1 ½ cups cake flour
- 1 tablespoon Baking Powder
- ¾ teas salt
- ½ cup sour cream
- 1 cup milk
- 1 cup unsalted butter, softened
- 2 cups granulated sugar
- 1 vanilla bean, seeds scraped out (or 1 tablespoon vanilla bean paste)
- 3 egg yolks
- 2 whole eggs
For the Vanilla Buttercream
- 1 ¾ cups unsalted butter, softened
- 5 to 6 cups confectioners' sugar
- 1 vanilla bean, seeds scraped out (or 2 teas vanilla bean paste)
- 3 to 5 tablespoon milk
Instructions
To Make the Vanilla Bean Cake
- Preheat oven to 350°F. Grease and flour two, 8-inch round cake pans; set aside.
- Combine dry ingredients together; set aside. Combine sour cream and milk; set aside.
- Beat butter on medium-low speed of electric mixer until creamy, about 2 minutes. Add sugar and vanilla bean seeds; mix on medium speed until the mixture is fluffy and pale in colour, about 2 to 4 minutes. Scrape sides of bowl.
- Add eggs and eggs yolks, one at a time, beating on low speed until blended. Add vanilla extract; beat on low speed until blended.
- Add in half of the fflour mixture. Once this is incorporated, pour in the milk mixture while the mixer is running on low speed. Once the milk is absorbed, add in the remaining fflour mixture. After the last streaks of flour are incorporated, mix the batter on medium-low speed for about 20 seconds until smooth.
- Pour batter into prepared cake pans. Bake for 35 to 40 minutes or until wooden pick inserted in centre comes out clean.
- Cool cakes on a wire rack for about 15 minutes or until pans are cool enough to handle; remove cakes from pans. Continue to cool on wire rack until cakes are at room temperature.
- Wrap each layer in a double layer of plastic wrap; chill in refrigerator for at least 2 hours or up to 2 days before cutting and frosting. (Chilling makes the cakes easy to cut.)When ready to frost, cut each layer horizontally in half; frost with Vanilla Buttercream Icing.
To Make the Vanilla Buttercream
- Beat butter at medium-low speed of electric mixer until smooth and creamy (1 to 2 minutes.)
- Gradually add 5 cups powdered sugar, vanilla bean seeds,and vanilla extract with mixer at low speed, scraping bowl occasionally. Mix until blended.
- Beat at medium-high speed 3 to 5 minutes, until buttercream is light and airy and nearly white. If needed, add the additional powered sugar or milk until desired consistency.
To Assemble
- Once the cakes are completely cool, cut them in half (horizontally) with a long serrated knife to create four layers of cake.
- Place the bottom layer of cake on a cake stand or serving dish. Spread on about 1 cup of the buttercream with an off-set spatula or the back of a spoon. Top the buttercream with the next layer of cake and repeat
- Crumb coat the cake with a thin layer of buttercream and chill until set (about 15 to 20 minutes).
- Tint the remaining buttercream (if desired) and frost the outside of the cake with a large off-set spatula.
Disclosure: This post was sponsored by ACH Foods. All opinions are my own. Thank you for supporting the brands that allow Style Sweet CA to exist!
Annie
Hi! This cake looks so delicious! I want to adapt this recipe for 10 inch round pans. Do you think the layers would be too thin to split each into two or am I better off just dividing the batter among 2 pans and not splitting? Thanks so much! So looking forward to trying this cake!
Tessa Huff
Hi Annie! They just might be a bit on the thin side. You can always bake it as two 10-inch and just see once they come out if you are able to cut them in half. You could also try baking the recipe in three 10-inch pans if you want more than two layers =)
Annie
Thank you for responding! I ended up doubling the recipe and baked in four 10 inch pans to make a delicious naked cake for a friend's birthday. The cake baked up beautifully and was tender with a very nice crumb. I liked how it wasn't super sweet so it paired well with the filling and frosting I used. Thanks for the recipe!
Tessa Huff
Yay! I am so glad it worked out for you and that you enjoyed the recipe.
Leah Stolarski
I just tried this recipe as a test run for my daughters cake smash cake and while the batter was soooo yummy, the cake collapsed really badly. Im very glad I did a test run because its totally unusable. One of the cakes actually looks like a donut! Do you think this could be because of the pan size? I used a round 6 x 4 and filled it half way. The cake rose to the top of the pan and then close to the end of baking is when it fell in.
Tessa Huff
Hi Leah! I am sorry to hear that you experienced some less than ideal results. It may very well be the smaller pan size. I occasionally bake this recipe in 6 X 2 pans without much trouble, but not 6 X 4. Other culprits could be an oven that was not hot enough (or if the door was opened too often - since I bet it took a long time to bake being 4-inches tall) or baking powder that was not fresh. I've been baking a similar recipe to this for nearly a decade without this particular problem, so I am not sure went else could have gone wrong. My apologies. Happy birthday to your daughter!
Leah Stolarski
Thanks for the reply, Tessa! I suspect the cause was too much batter in the 6in pans. The baking powder was brand new Fleischmann's and I didn't open the oven door much but I'm picking up an oven thermometer today anyway to double check the temp is accurate. I'm going to give it another shot today and bake in smaller batches.
Ray
Hi! Do you think I’d be able to cook this in a sheet pan?
stylesweet
I think it could work! You may also try the one-bowl vanilla cake. That recipe easily bakes up as a sheet cake.
Jackie Cooper
Hi Tessa
I don't know if it's my print friendly button on my computer or something's wrong with the post, but when I click on the print-friendly button, it starts with the paragraph: okay now back to the cake and starts with the recipe. I can't get: the five tips for baking a better butter cake and can't get any pictures.
Tessa Huff
Hi Jackie,
So sorry for the delay... unfortunately I don't have any good answers for you as why it does not seem to want to print properly. I am very sorry for the inconvenience!
Eve Santa Fe
Hey Tessa,
I just found your lovely blog, so adorable! Thanks for your helpful advices and proper directions and great inspirations. May you can tell me how much one cup is in grams? I am from Germany and I am not sure, if we are talking of the same cup size 🙂 Thank you very much for your answer!
Eve
Tessa Huff
Hi there! Thank you so much for stopping by =)
1 cup of sugar is 200g
1 cup butter is 225g
and 1 cup cake flour is 130g
Hope that helps!
Julia Peters
Hi Tessa, thank you for your website and for sharing this vanilla bean cake recipe. I just baked it (for my niece's 7th birthday!) and it was delicious. I used 8" pans and it turned out beautifully - not too dense and not too light. Also it was easy to cut and ice - not many crumbs! I'm in Australia and, like Eve Santa Fe, also wasn't sure how many grams are in a cup of butter, so I just filled a cup with butter.
Tessa Huff
Yay! Thank you for the sweet message. I am so glad you liked the cake.
Hope this helps for next time:
1 cup of sugar is 200g
1 cup butter is 225g
and 1 cup cake flour is 130g
Yun Roo
Hi Tessa! Can I reduce the sugar by 50% from your recipe? Do you think the cake will still remain moist and tender? I like the cake to be less sweet and buttery at the same time.
Tessa Huff
Hi there! I really can't recommend cutting the sugar by 50% but you could certainly try to reduce it a little. Baking is all about ratios, so I don't advice straying too far from the original recipe. Hope that helps! Happy Baking!
Ambar Candanedo
Hello! i would like to bake this in 6 in pans, will this give me 4 layers? love this blog!!
Diamond Campos
Hi, can this cake be used when carving a cake? Recipe sounds winderful!
Diamond Campos
Oh ine more thing.
Do you know how to adjust recipe for a 9 x 2 cake?
Rhonda Messercola
Hello, This cake is beautiful but I'm a bit confused about it. Could you please confirm that you got a 9" cake with 4 layers out of this quantity of batter ? I am struggling to get 4 layers using a 7" pan so I think something is amiss. Perhaps I'm not getting the height out of the batter as my ratios could be a little wrong.
I'm in Australia and our cup sizes are different, but I do have a set of US cups!
Are the capsizes you're using - 1 cup 240ml, TBSP 15ml ?
I notice you mentioned 1 cup of cake flour is 130g, is that the same for the All-purpose flour?
Would like to make this my go-to recipe, but just need to get it right so I can get some more height out of it.
Thank you !
Ker Raja
Hi Tessa, I will say this - I love all your recipes. I have been making a lot of recipes from your boom Layered. I love that book so much. I must've made about 13 of those cakes by now. They all are delicious and I can't wait to try more.
I found this butter cake recipe and it is the most delicious butter cake i have ever tasted. My husband agrees too and he is very picky about the cakes he likes. It also stays moist after a couple of days in the fridge and a BIG BIG bonus.
But I've had one problem with this recipe. It sank slightly in the center. I've made so many of your cakes, none of them sank but this one did. I can't figure out why. I don't overmix.My baking powder is fresh.
Did you have this problem with this cake?
Btw, thank you so much for your recipes. You truly have a gift of creating and thinking of so many flavor combinations.
Ravi Sahu
Thanks for posting such a nice blog. I really found it so useful for me. I have read it and really it was nice too. I really appreciate your posting. Keep sharing such a nice food blog. I am always a great food lover.
https://bit.ly/2CoVPu2
Joanne Akbal
Hi just a tip on the reciepe. Following step by step it says to mix all dry ingredients. I did this but later in the recipe it says to cream butter and sugar?? It already in with my dry ingredients!?
Émilie C
Hi Tessa ! What a nice recipe you shared there! I halved the recipe in 2 and baked it for my own birthday. The cake is absolutely delicious: a great buttery flavor, not too sweet (reduced to 3/4 cup sugar), not overbaked and simple magic! But I would not recommend to make the cake a day in advance and store it in the fridge because it becomes a little dense because of the cold.... But I just wanted to say THANK you for your recipe, it is so nice 😁
Dizzee
I’ve made this delicious recipe and highly recommend it to all bakers.
Kelli
Thanks Tessa! My cakes just came out of the oven and they look (and smell) great! I was careful about the creaming of the butter and the sugar per your instructions. We can't wait to cut into it tonight!
stylesweet
Amazing! I hope you all enjoy the recipe. And Happy Birthday to your daughter!
denise
Hi Tess! I see the recipe has equal amounts of AP Flour and Cake flour. Alternatively, could I use all Cake flour (so 3 cups cake flour) instead to get a softer lighter crumb?
Thanks!
stylesweet
HI! Yes this could work. Some cake flour brands are much softer than others, and for this cake, I like it to be a little more stable (that's why I did half and half). But you could definitely do all cake flour! Happy baking =)
Paula
Hello! I love this recipe for a vanilla cake, but I am having a hard time finding a great vanilla cupcake recipe. Can this recipe be adapted for cupcakes and if so, will they give me a dome? Even a slight dome? I have made soooo many recipes that dome and then fall totally flat when cooling. Thank you!