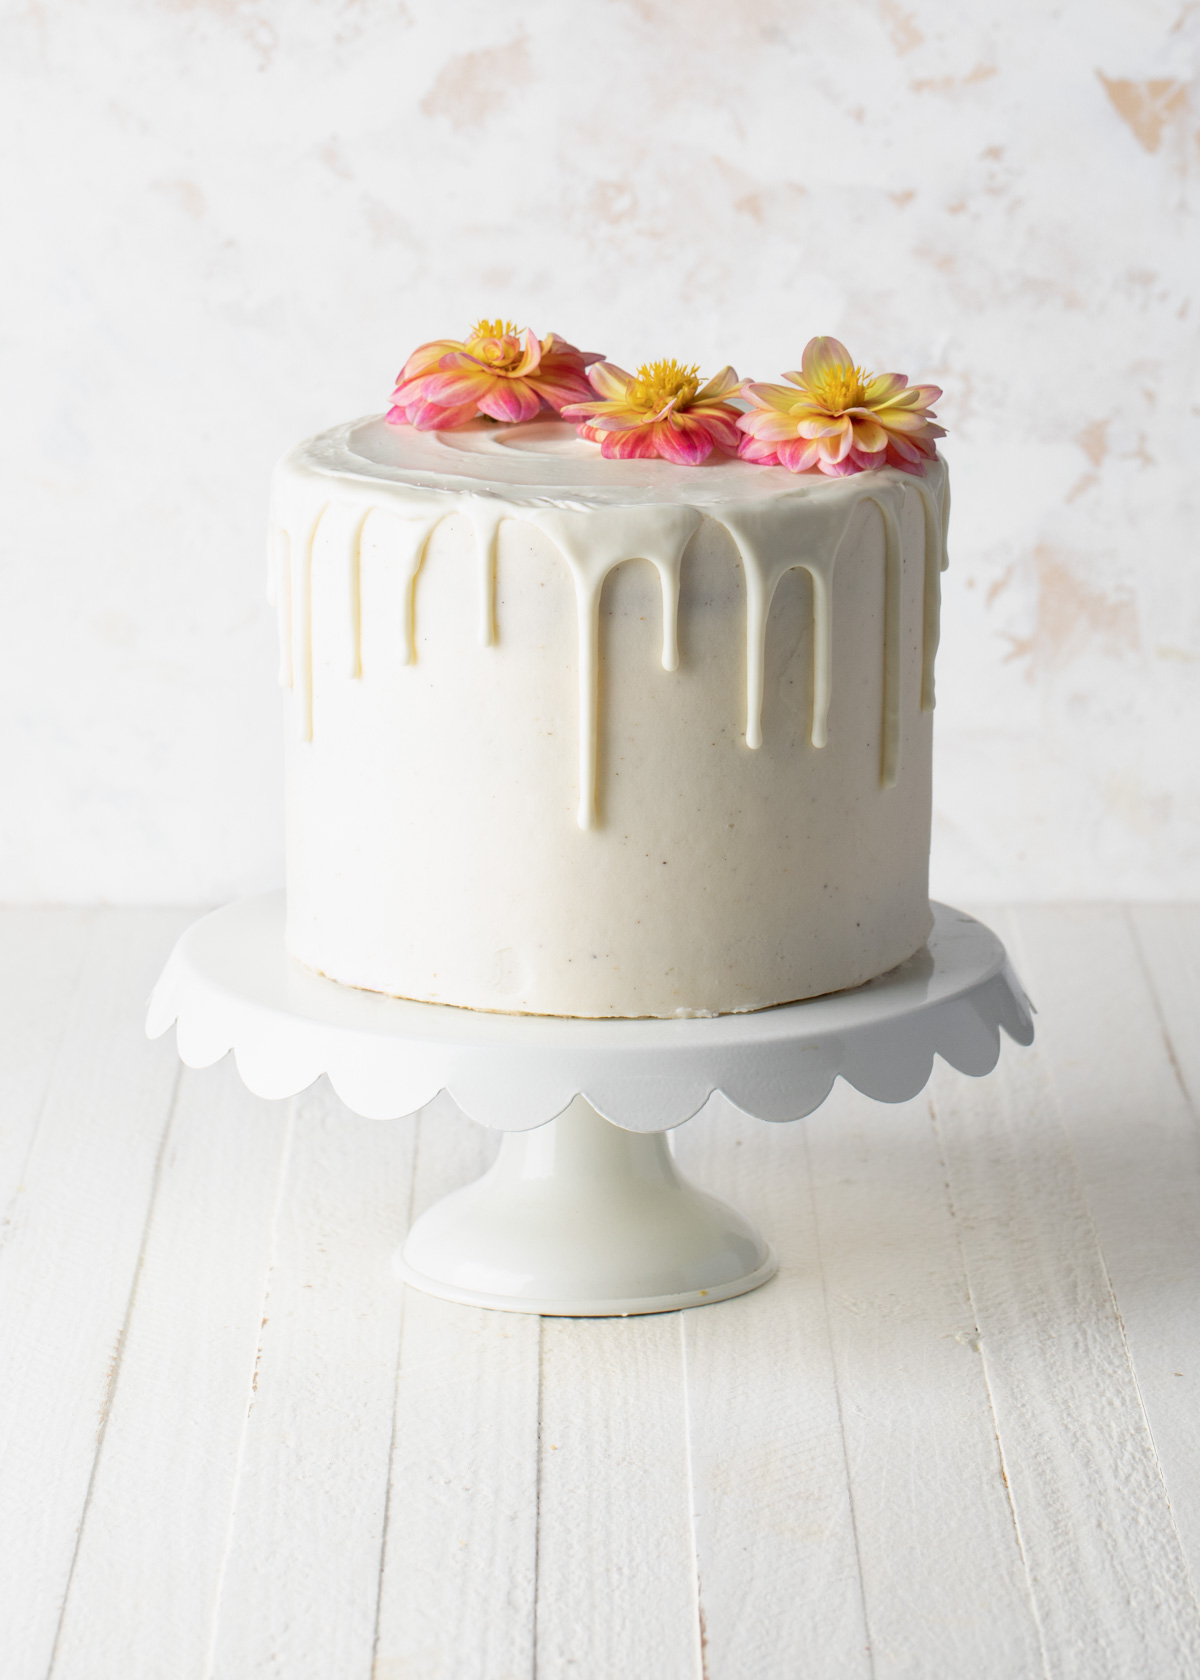
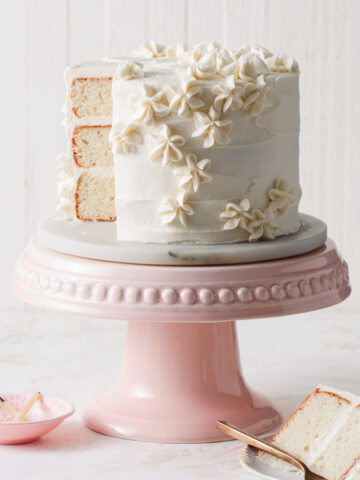
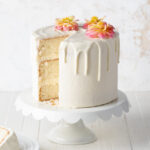
This three-layer White Velvet Cake has an ultra plush, melt-in-your-mouth crumb. Paired with whipped vanilla buttercream and a white chocolate glaze, it can be dressed up or down for nearly any occasion.
The tight crumb of this white velvet buttermilk cake is moist, versatile, and great for all types of celebrations. Made with the reverse creaming method, the closed crumb is velvety soft and tender.
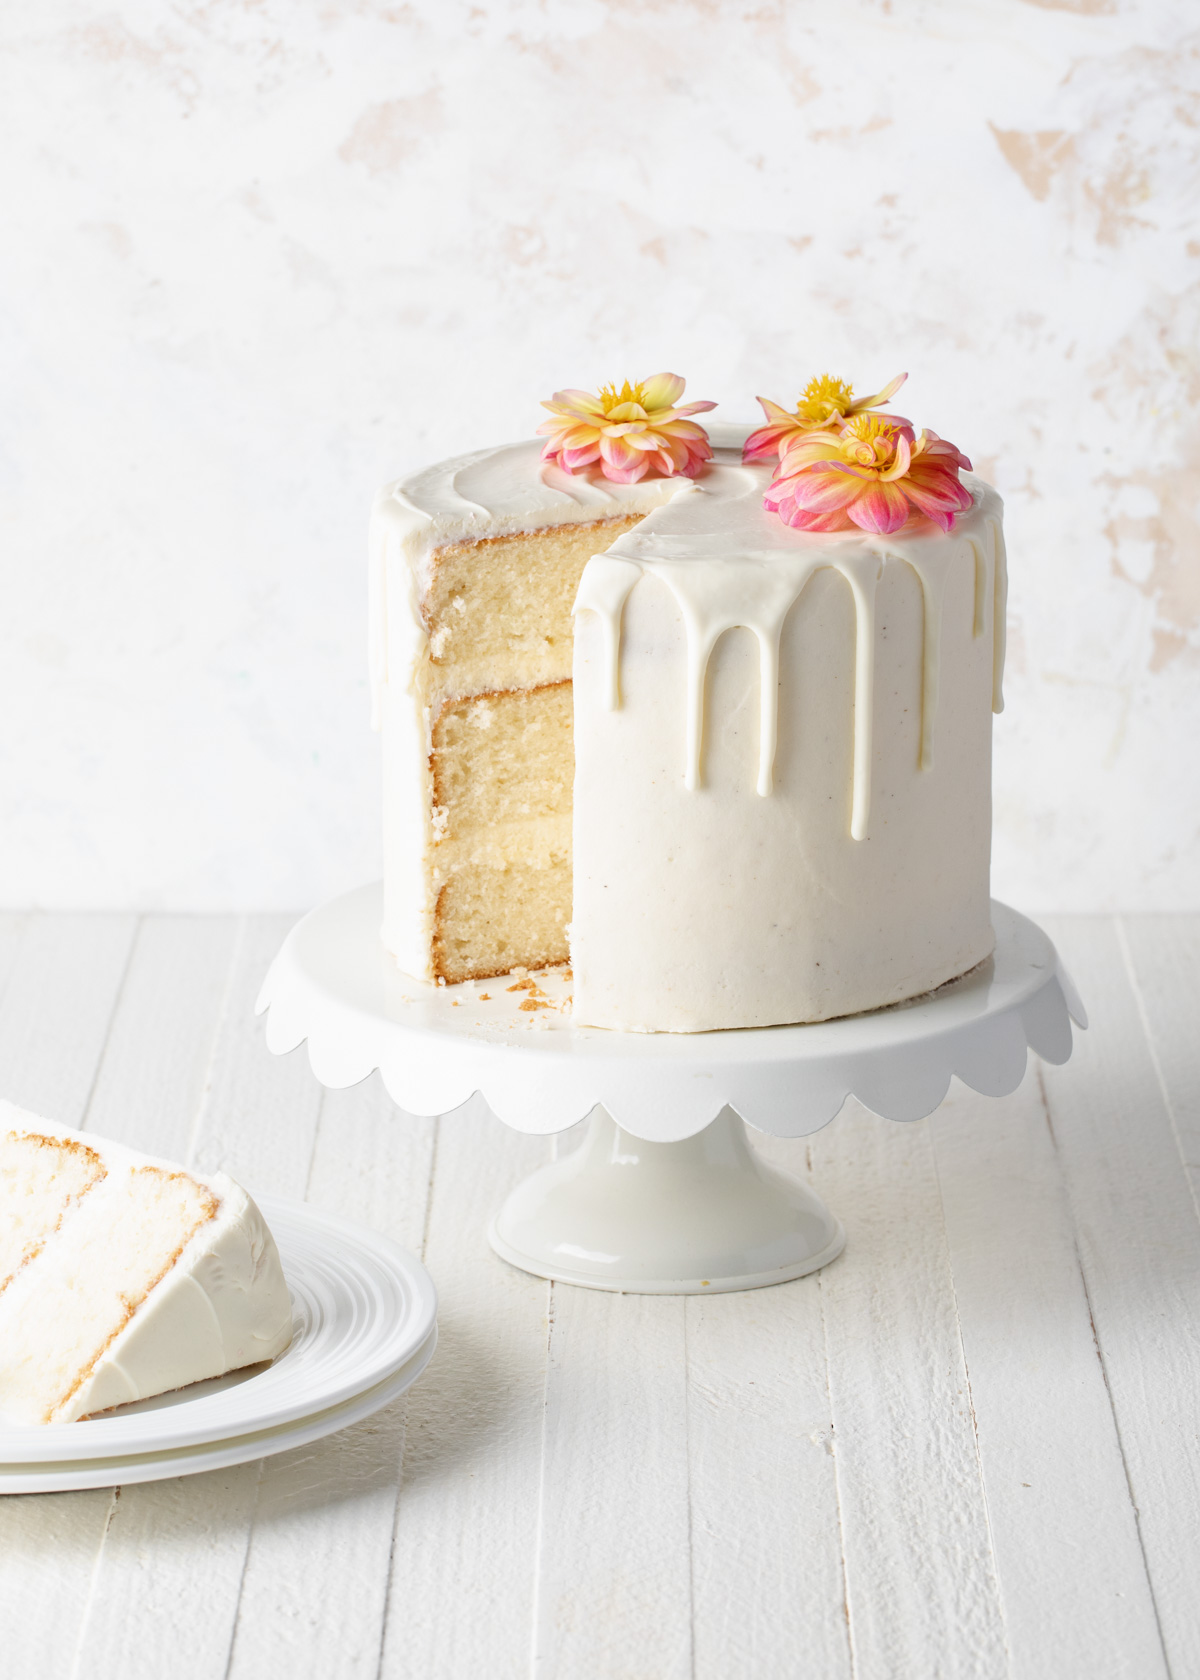
White Velvet Cake vs Red Velvet Cake
What is white velvet cake? Not unlike red velvet cake, white velvet cake it is made tender with buttermilk. The crumb is pure white from using just the egg whites. It has a soft, bouncy texture and stays moist from the use of both butter and oil.
In other words, they are similar minus the small amount of cocoa powder and red food coloring.
The "velvet" in the name come from the tight, plush crumb. The closed crumb is the result of the reverse creaming method.
Instructions for a Moist White Velvet Cake Recipe
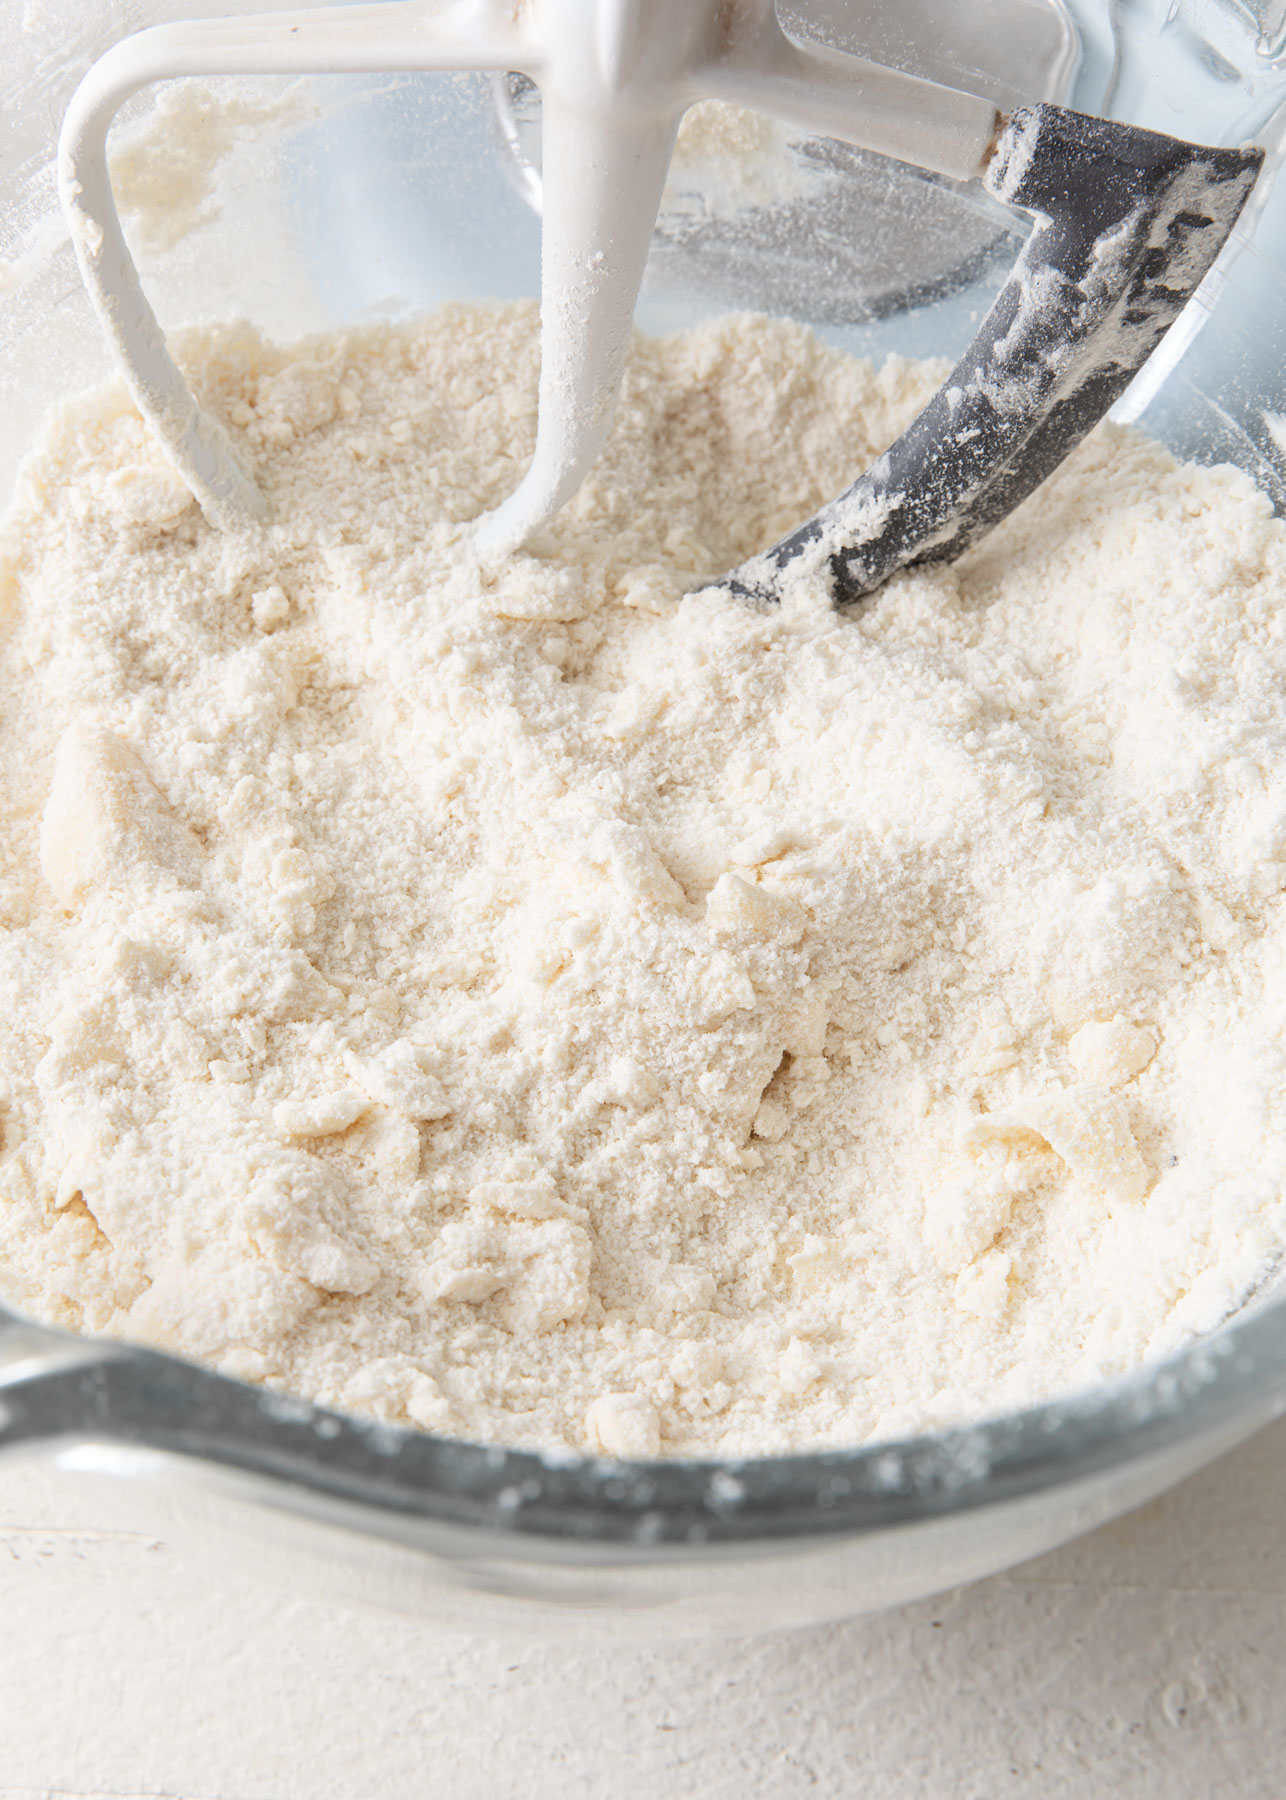
Start by combining all of the dry ingredients then mix in softened butter. Next, add half the milk and oil to hydrate.
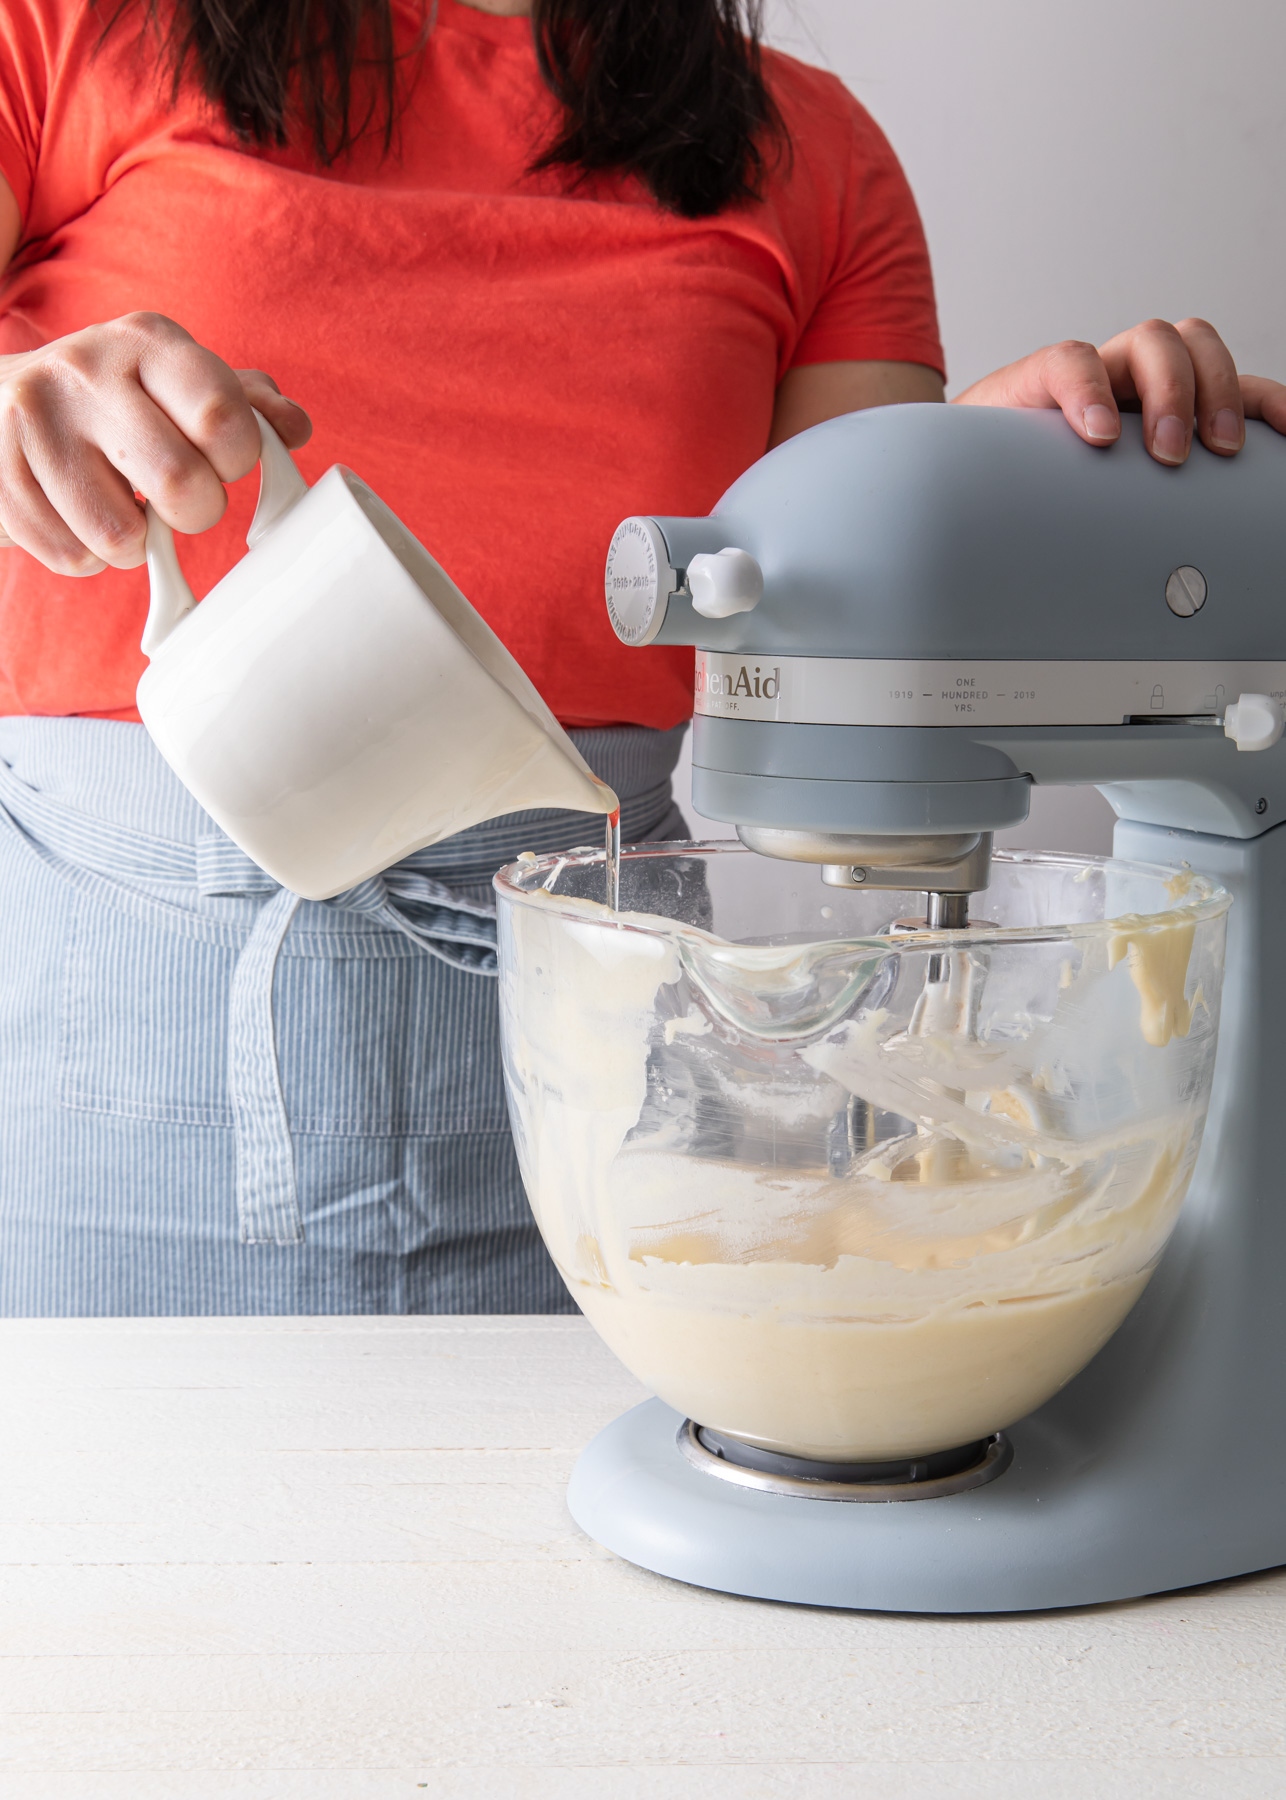
Slowly stream in half the milk mixed with the egg whites in three batches, scraping the bowl in between.
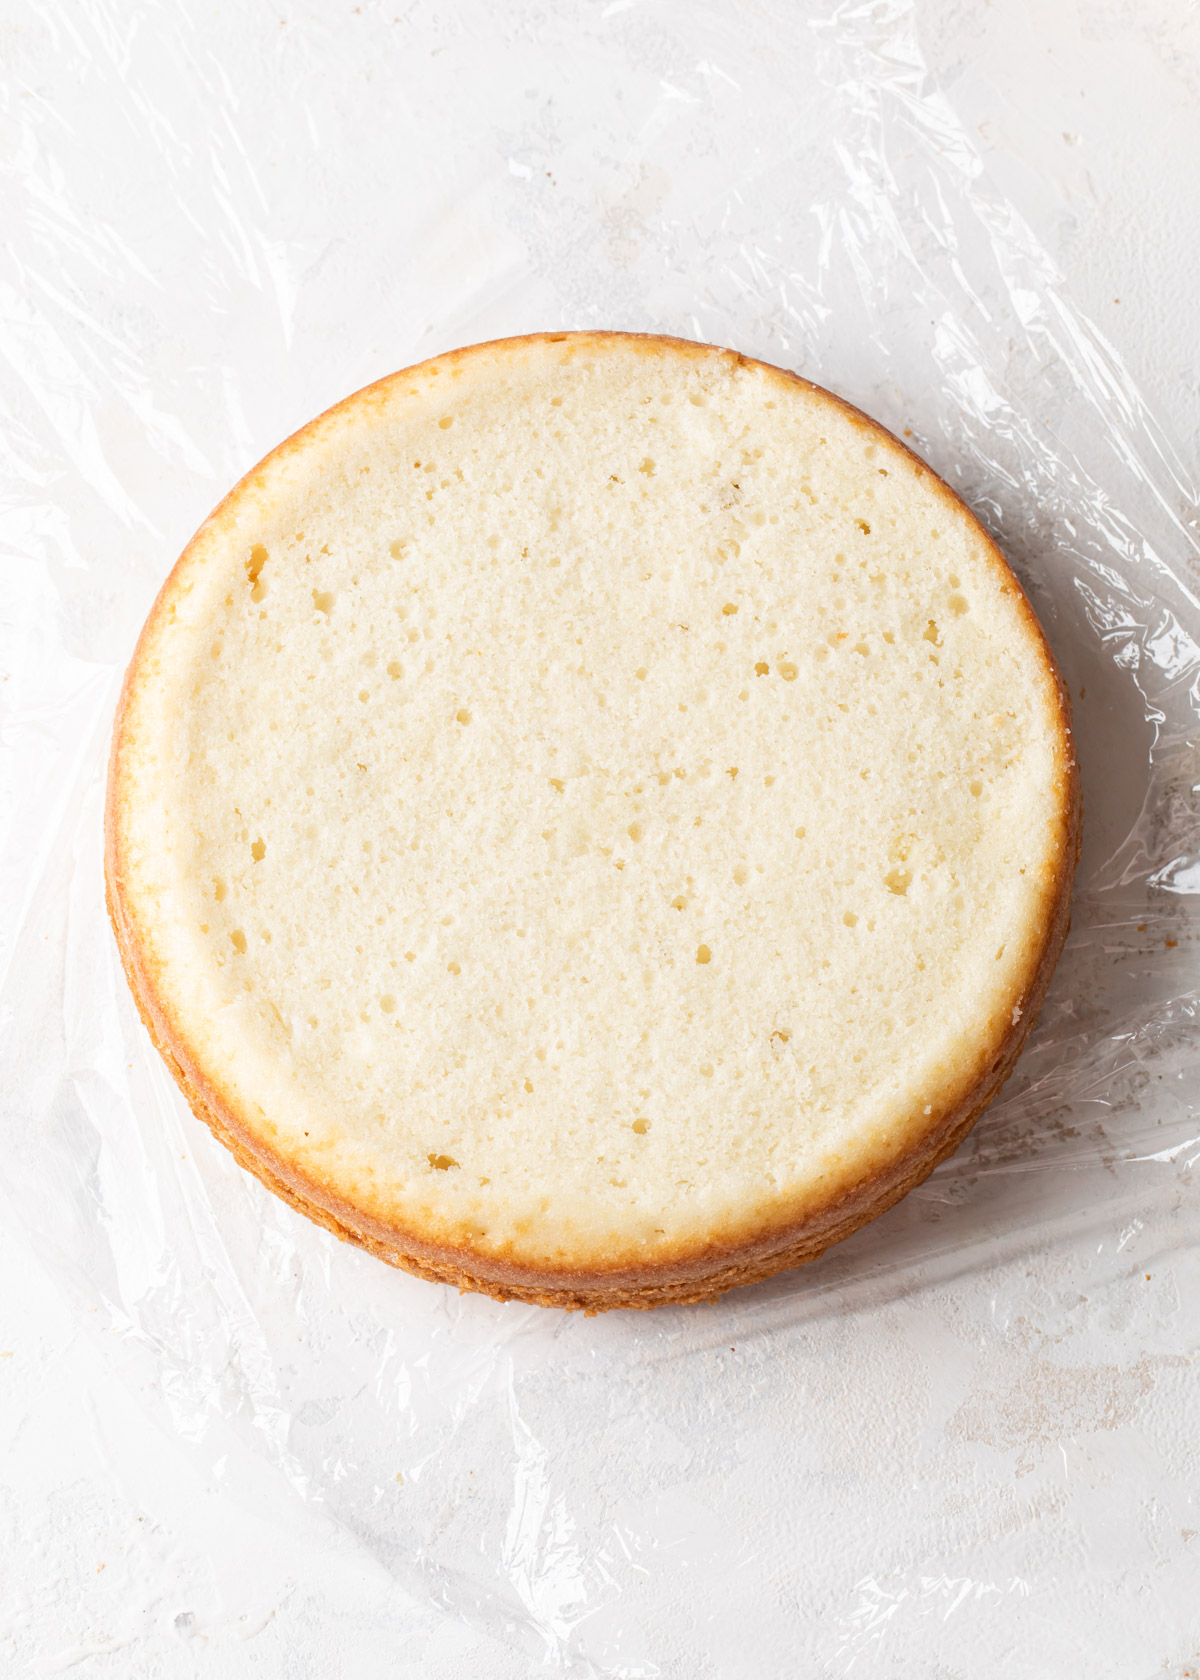
Check out that tight, plush crumb! Level the tops of the cakes with a serrated knife before stacking.
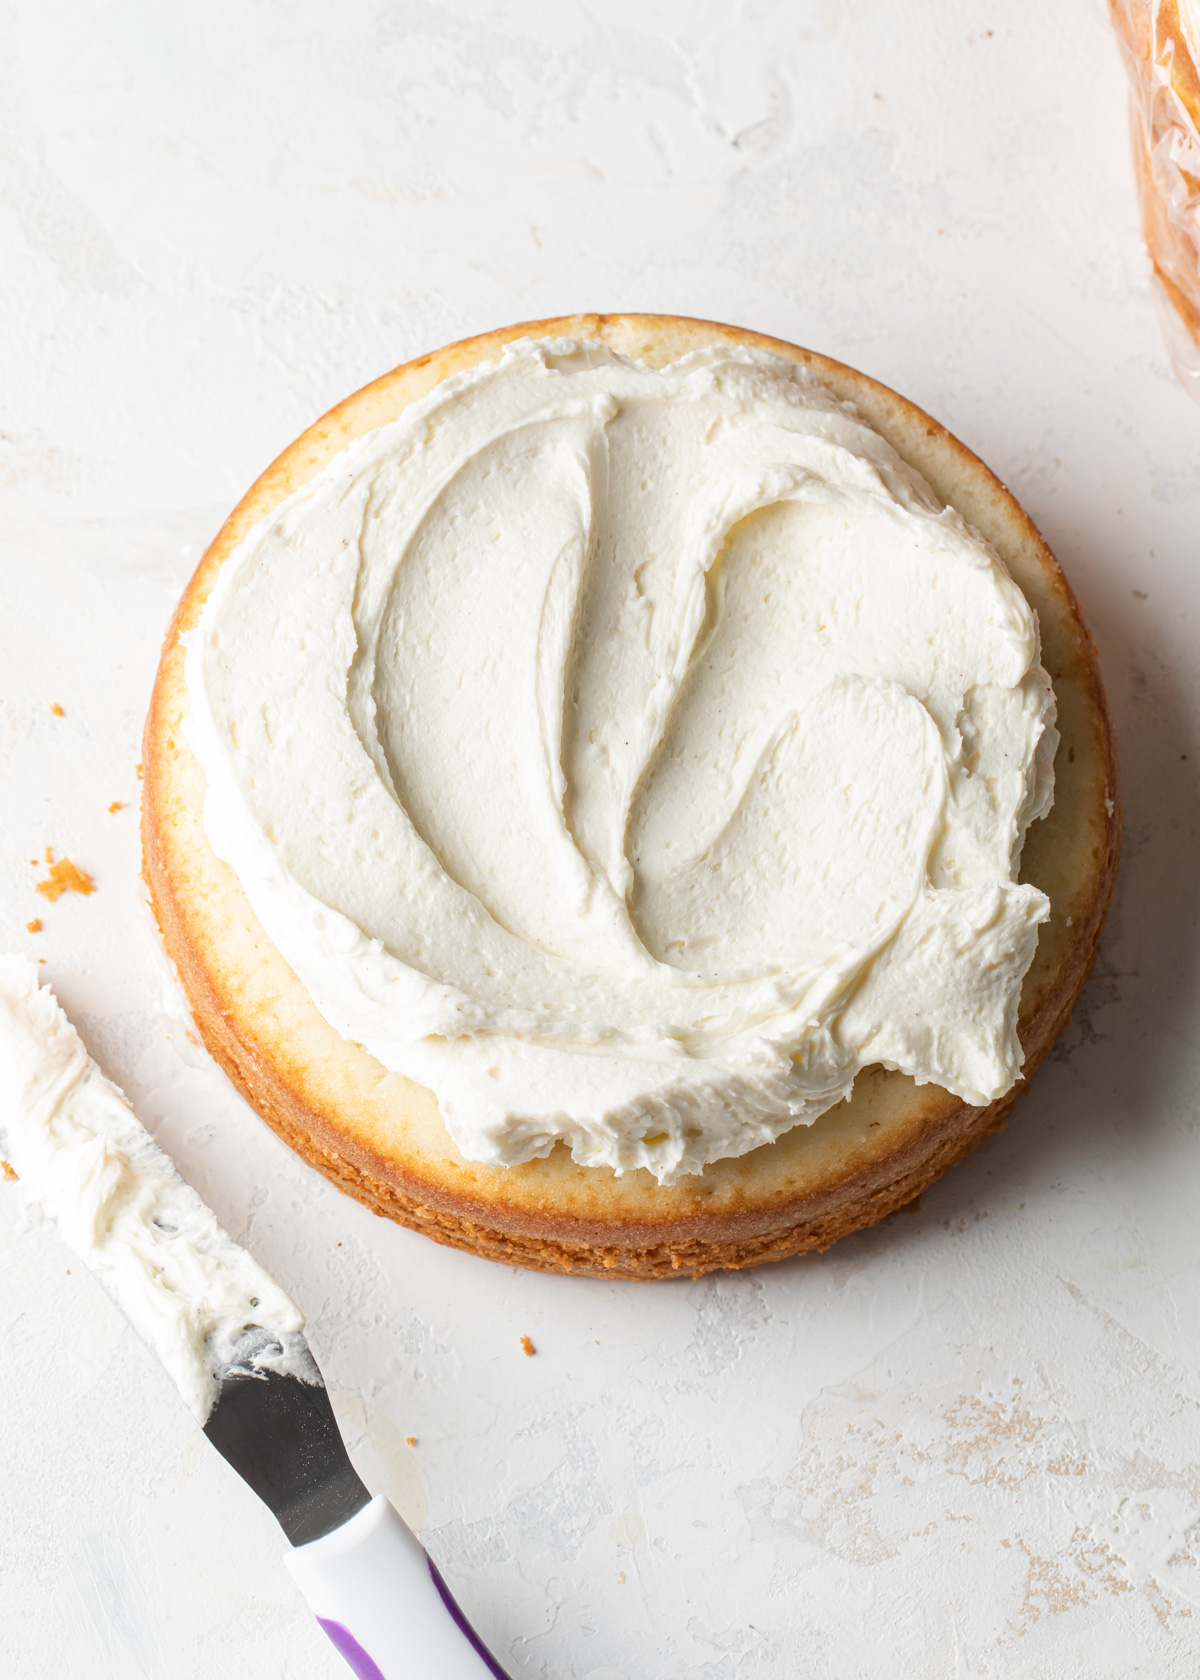
Fill and frost the cake layers with fluffy whipped buttercream frosting.
Hint: It is important that your ingredients are room temperature before mixing. Slowly add the egg whites at the end and allow them to absorb into the batter. However, be careful not to overmix. It is better to have a few lumps in the batter.
To complete the all white look of our vanilla cake recipe, I paired it with my favorite fluffy whipped buttercream frosting and a white chocolate ganache drip.
Looking for more vanilla cakes? Try my Vanilla Bean Cake or Creme Fraiche White Cake.
Substitutions
Buttermilk - You can substitute buttermilk for ½ cup milk and ½ cup sour cream. Or try plain Greek yogurt. Making your own soured milk (with vinegar or lemon juice) is not a recommended solution.
Cake Flour - For every cup of cake flour, measure out 1 cup of all-purpose flour minus 2 tablespoons. Add back 2 tablespoons of either corn starch or arrowroot powder to get 1 cup of cake flour.
Variations
Vanilla Swiss Meringue Buttercream - for a light and silky frosting variations, use Swiss meringue buttercream with added vanilla bean paste (if available). A half batch will do for this 6-inch cake.
Cream Cheese Frosted White Velvet - Just like a red velvet cake, this cake would be so tasty filled and frosted with fluffy cream cheese frosting.
Serving and Storage
Serve the cake at room temperature. It can be stored in a cake box over night in a cool room. Keep leftovers in the refrigerator for up to 4 days.
To freeze the cake layers, wait until they are completely cool then wrap well in plastic wrap. Freeze in the freezer for up to 3 months. Thaw frozen cake layers in the refrigerator overnight before use.
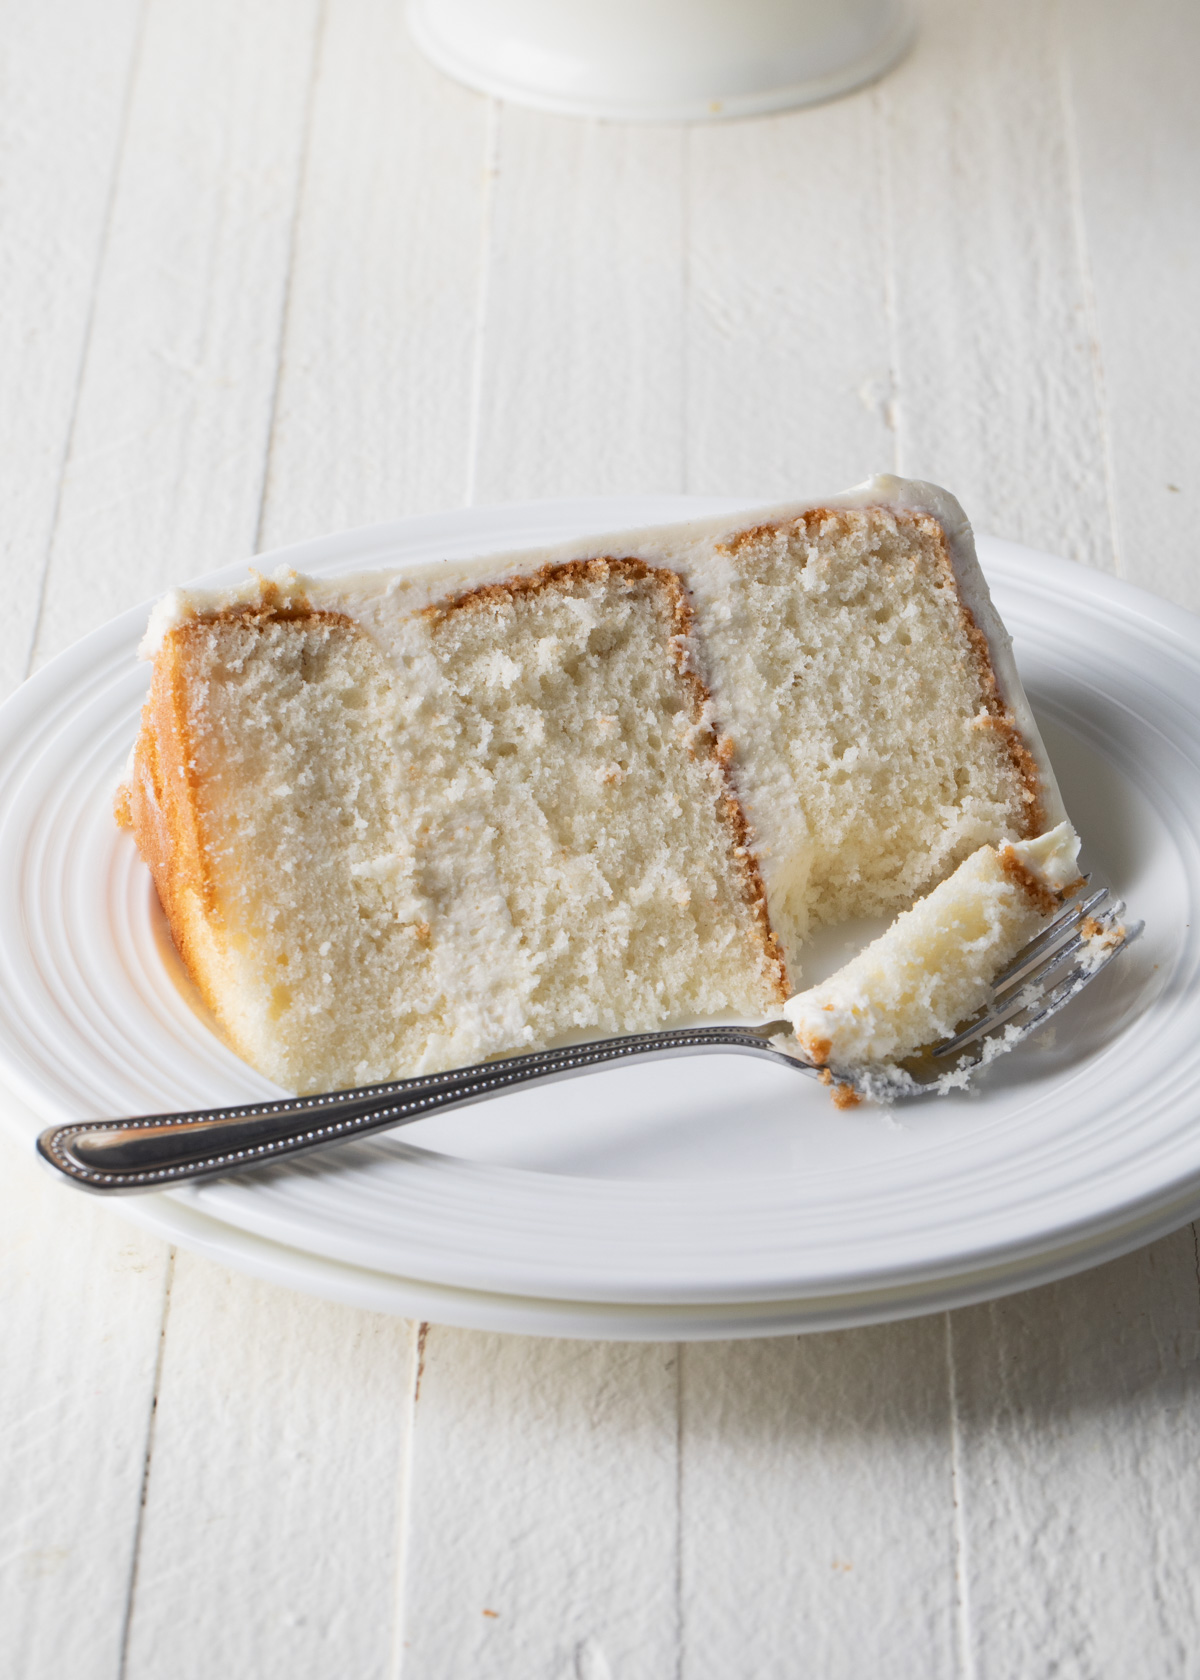
What is the Reverse Creaming Method?
Instead of mixing butter with sugar until light and aerated (like in The Creaming Method), start with mixing all of the dry ingredients.
Next, add the softened butter a few tablespoons at a time followed by the liquids until everything is moist and the batter starts to come together. Lastly, slowly stream the egg whites into the bowl until the batter is smooth and ready to be baked.
The liquid hydrates the flour and mixes until everything comes together in a smooth batter. Stop the mixer often and thoroughly scrape down the bowl. Some lumps are okay here.
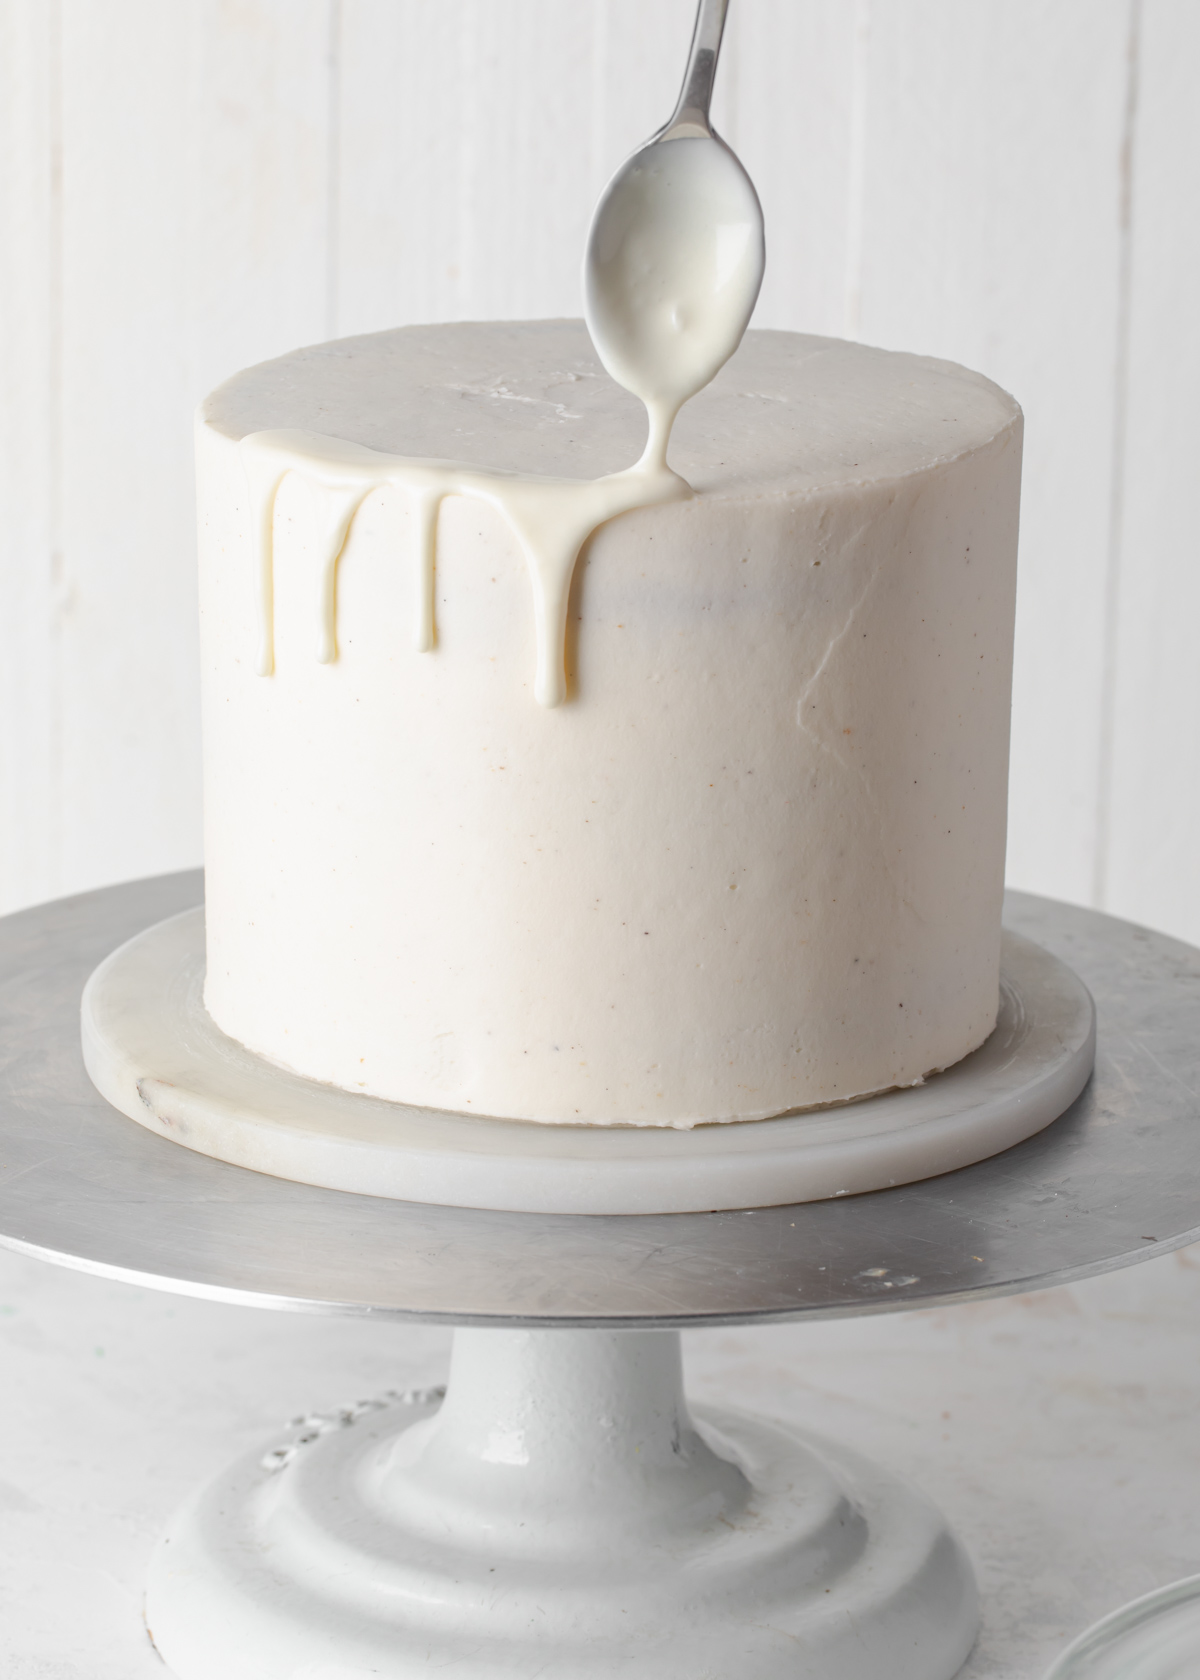
White Chocolate Drip Tips
Similar to my chocolate drip cake, there are some tricks to keep in mind for creating the perfect white chocolate drip.
- Always make a test drip to check the consistency. It should be smooth and flowy, but not warm or it could melt the cake. If it is too thick, it won't slide down the sides of the cake.
- Start with a chilled cake. A cold cake with chilled buttercream will help slow the drip for better control.
- If the ganache thickens too much before you are done, briefly microwave to warm (5 seconds at a time on half power).
- Use a spoon to drip the ganache around the edges instead of pouring over the side of the cake. This gives you lots of control and much easier to clean that a squeeze bottle.
- Use white chocolate, not candy melts.
- For a bright white, use white gel food coloring. It makes a huge difference!
Layer Cake 101
New to cake decorating? Start here:
Easy Textured Buttercream Cakes
How to Make Beautiful Layer Cakes
Buy my books! Layered and Icing on the Cake
White Velvet Cake Recipe FAQs
Buttermilk and cake flour make a white velvet cake soft and tender. It is all white because it is made with only the egg whites. Using the reverse creaming method gives it its velvety texture. It is made with both butter and oil to stay moist.
Cake flour has a lower percentage of protein. This make cakes and pastries softer. You don't absolutely have to use cake flour in this recipe. See Substitutions for making your own cake-like flour with all-purpose flour and cornstarch.
Related Recipes
Recipe
White Velvet Cake
Ingredients
For the White Velvet Cake
- 2 ½ cups (315g) cake flour
- 1 ½ cups (300g) granulated sugar
- 1 tablespoon baking powder
- ½ teaspoon kosher salt
- ½ cup unsalted butter softened, diced
- ½ cup neutral oil avocado or canola
- 1 cup buttermilk
- 4 large egg whites
- 2 teaspoon vanilla extract
For the Whipped Vanilla Buttercream
- 1 cup unsalted butter softened
- 4 cups powdered sugar sifted as needed
- 2 to 4 tablespoon heavy cream
- 2 teaspoon vanilla extract
For the White Chocolate Drip
- 190 grams white chocolate about 1 cup chips
- ¼ to ⅓ cup heavy cream
- ½ teaspoon bright white gel food coloring
Instructions
To Make the White Velvet Cake
- Preheat the oven to 350°F. Grease and flour three 6-inch cake pans and set aside
- In the bowl of a stand mixer fitted with the paddle attachment, place the flour, sugar, baking powder, and salt. Whisk to combine. With the mixer on low speed, add the butter, a few tablespoons at a time, until the butter breaks up into small pieces, no larger than a peanut, and gets coated in flour.
- Mix together the oil and half of the milk in a spouted cup. Turn the mixer up to medium-low and stream in the milk mixture. Continue to mix until the batter is evenly moistened. Stop the mixer and thoroughly scrape down the sides and bottom of the bowl. The batter will not be smooth.
- Combine the remaining milk with the egg whites. Working in batches with the mixer on medium-low speed, pour in about ⅓ of the eggs at a time. After each addition of the eggs are absorbed into the batter, stop the mixer and thoroughly scrape down the sides and bottom of the bowl. The batter will look lumpy at first, but should smooth out by the final addition.
- Evenly distribute the batter between the prepared pans and bake for 23 to 26 minutes, or until a toothpick inserted into the center of the cake comes out clean. Cool the cakes on a wire rack for 10 to 20 minutes before removing them from their pans.
To Make the Whipped Buttercream
- Using a stand (or hand) mixer fitted with the paddle attachment, beat butter on medium-low speed until smooth and creamy, 1 minute.
- Turn the mixer off and add the powdered sugar, 2 tablespoons of cream, vanilla, and salt. Begin mixing on low speed until the ingredients come together - scraping the bowl occasionally.
- Turn up the speed and mix at medium-high speed for 3 to 5 minutes, until the buttercream is light, airy, and nearly white. If needed, add the additional cream until desired consistency is achieved. The buttercream should spread smoothly without tearing the crumb of the cake but thick enough that it holds shape when piped and spread between the layers.
- If using to ice a smooth cake, vigorously stir with a wooden spoon or stiff spatula to knock out some of the air bubbles.
To Assemble
- Place one layer of cake on a cake board or serving plate. Dollop about ¾ cup frosting on top and spread out until smooth with an offset spatula. Place the next layer of cake on top and repeat.
- Flip the last layer upside down and place it on top of the cake. Crumb coat the cake in a thin layer of frosting. This traps in all of the loose crumbs and keeps them from getting in your final layer of frosting. Chill the crumb coated cake for 15 minutes.
- Make the white chocolate drip (instructions to follow)
- Drip the ganache around the edges of the cake then smooth it over the top.
To Make the White Chocolate Drip
- Chop the white chocolate (even the chips) and place in a heat-safe bowl.
- Microwave the cream for 45 to 60 seconds until warm.
- Pour ¼ cup cream over the white chocolate and gently whisk to melt.
- If needed, microwave the whole bowl at half power for 5 to 10 seconds at a time until fully melted. Add more cream if it is still too thick.
- Whisk in the white gel food coloring.
Notes
- Always make a test drip to check the consistency. It should be smooth and flowy, but not warm or it could melt the cake. If it is too thick, it won't slide down the sides of the cake.
- Start with a chilled cake. A cold cake with chilled buttercream will help slow the drop for better control.
- If the ganache thickens too much before you are done, briefly microwave to warm (5 seconds at a time on half power).
- Use a spoon to drip the ganache around the edges instead of pouring over the side of the cake. This gives you lots of control and much easier to clean that a squeeze bottle.
- Use white chocolate, not candy melts.
- For a bright white, use white gel food coloring. It makes a huge difference!

Trina
So delicious. Best white velvet cake recipe I’ve found to date.
Sam Andrews
The texture of this cake was exactly what I was looking for. Soft like box cake - but the flavor was incredible. Try it!!
Sean C
Really easy to follow and incredibly tasty
karly
All about the texture! So soft and fluffy while super moist.
Lydia
Incredible cake! Not too difficult and tastes great. Just what I was looking for.
sonya
Made this cake over the weekend with your white chocolate buttercream. Both were delicious.
maria zouras
I want to use 8 inch pans. Does this recipe double well?
stylesweet
Hi! I would recommend multiplying the recipe by 1.5 for three 8-inch cakes. Happy Baking!
Leanne
Great white cake. Not dry at all like some of them. Thanks!