Last updated on May 4th, 2023 at 05:56 pm
Get ready to learn how to bake with yeast! Here is everything about baking with yeast to make your favorite sweet doughs and breads!

Jump to:
What is Yeast?
Simply put, yeast is a single-celled, living organism. It feeds on sugar. As it eats, it gives off carbon dioxide used to leaven certain doughs and make baked goods rise in the oven.
Yes, yeast is alive. And while that might make new bakers anxious, I am here to help you tear down those fears in favor of warm, freshly-baked breads and treats. It’s going to be so worth it - I promise!
Click here to learn about the different Types of Yeast.
You might be thinking - what are some recipes that use yeast? From bread to beer, there are a lot of different things that use yeast. Since this is a baking website, we of course will be focusing on baking rather than how to make your own homebrew.
Recipes That Need Yeast
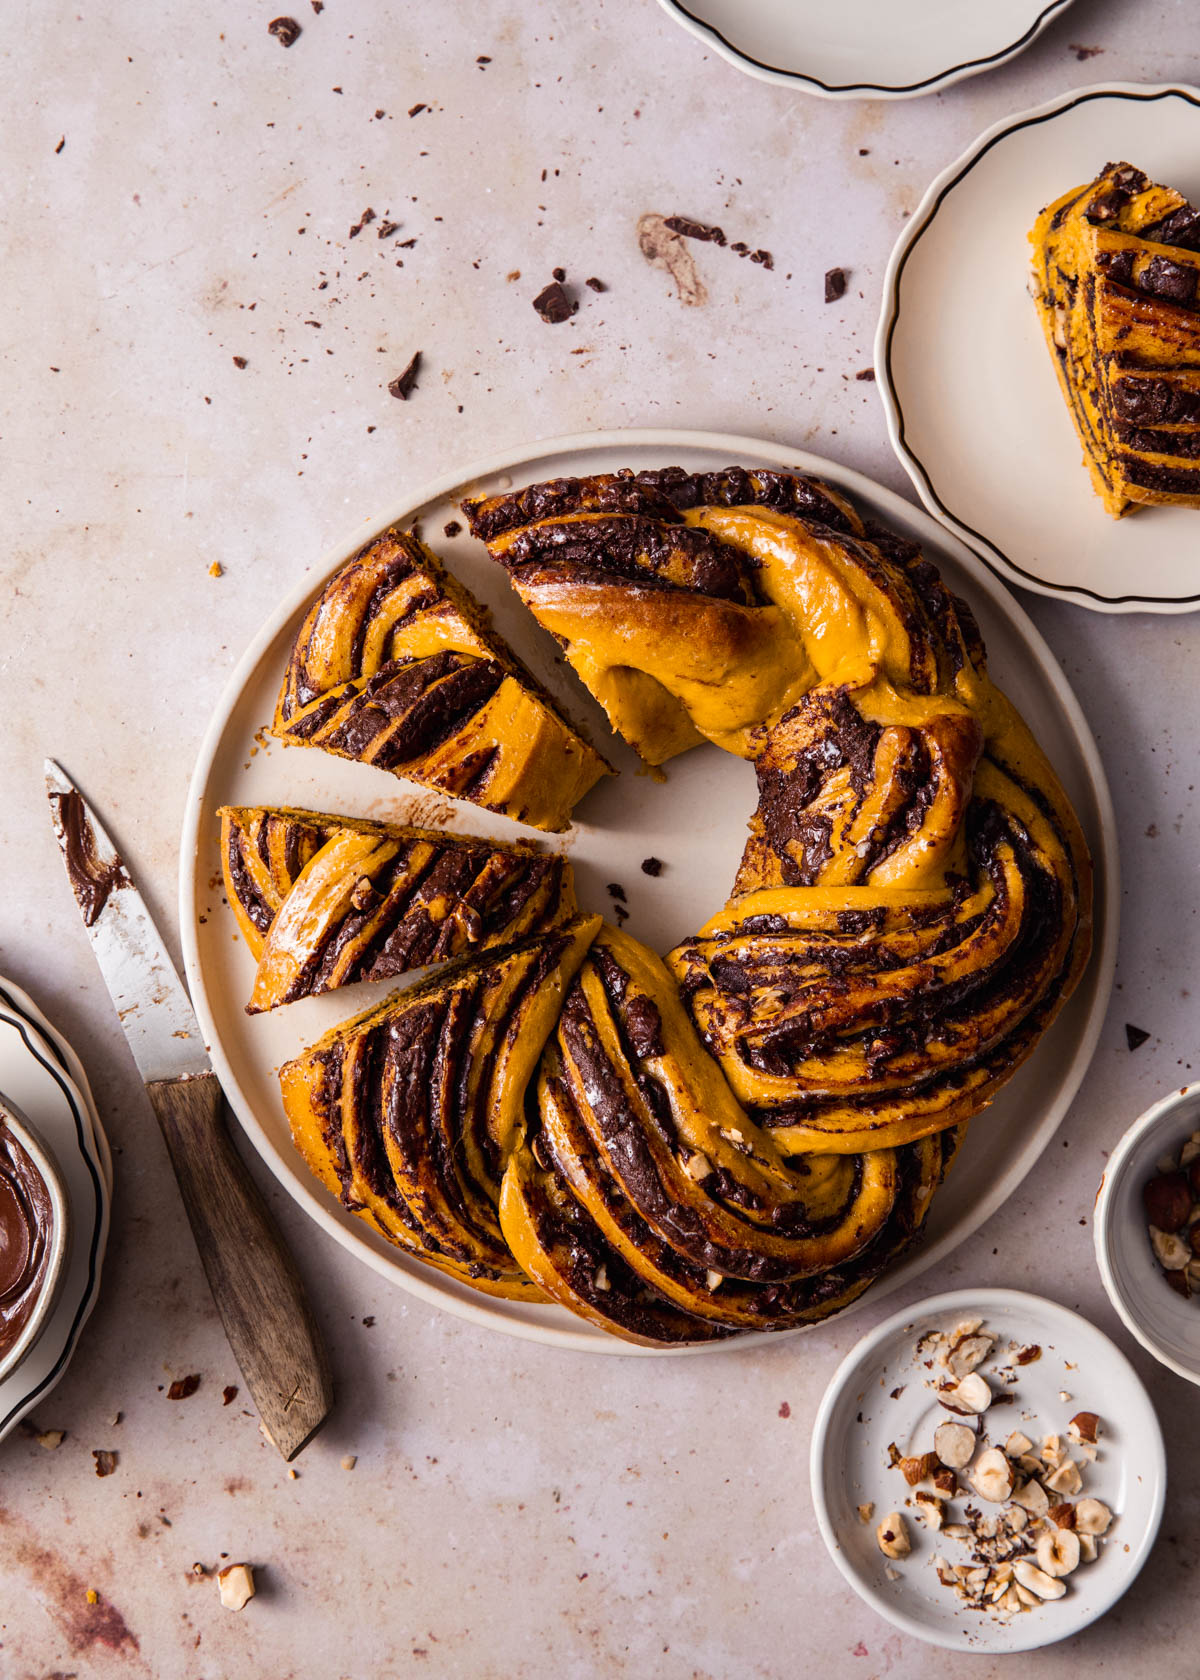
Bake with yeast in order to make sandwich bread, crunchy loaves, pizza, cinnamon rolls, fluffy doughnuts, laminated croissants, and so much more. There are lean doughs (mostly flour, salt, water and yeast) and enriched doughs (those laden with eggs, fat, and a bit of sugar to make them soft and pillowy - like brioche).
Does sourdough rely on yeast? Kind of, but not in the same commercial yeast kind of way. Sourdough is leavened with a starter - flour and water.
As you “feed it” and allow it to ferment, the starter develops its own population of wild yeast. While I enjoyed baking my own sourdough last year, that is a whole lesson and half of its own.
Other types of baked goods, like cakes and cookies, rely on chemical leaveners like baking powder and baking soda to make them rise.
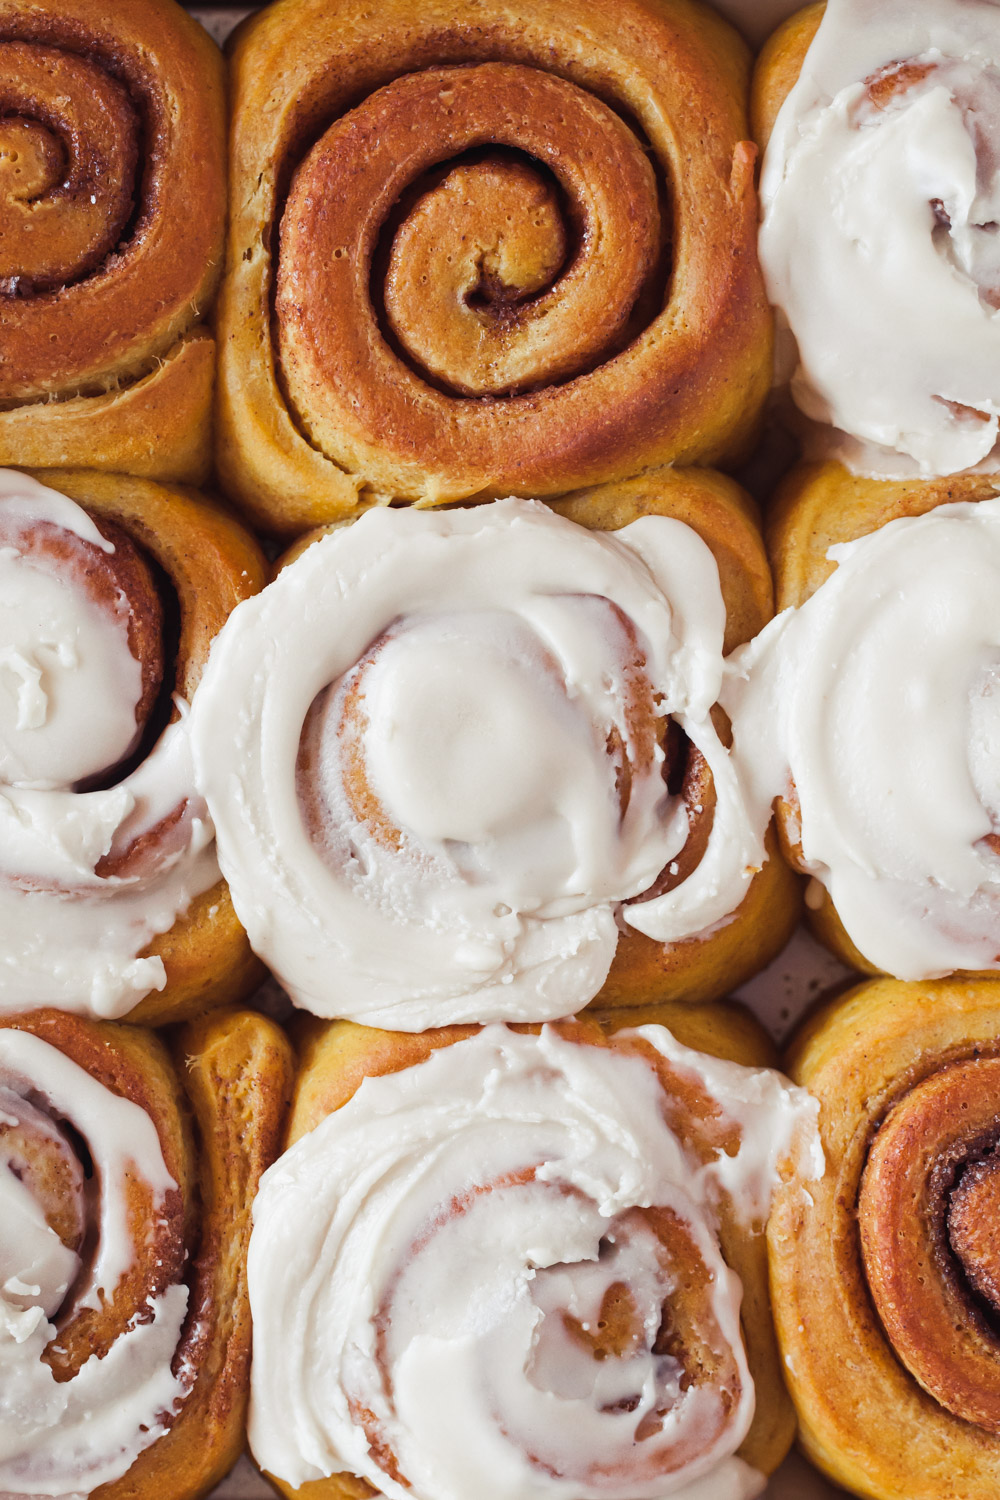
Through fermentation, yeast turns sugars into carbon dioxide. What does that even mean?
When ready for baking, yeast is awakened by a liquid (typically water or milk) when starting a recipe. Once added to the other ingredients, it begins to eat and metabolise glucose (either simple sugar or complex sugar found in starchy flour) and expel gas. The gas (carbon dioxide) gets trapped in the dough, causing it to expand.
Other byproducts of the metabolized sugar are alcohol and acids which enhance the dough’s flavor.
Yeast and Gluten
In order to “trap” the gases, the dough needs to be elastic. Think of the dough like a balloon. It needs to be able to stretch in order to hold in all that gas.
Most recipes rely on gluten to build this elastic web of dough. Gluten is a stretchy protein found in most types of flour. Both yeast and gluten are needed to create structure.
As we know, once liquids begin to hydrate flour, gluten development begins (why we don’t want to overmix cake batters once flour is added since we want to keep gluten development to a minimum with tender, fluffy cakes). With bread, we like gluten. Not only is it needed for structure, but it makes things chewy.

Kneading Yeast-risen Doughs
Kneading the dough strengthens and develops the network of gluten. During this process, proteins form a web-like structure in the dough. As the dough is stretched and pulled, new surfaces are exposed to the protein particles that are then absorbed and distributed by the liquids.
Most recipes will work by hand or with a stand mixer (fitted with the hook attachment). While kneading dough by hand is super rewarding, using a stand mixer sure makes things easier and might with the urge to add more flour to stick doughs.
Refer to the recipe for specific “knead times.” Most doughs are dough when they are smooth, supple, and stretchy (it’s okay if they are a little bit sticky)
Proofing Yeasted Baked Goods
Another important factor with yeast-risen doughs is time. It takes time for the yeast to feed and do their thing. Most recipes will tell you to proof the dough until it has “doubled in size.” When done, it will be pillowy from all the gas trapped inside. Unde-proofing your dough may result in hard, tough baked goods. Allowing them to proof too long will alter the integrity of the structure and cause over-proofed doughs to deflate.
Proof your dough in a lightly greased bowl and cover with a clean cloth, plastic wrap, or even designated shower cap. This allows the dough to rise an not dry out.
Temperature
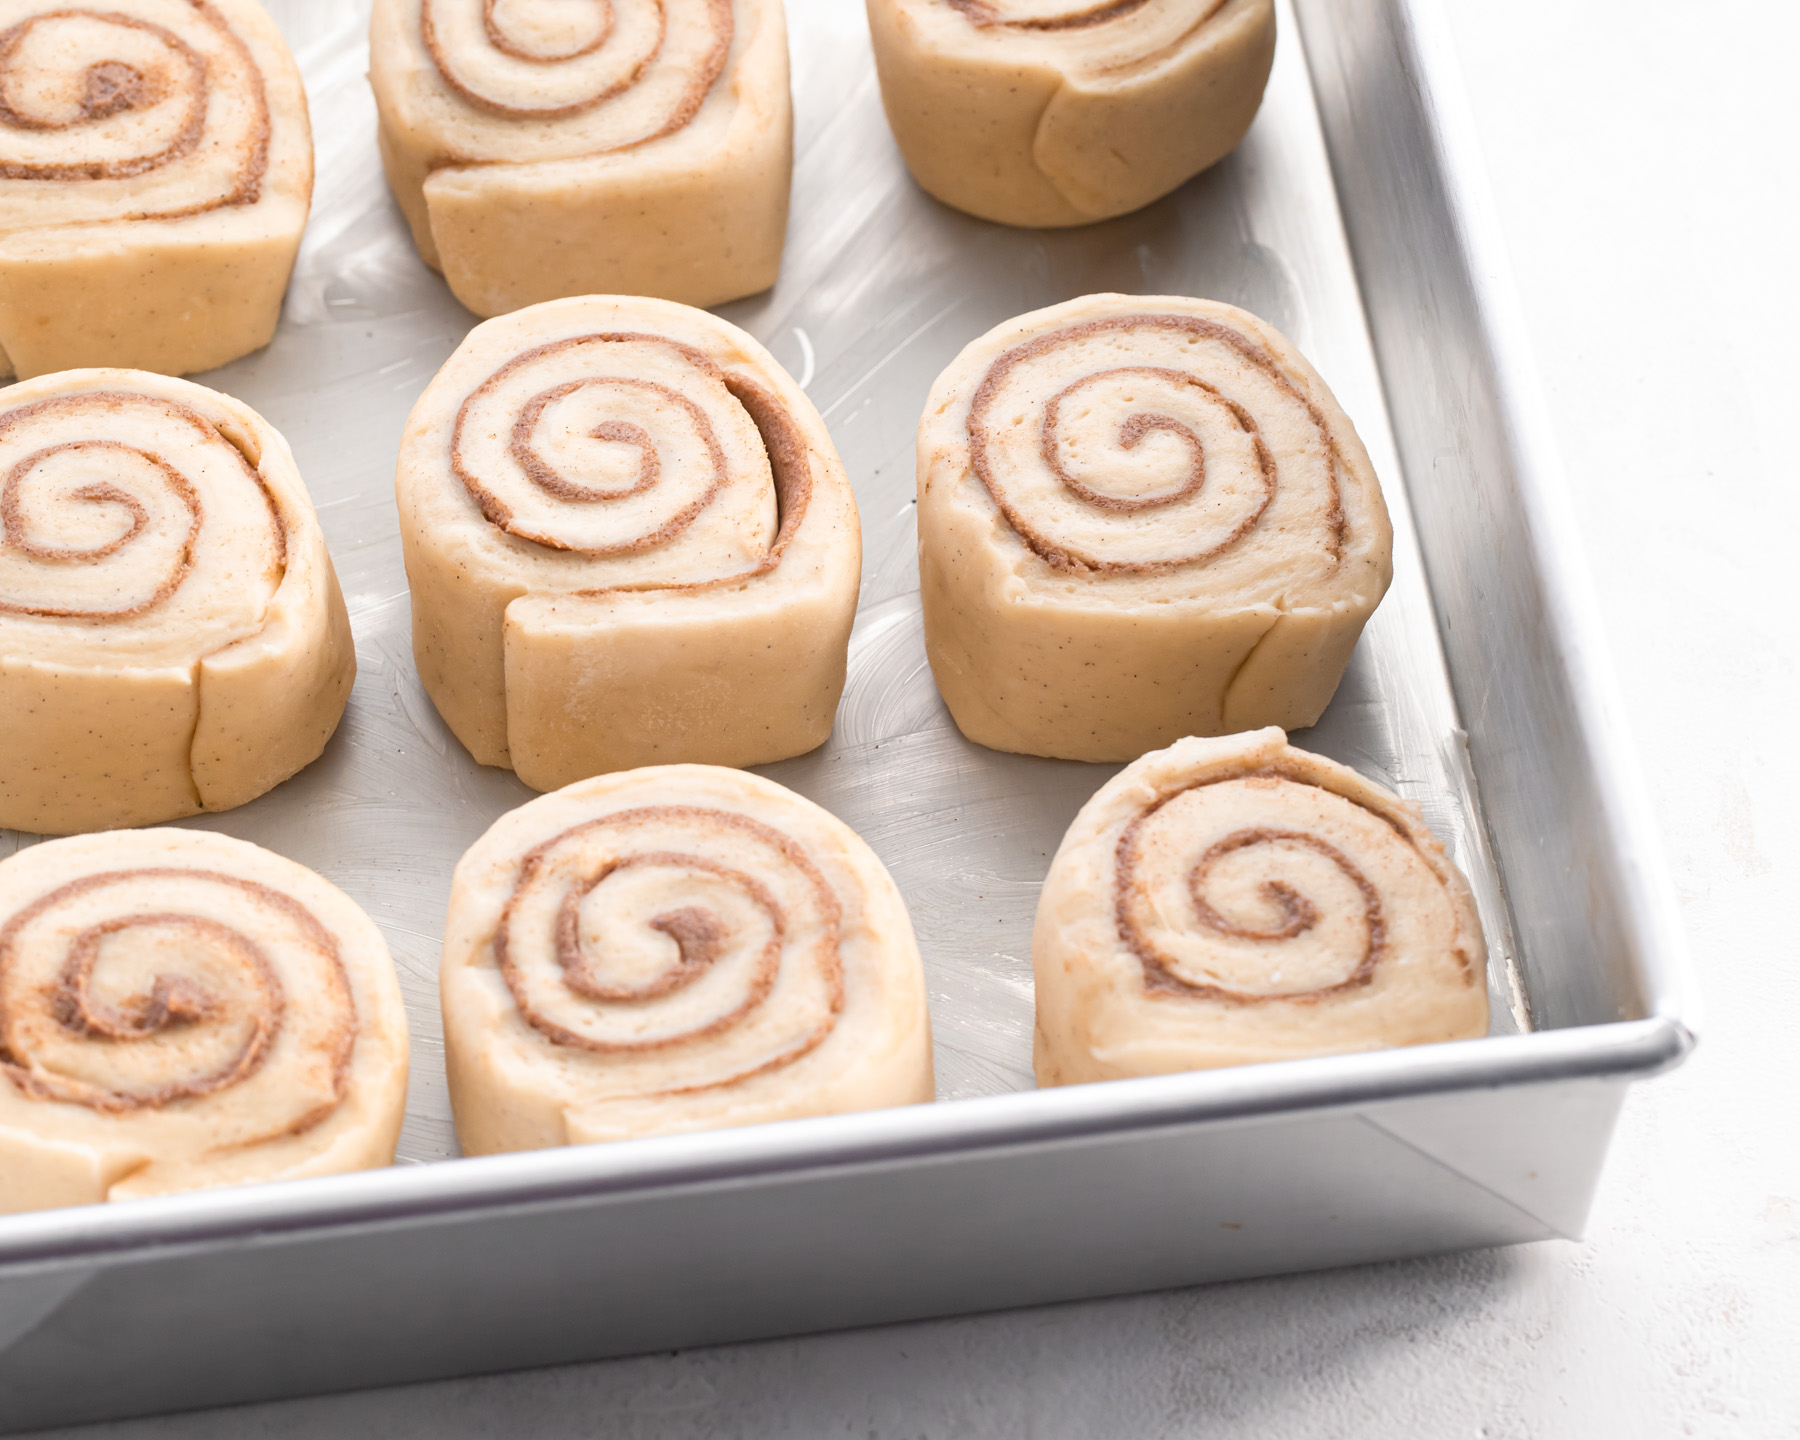
Yeast is the happiest (meaning it will work more efficiently) when it is in a comfortable environment. It needs plenty of food and warmth. Doughs will rise rapidly between 70°F and 100°F. Aim for a cozy, draft-free spot in the house for the dough to rise.
If your home is too cold, as ours can sometimes be in the winter, you can proof dough in a heated (then TURNED OFF) oven. If you have a proofing setting, then that would be an amazing tool too.
The cool thing is that you can alter the temperature to help control the rise. More on that later...
Sugar
Adding sugar to a sweet or enriched dough will speed up the rise. In these cases, you don’t have to wait for the scratches in the flour to convert to sugar and break down. While yeast LOVES sugar, too much of a good thing will begin to slow it down.
Sugar can also be found in honey, maple syrup, malt syrup, molasses, and fruit juice. All of these can feed and sweeten your doughs. The rate at which these different types of sugar (glucose, sucrose, fructose, and maltose) ferment can vary.
Salt
Salt is super important for taste. However, salt can harm yeast if they come in direct contact with one another. Be sure to incorporate the salt into the flour before introducing it to yeast. Too much salt in general, and it will inhibit yeast fermentation.
Fat
In enriched and laminated doughs, fat can be found in the form of eggs, butter, and oil. These ingredients are what makes puffy brioche and delicious cinnamon rolls so so good. Fats will slow down fermentation and yield breads with a slightly lower volume.
Resting and Shaping Yeast Dough
After the dough rises, it needs to be shaped from its ball status into the final product(s). Think braided Challah and twisty bread wreaths but also plain loaves and baguettes. For things like dinner rolls, the dough will need to be divided.
This is also a time where different fillings might be added (say for babka or morning buns) before being shaped or cut into individual portions - like cinnamon rolls.
Punch down the dough to slightly deflate it before getting started. Depending on your method for proofing the dough, it might seem difficult to work with. If you are having trouble shaping or rolling it out (or if the dough keeps springing back), then give it a 10 minute rest to relax the gluten.
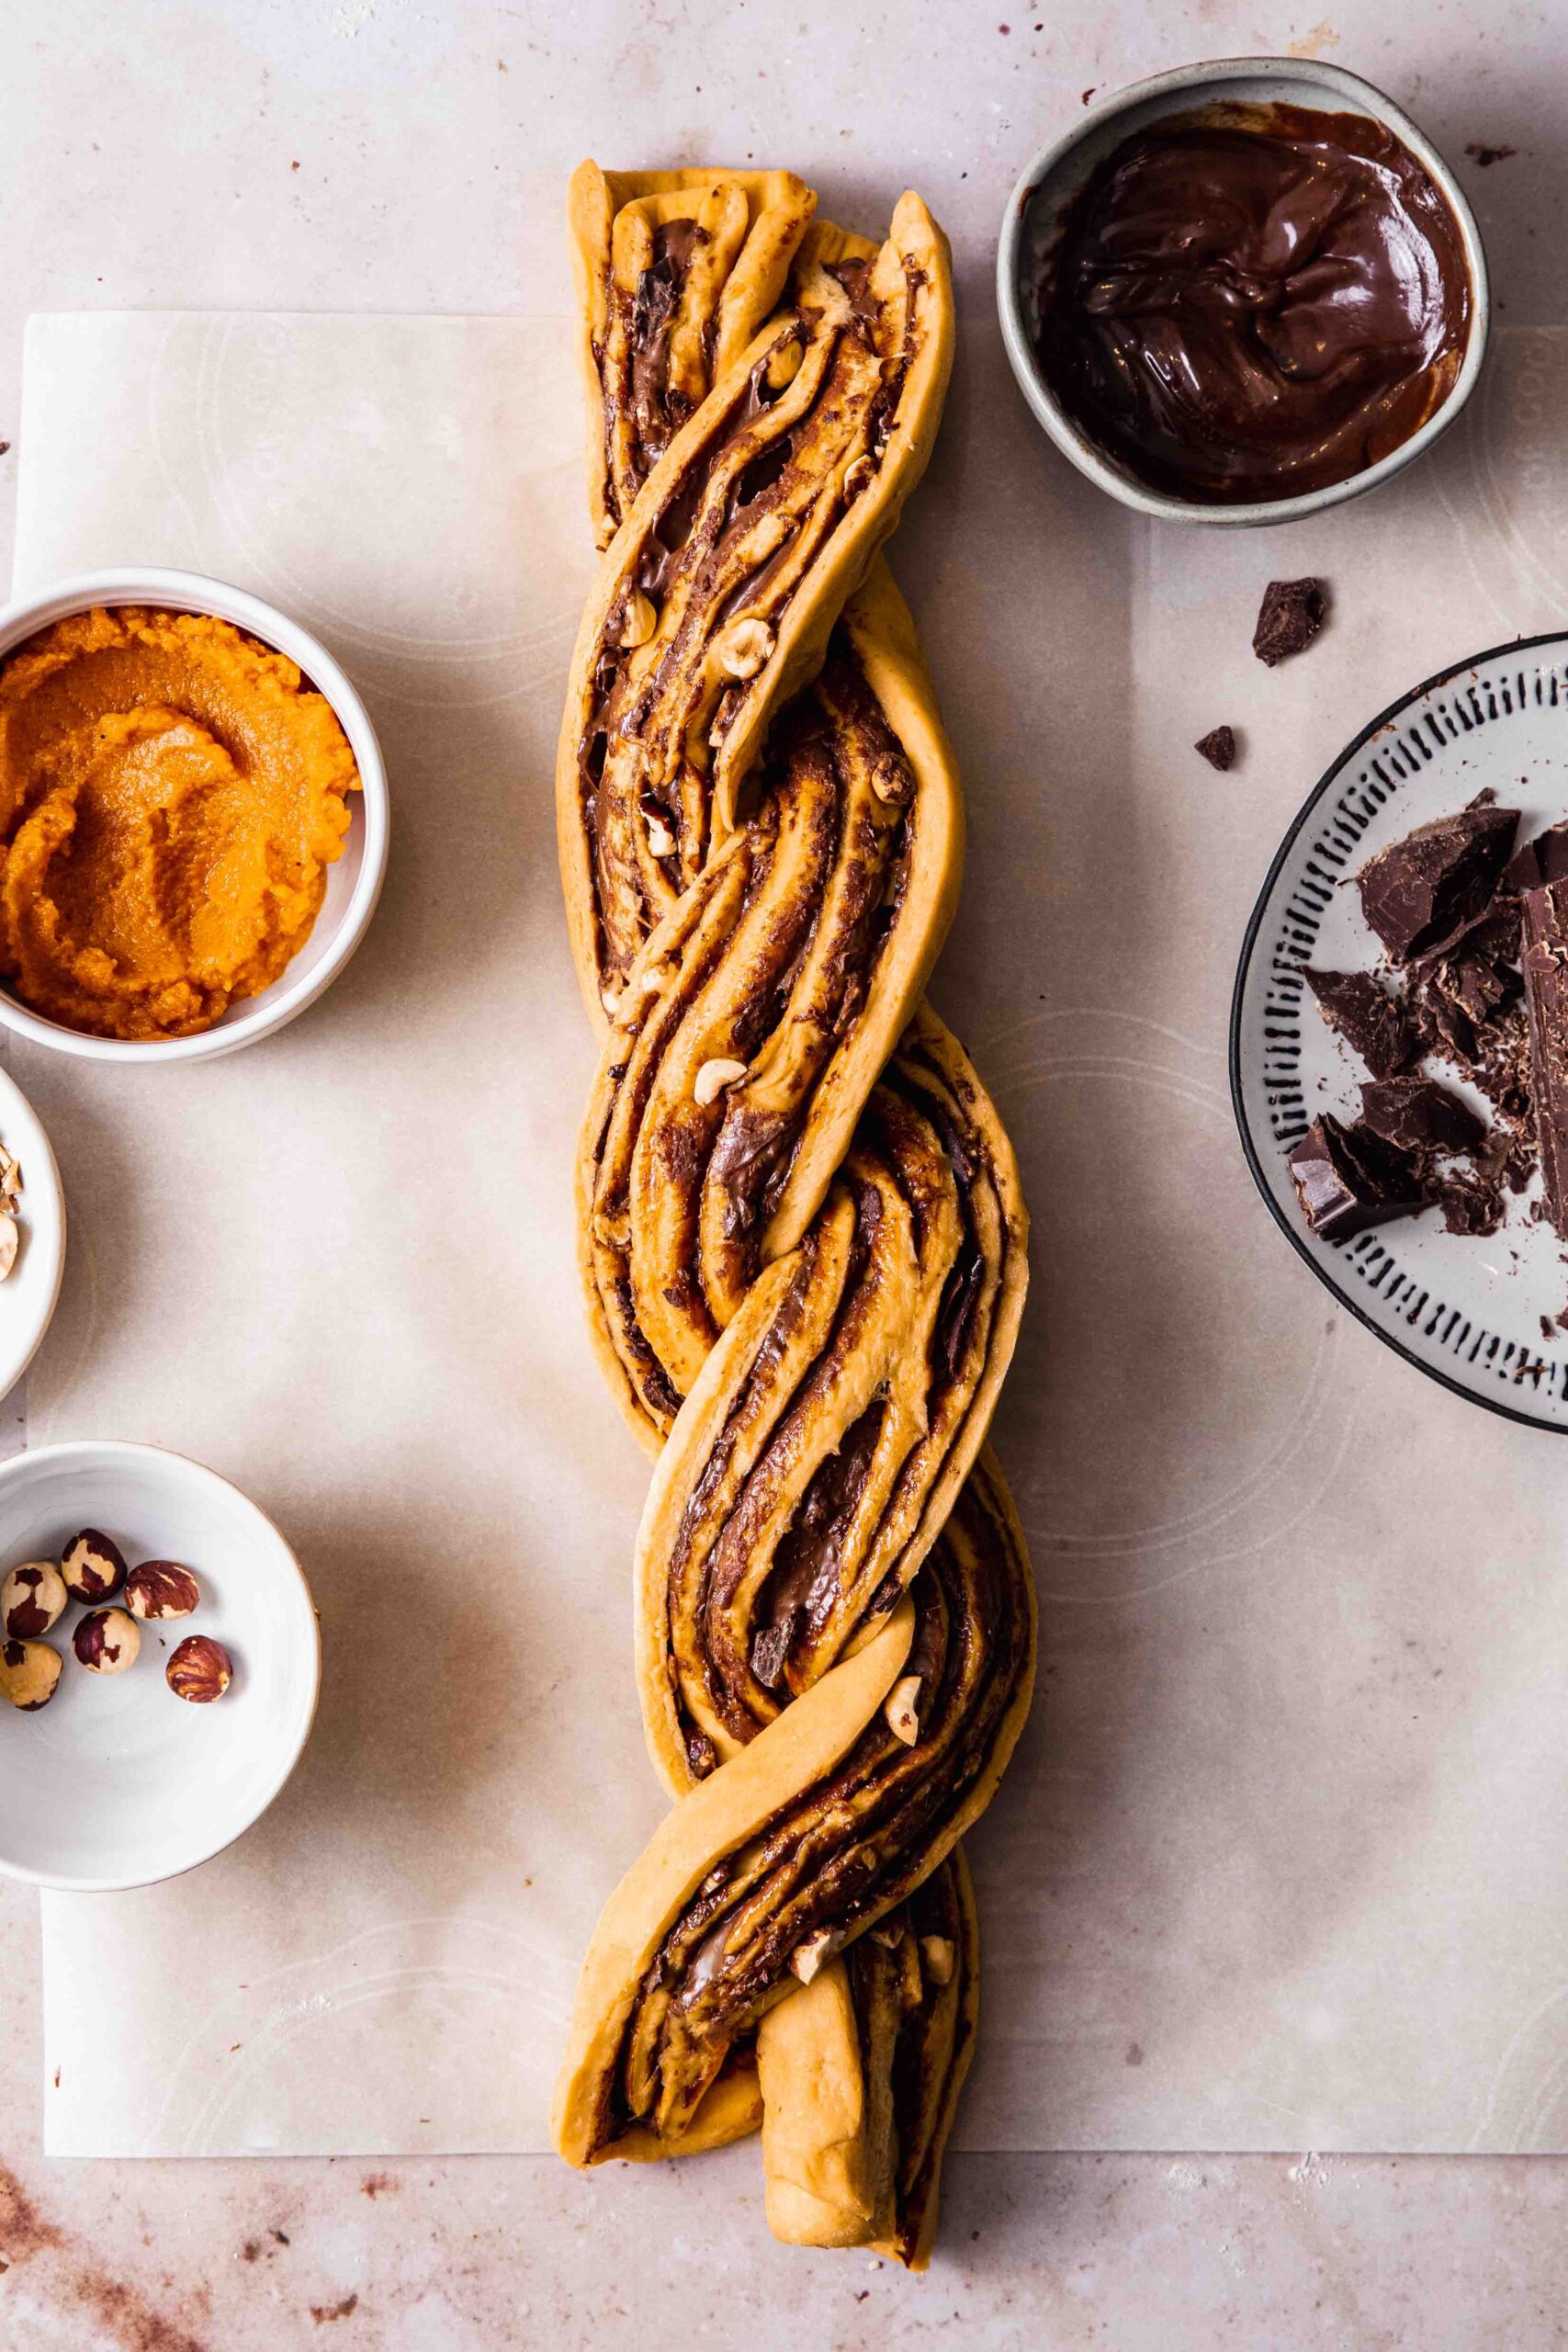
Resting the dough after being shaped is the perfect time to allow the oven to preheat. The final rise should be in the pan that the bread will be baked in. This second-rise lets the gluten relax again before heading into the oven which will give more volume. The final rise is complete when you can poke the dough with a finger and the indentation slowly fills back in - 20 to 45 minutes.
Time to Bake with Yeast
In the heat of the oven, fermentation increases as the yeast feed, again, as quickly as possible. As the temperature of the dough rises, the yeast eventually die (between 130°F to 145°F). RIP yeast, your job is done. After one final puff in the oven, called “oven spring”, the crust begins to form, the gluten sets and the dough bakes until firm.
Refrigeration
As previously mentioned, you can control the rate at which the dough rises by changing the temperature. The warmer the environment, the quicker the rise - and vice versa. If you want to slow down the rise, dough can be placed in the refrigerator for a significantly longer proofing time.
Why would you want to increase the proofing time? A couple reasons:
Flavor
A long rise time allows more complex flavors to develop. This goes for both lean and enriched doughs - sourdough, included.
Scheduling
I often opt for an overnight rise not just for flavor but for convenience. With sweet dough, I typically prepare the dough the night before I plan to bake them. This way, if you want warm cinnamon rolls on, say, Thanksgiving morning, you don’t have to start the process at 6am in order to eat them in your pajamas (although pajamas until noon on Thanksgiving is perfectly acceptable - just not the point).
For my schedule, it is just easier to mix up the dough and pop it in the fridge instead of back-tracking how long it will take to make/proof/rise/bake from when I want to be eating.
For long, lean doughs, the overnight rise is even more of a convenience. When I was really getting into sourdough, the process took like 8-10 hours, start to finish.
When you have other things to do, it is hard to schedule the hands-on portion of the process (literally hours worth of folding) and that chunk of time doesn't always fit at the beginning of the day. In this case, I would use the refrigerator for the second rise (after shaping).
Most recipes will ask you to allow the dough to sit at room temperature for a bit before moving on to the next step (either shaping or baking).
Yeast Recipes to Try

Leave a Reply