Learn how to blind bake pie crust for fruit-filled, no-bake fillings, and some custard pies. This super flaky, all-butter crust is the homemade base for some of your favourite pies.
Don't get caught stressing about the crust. Follow these easy, step-by-step instructions for blind baking pie crust at home.
Instructions for Blind Baking a Pie Crust
Follow these step-by-step instructions for prepare the pie dough in the pan and blind baking the crust.
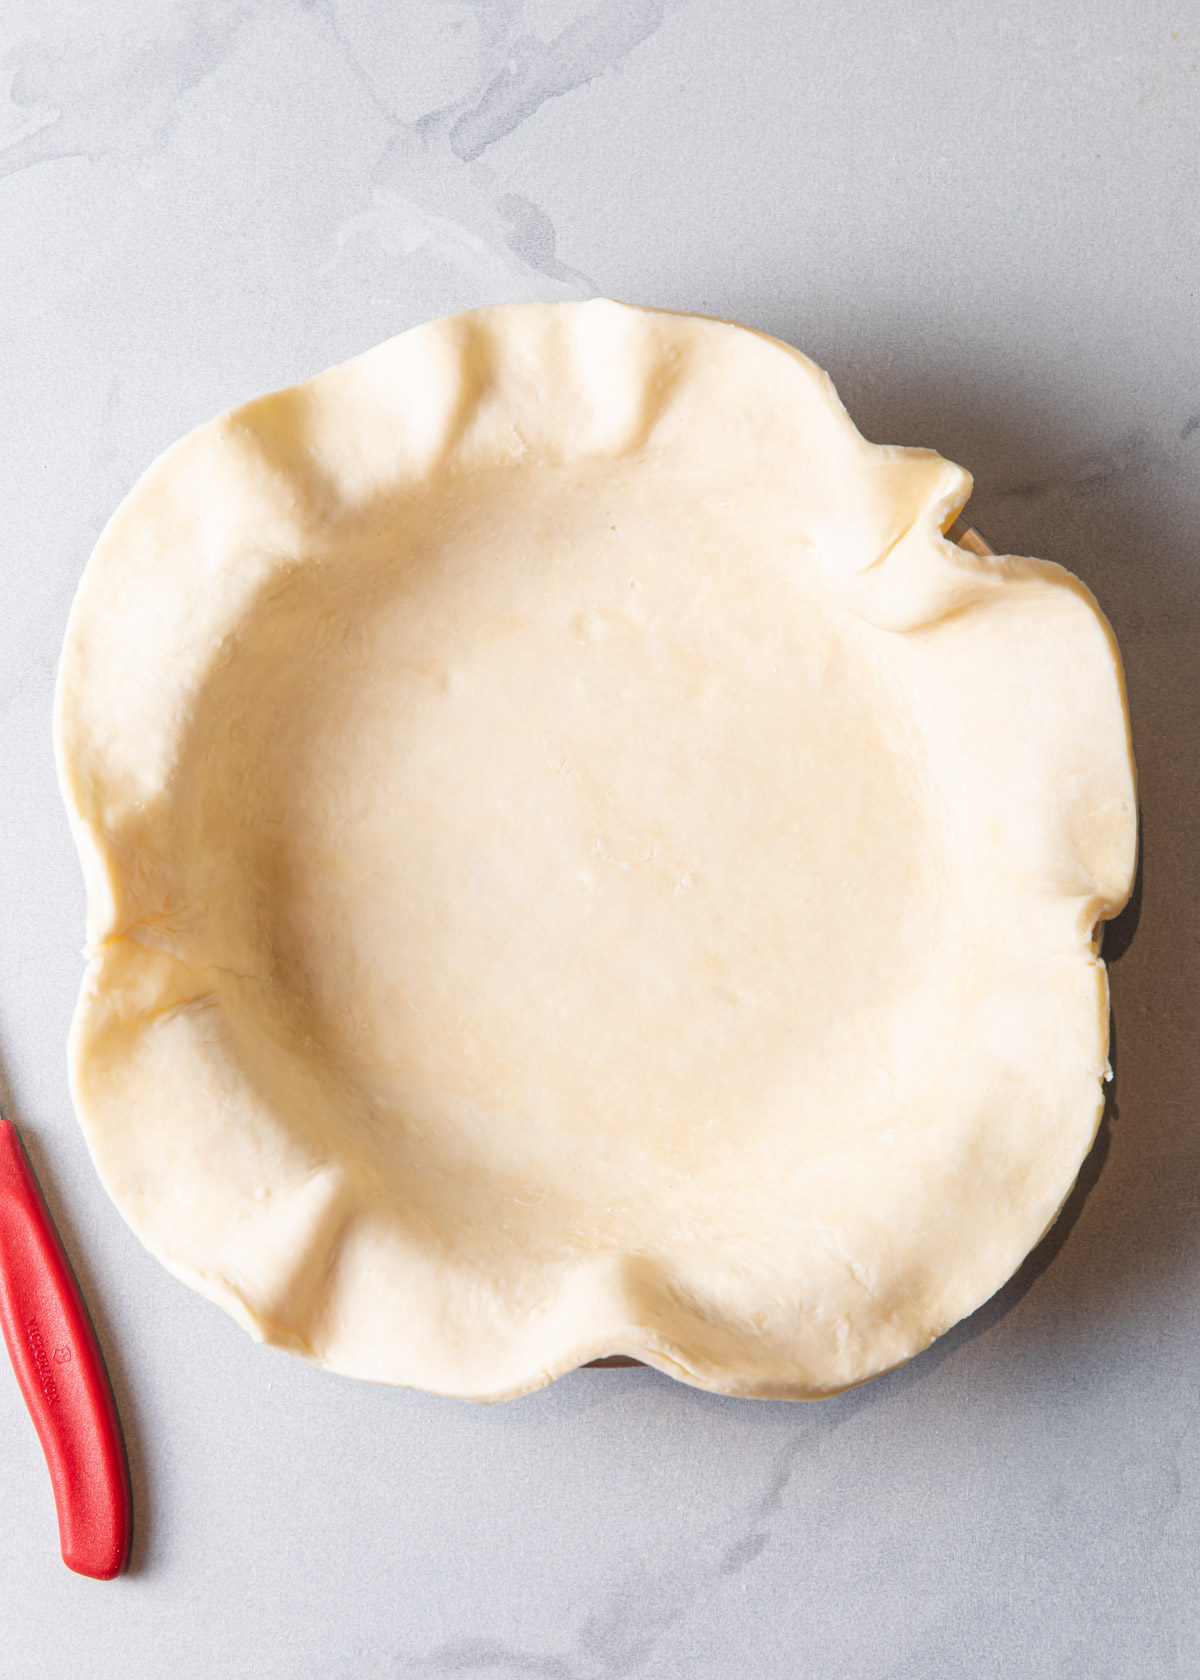
Roll out the prepared pie dough and fit it in the pie pan. Trim to leave a ½-inch overhang.
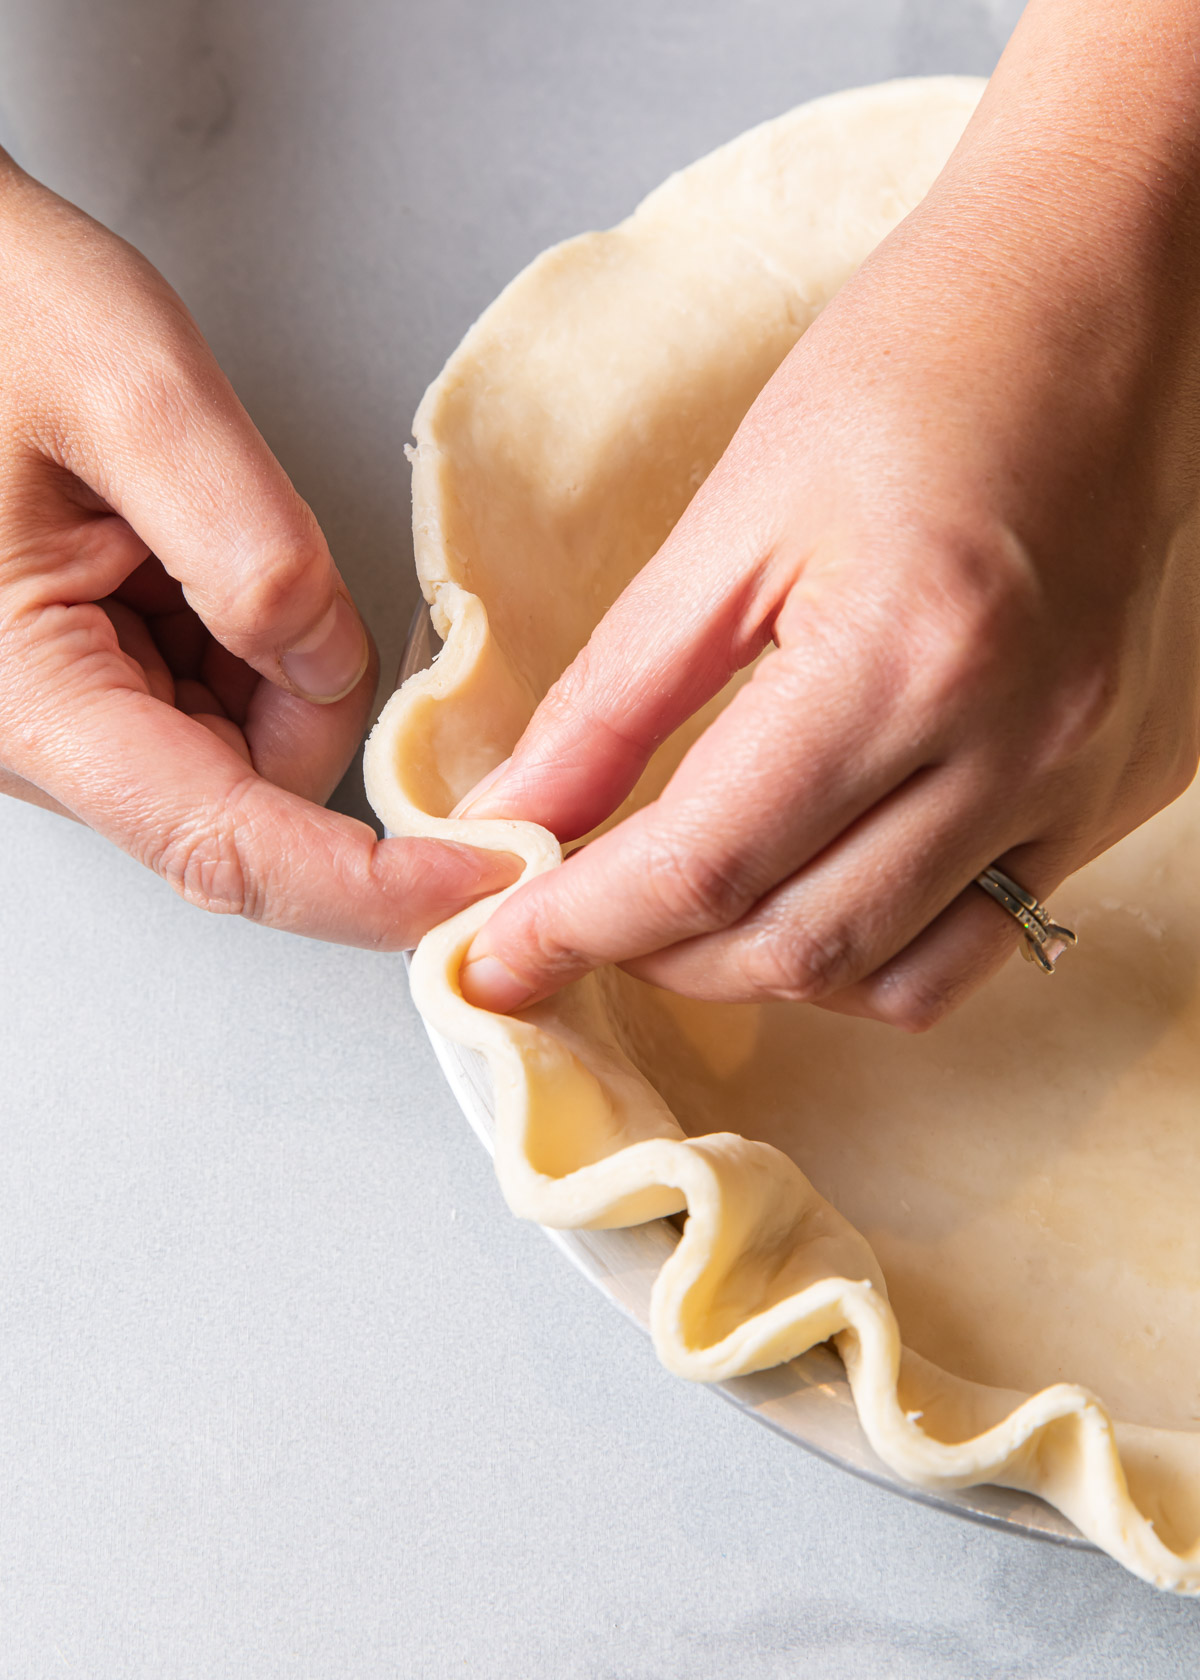
Using your fingers, crimp the edges of the pie dough.
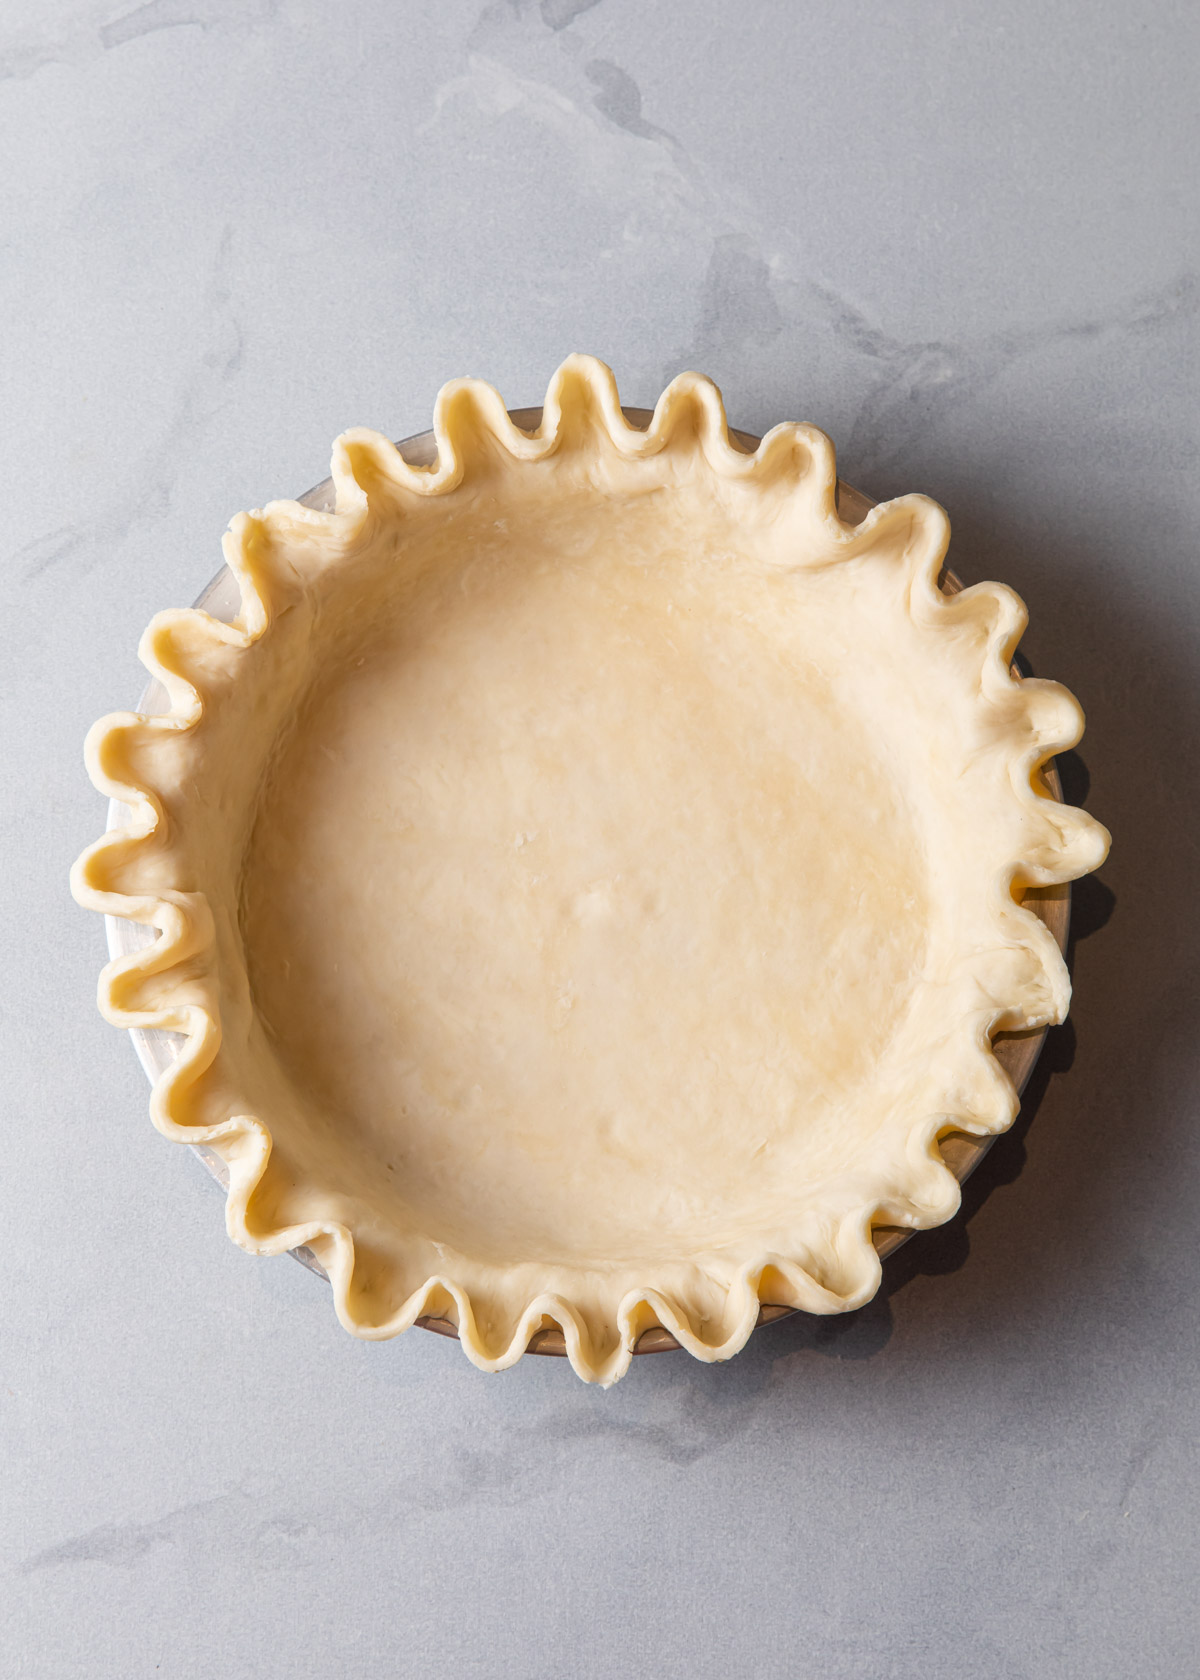
Press the crimped edges of the pie dough onto the lip of the pie pan to secure. Chill in the freezer for 20 minutes while the oven heats.

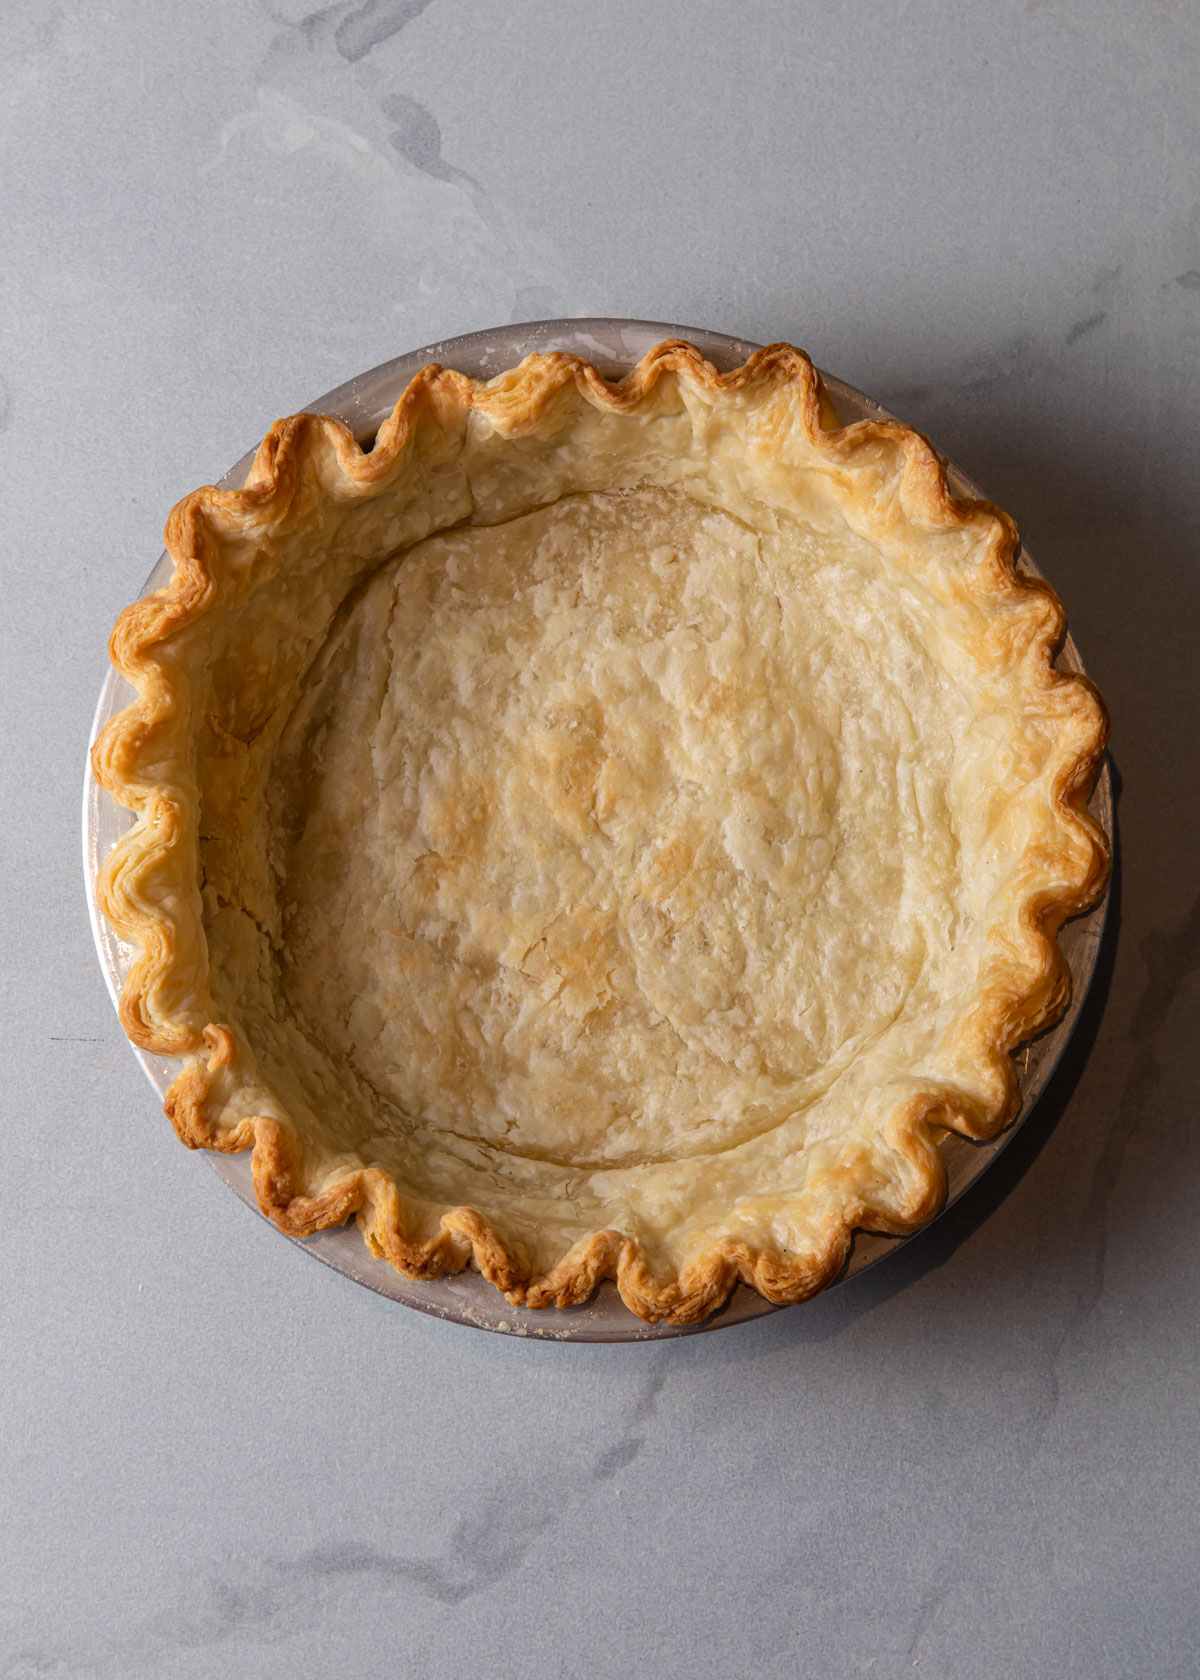
Bake the pie crust at 400°F for 20 minutes, or until the edges begin to take on a tiny bit of color.
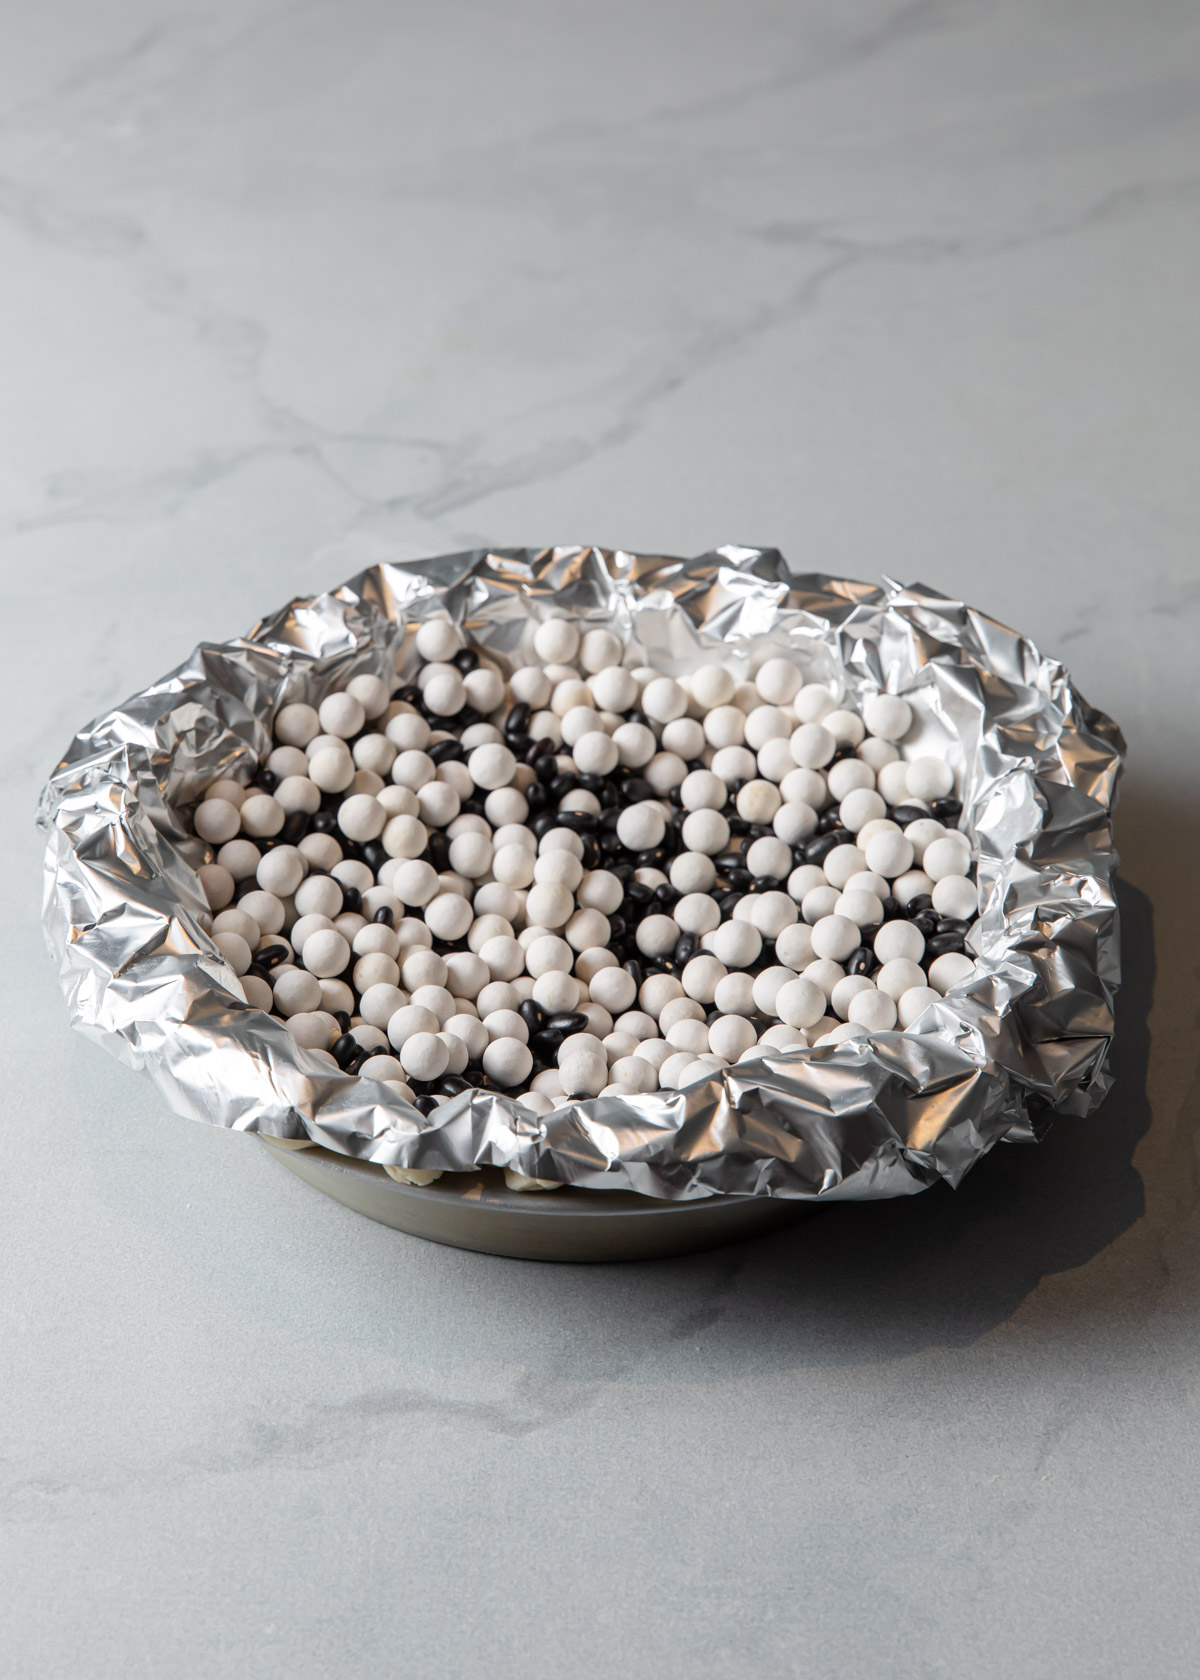
Line the chilled pie dough with foil or parchment paper. Fill with pie weights, dried beans, uncooked rice, or even granulated sugar.
Lower the heat to 350°F. Take the pie crust out of the oven and carefully remove the pie weights. Bake for an additional 5 to 10 minutes, or until fully baked. The bottom should be dry to the touch and not greasy.
Hint: Preheat the oven while the pie chills.
What is Blind Baking?
To blind bake a pie crust is to bake pie dough in a pie pan without filling. It holds shape by being filled with pie weights.
Once partially baked, the pie weights are removed and the crust is baked until done and slightly golden.
Why Do We Blind Bake a Pie Crust?
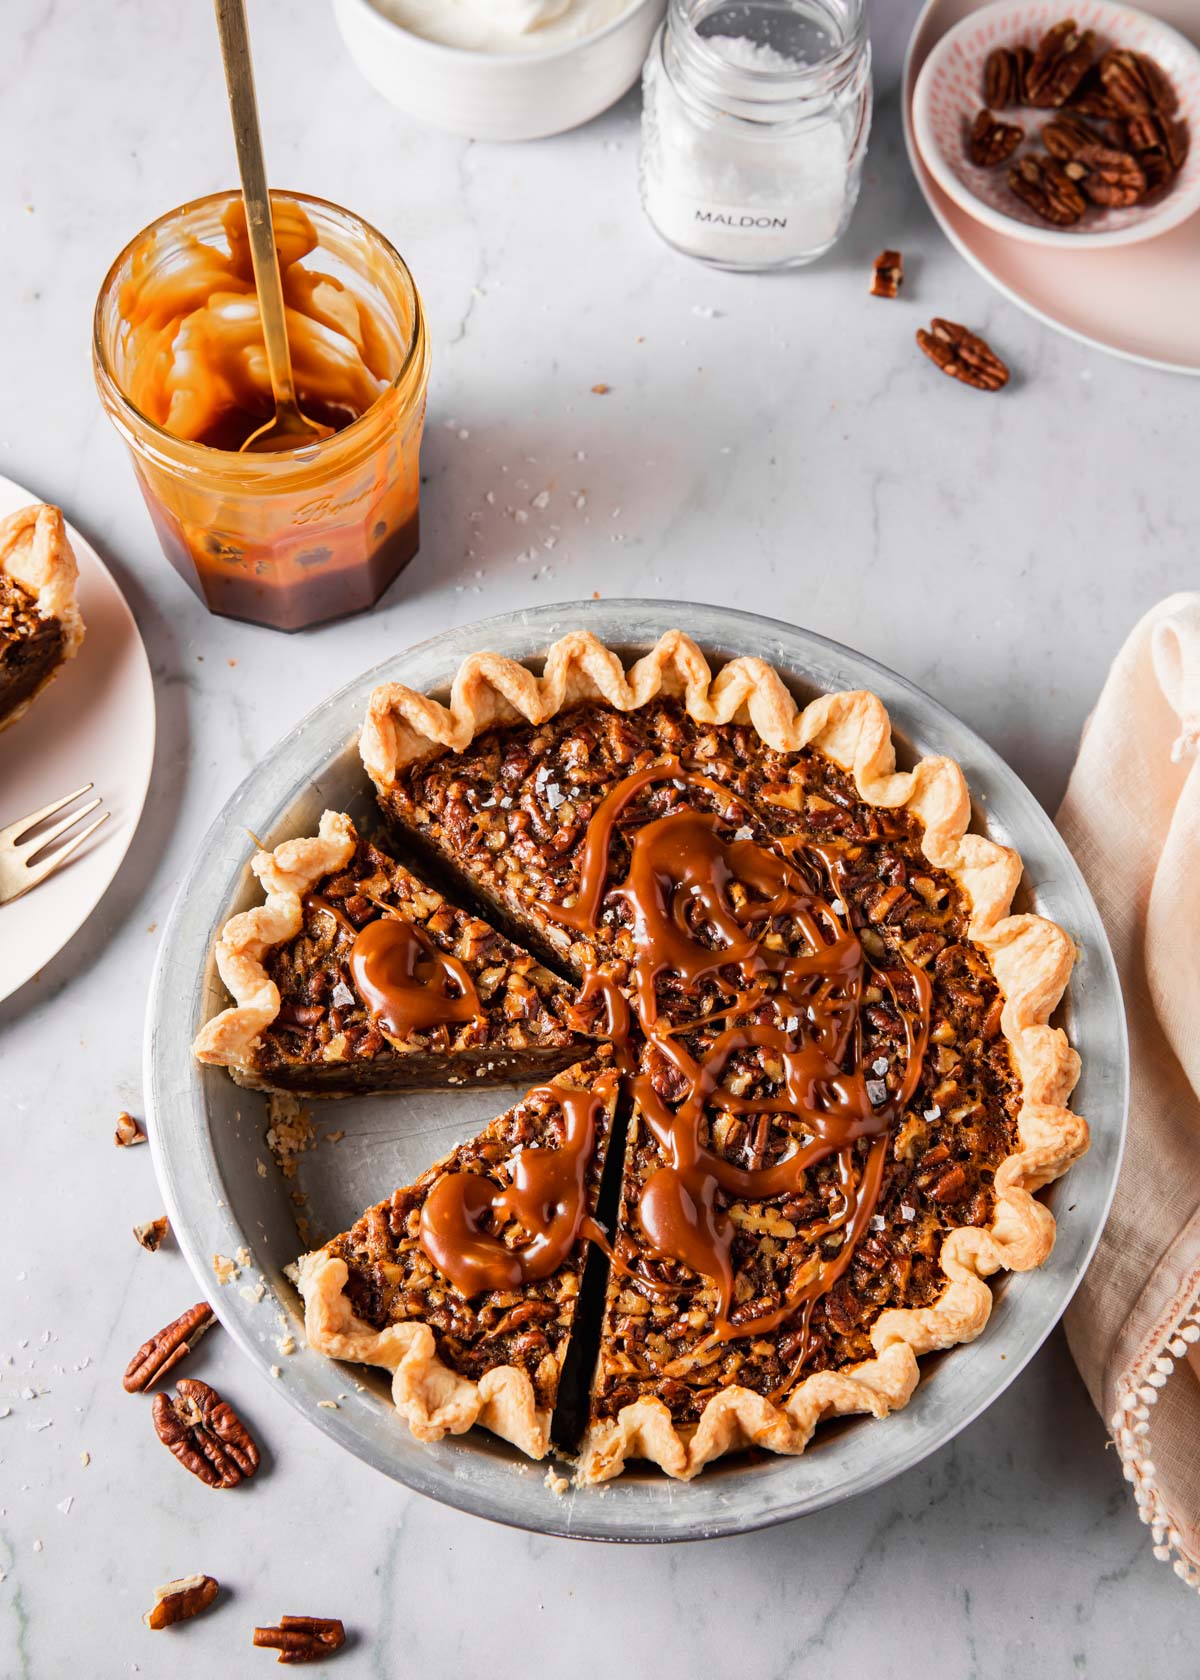
For no-bake fillings and some fruit and custard filled pies, the crust needs to be fully baked before adding in the filling.
For example, the filling for a banana cream pie does not spend any time in the oven and therefore needs the pie crust to be fully baked before assembling.
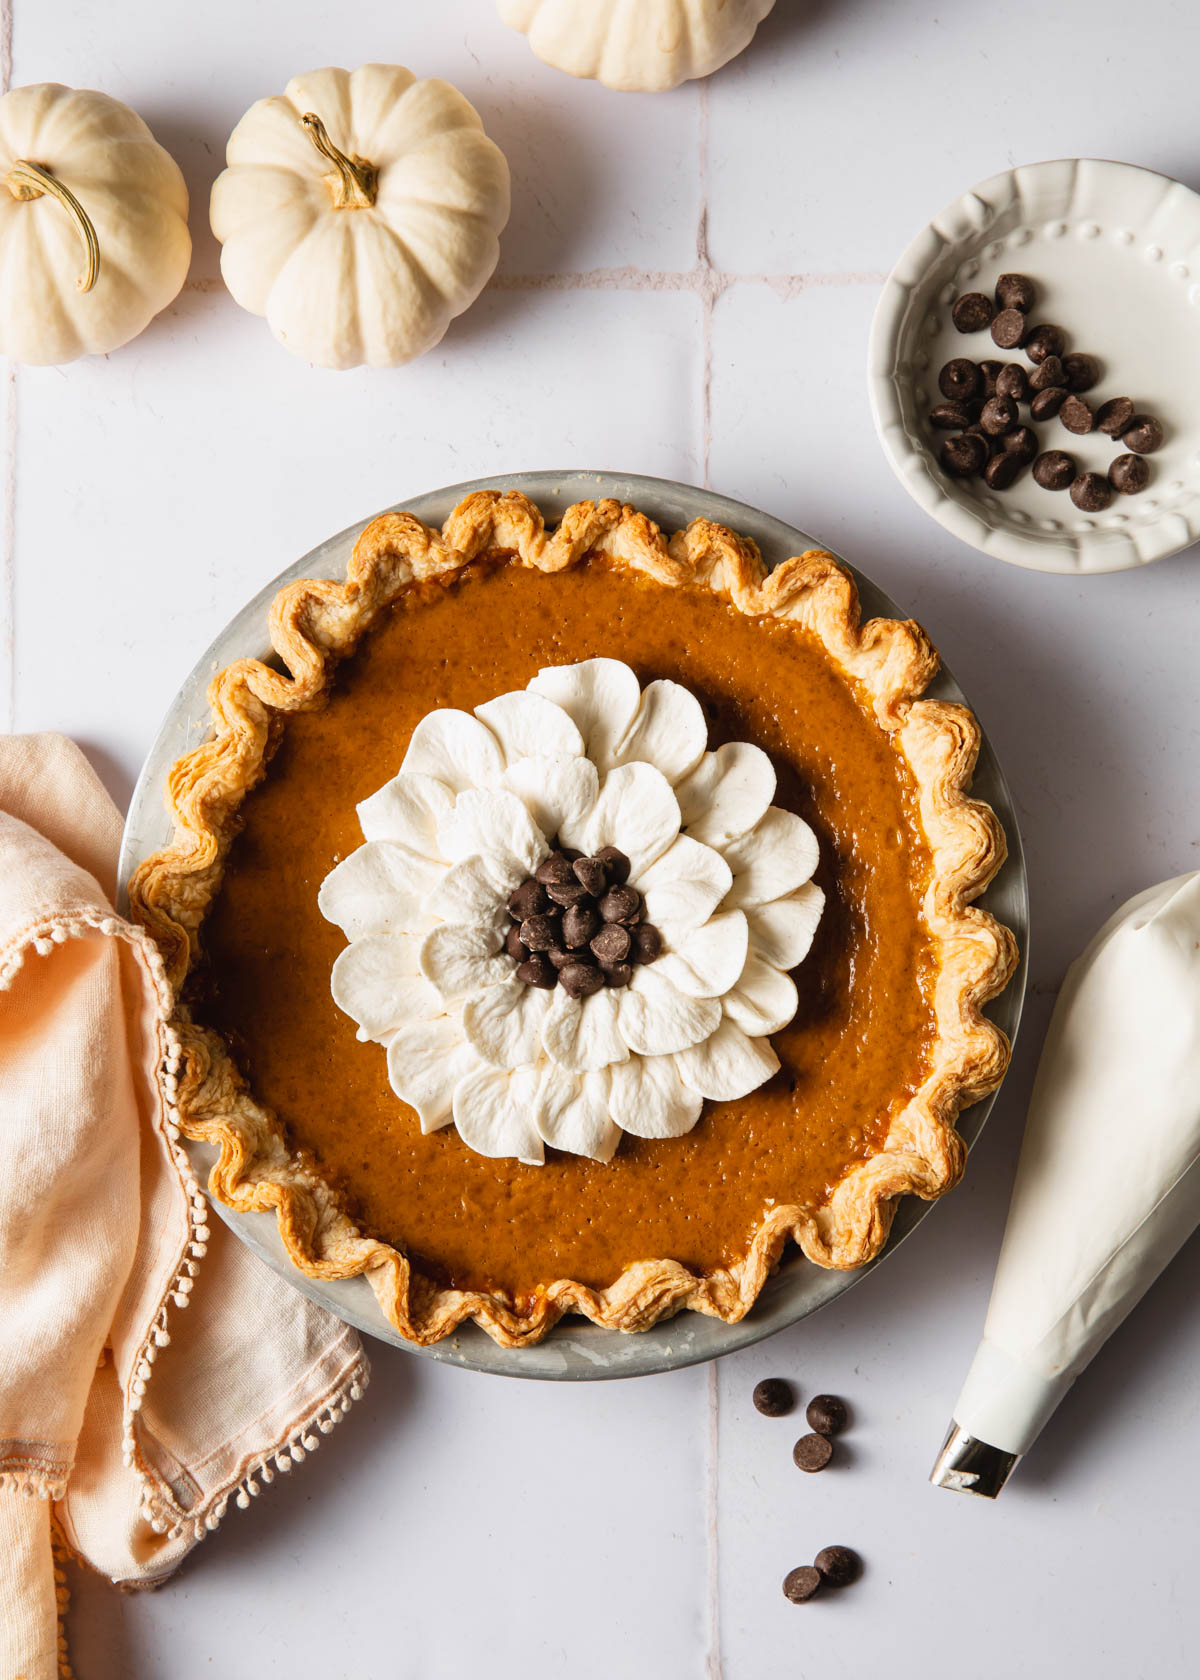
Likewise, a custard pie like pumpkin, spends very little time in the oven compared to a deep-dish apple pie. Adding the filling to a pre-baked crust keeps it from becoming soggy.
Ingredients and Equipment
- Prepared pie dough
- Rolling pin
- Paring knife or kitchen scissors
- 9-inch pie pan (preferably glass or aluminum
- Foil or parchment paper
- Pie weights or equivalent.
Substitutions
Don't have pie weights? Use dried beans, uncooked rice, or even granulated sugar! The oven will toast the sugar and you can use it in your baking for extra flavor.
Storage
Yay! Your pie crust is now baked and ready to go.
Store the pie crust wrapped in plastic or foil at room temperature for up to 3 days. Wrap well and then place in the a zip-tip bag to freeze up to 3 months. Thaw overnight in the refrigerator.
Top Tip
Be sure to thoroughly chill the pie crust before baking. This will help keep the shape of the crimp and , more importantly, help prevent the pie crust from shrinking.
FAQs
The best pie pans are glass and aluminum. The pie pans conduct heat easier and more evenly than ceramic.
Yes! After the crust completely cools, wrap in well in plastic. Wrap it in a layer of foil or pop the pie crust into a zip-top bag and freeze for up to 3 months. Thaw overnight in the refrigerator.
Yes. You need to fill the pie dough to keep it from slumping. If you don't have pie weights use dried beans, uncooked rice, or even granulated sugar. The oven will toast the sugar and you can use it in your baking for extra flavor.
Join the Style Sweet Bake Club!
Get exclusive recipes and articles sent straight to your inbox. Become a subscriber today! Click to join.
Steps for Blind Baking a Pie Crust
Time needed: 1 hour and 15 minutes
Learn how to blind bake a pie crust for no-bake fillings and some custard pies.
- Prepare the dough
Roll out the prepared pie dough and fit it in the pie pan. Trim to leave a ½-inch overhang.
- Crimp the edges
Using your fingers, crimp the edges of the pie dough. Press the crimped edges of the pie dough onto the lip of the pie pan to secure.
- Chill the dough
Preheat the oven to 400°F and chill the pie in the freezer for 20 minutes.
- Add pie weights
Line the chilled pie dough with foil or parchment paper. Fill with pie weights, dried beans, uncooked rice, or even granulated sugar.
- Partially bake
Bake the pie crust at 400°F for 20 minutes, or until the edges begin to take on a tiny bit of color.
- Finish baking
Lower the heat to 350°F. Take the pie crust out of the oven and carefully remove the pie weights. Bake for an additional 5 to 10 minutes, or until fully baked. The bottom should be dry to the touch and not greasy.
[…] Blind bake the pie crust - bake the pie crust until lightly golden before adding the filling […]