Last updated on November 4th, 2024 at 09:32 pm
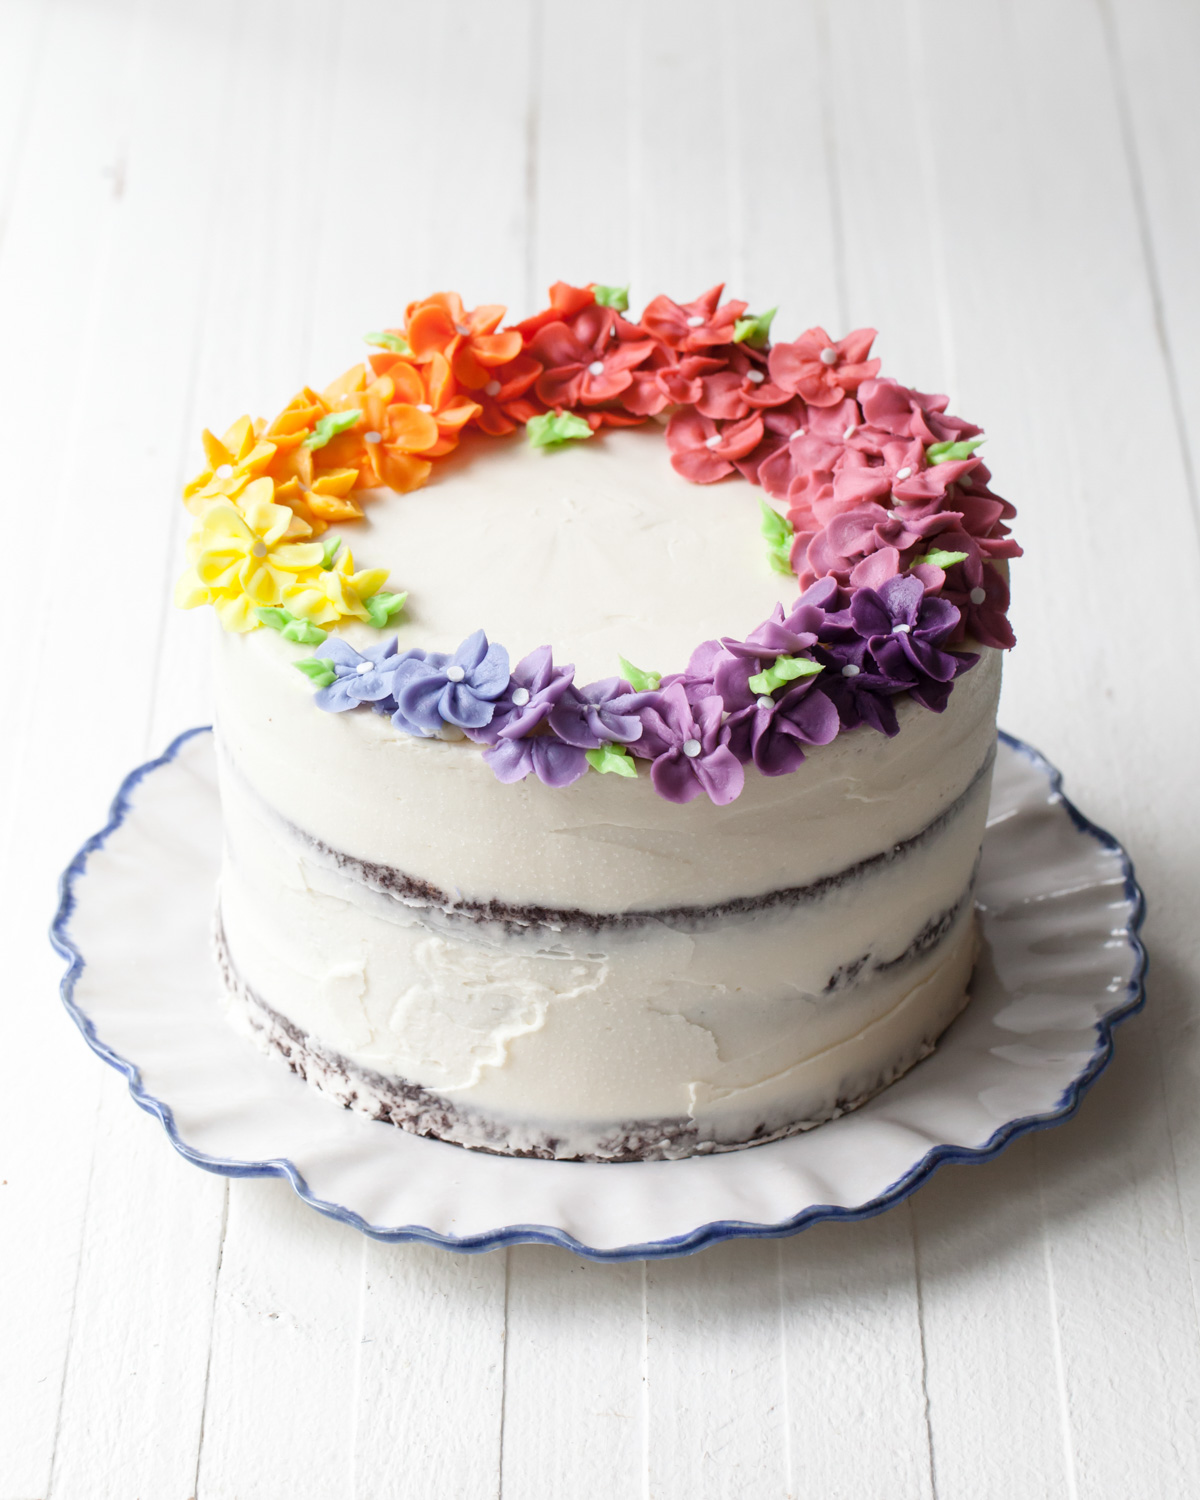
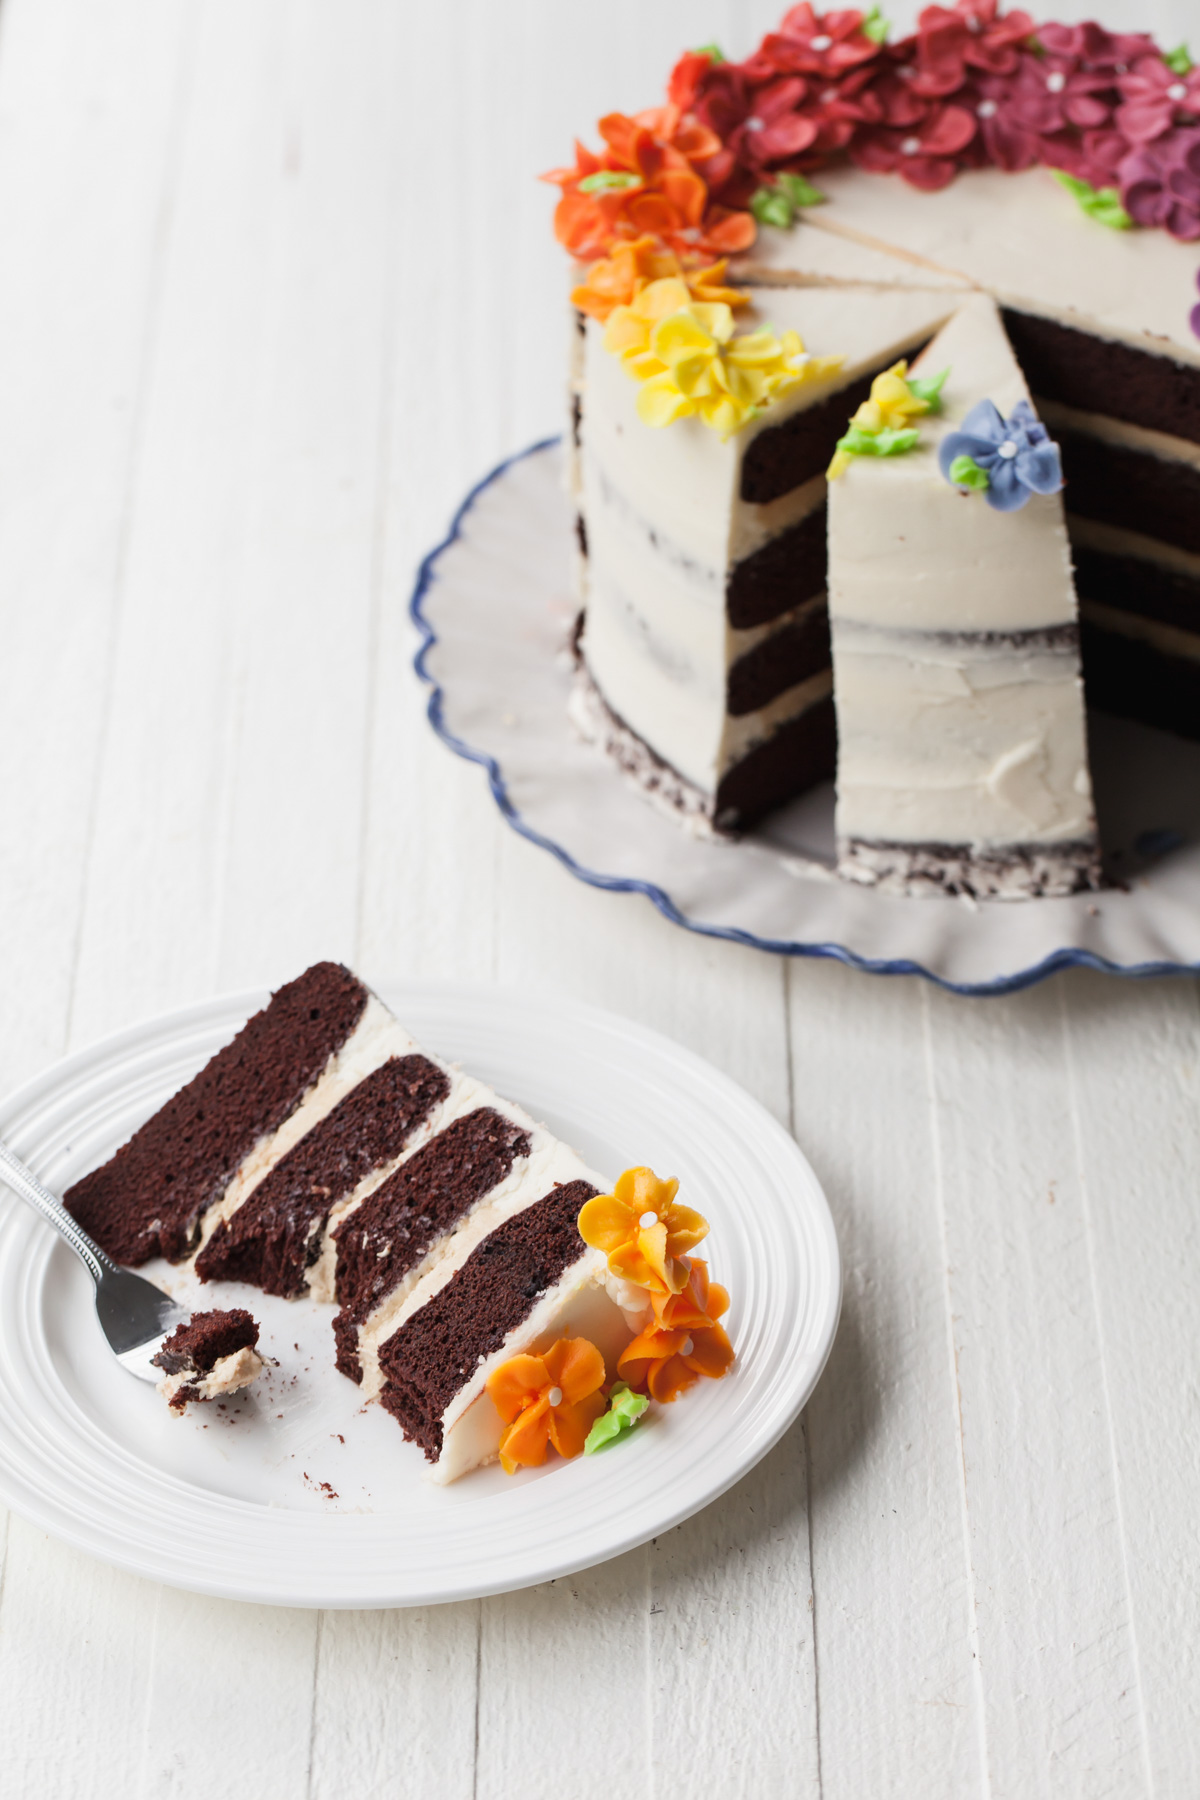
A rainbow of buttercream flowers crown this Eggless Chocolate Cake with Peanut Butter Frosting. Just when you thought you’d seen every style of rainbow cake out there, dozens of flowers spanning the entire color spectrum help give a fresh take on the rainbow cake.
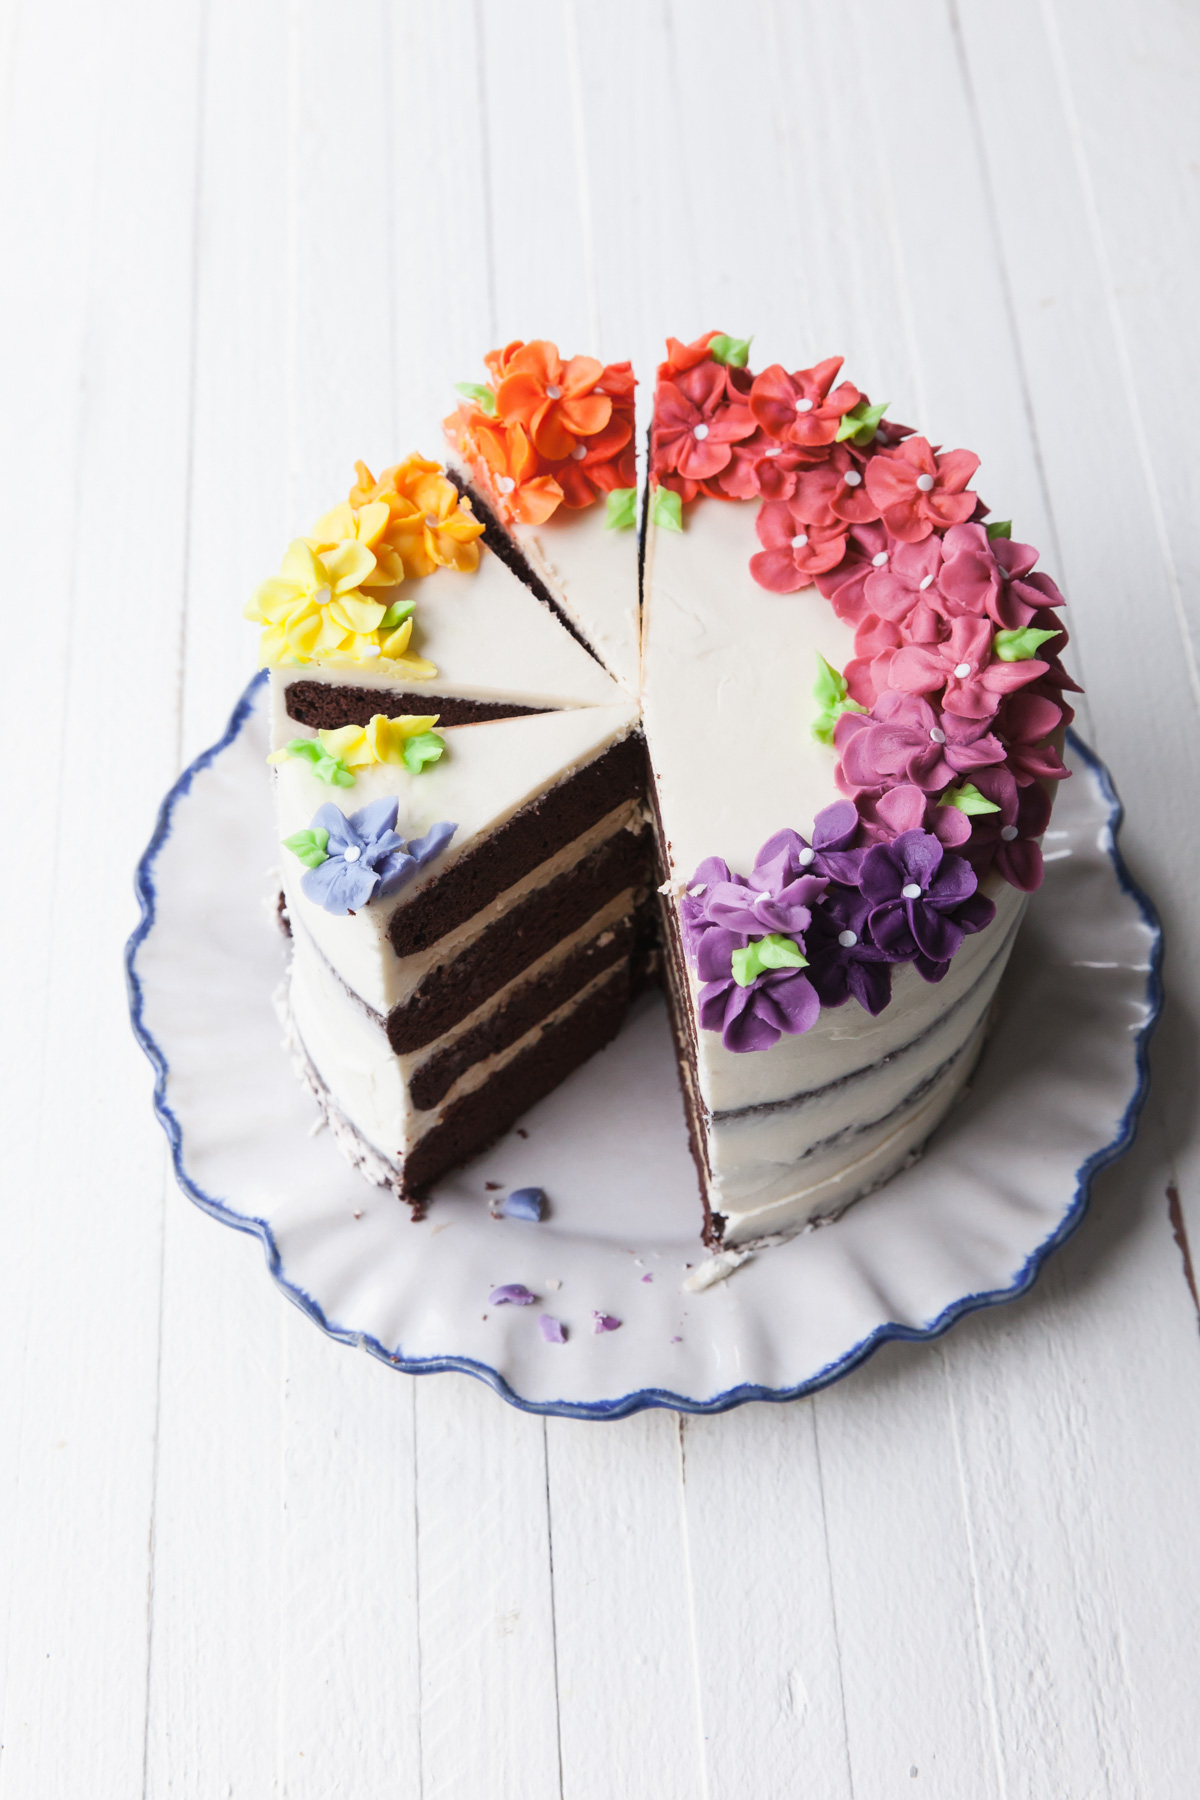
I was recently challenged by a few cake designer friends to come up with a fresh take on rainbow cakes. The struggle to come up with something totally original was real. I bounced ideas around in my head for weeks before landing on a design that is truly me - buttercream flowers.
Buttercream flower crowns aren’t new, but transitioning from color to color around the cake was definitely a new idea to me.
Instead of a variety of flowers, I stuck with one 5-petal blossom design (okay, some are 4-petals for variety) and relied on the colors as the main point of interest. Pretty sure it worked, because even I’m mesmerized by the rainbow effect (and that’s after a day’s worth of piping and a sink of rainbow dishes).
Find all our rainbow cakes here! Such a fun collaboration!
How to Make a Rainbow Flower Cake
To make the Rainbow Flower Cake, use a #103 piping tip to create various shades of buttercream flowers. Watch me pipe the simple petal blossoms here.
For the rainbow effect, start with the base color, in this case it was yellow, and keep adding different gel colors for a gradual transition.
For example, I started with double the amount of yellow buttercream that I would need to make the yellow flowers. When done with the yellow flowers, I added peach gel food coloring and continued to pipe yellow-peach flowers. From there I added orange, and so forth - adding more plain white buttercream as needed.
I used Americolor gels in Lemon Yellow, Peach, Orange, Watermelon, Fuchsia, Electric Purple, Violet, Sky Blue, and a mix of Mint and Leaf Green.
I used one large batch of Whipped Vanilla Buttercream for the flowers. I had a some leftover, but easily stored that away (wrapped tightly) in the freezer for later use.
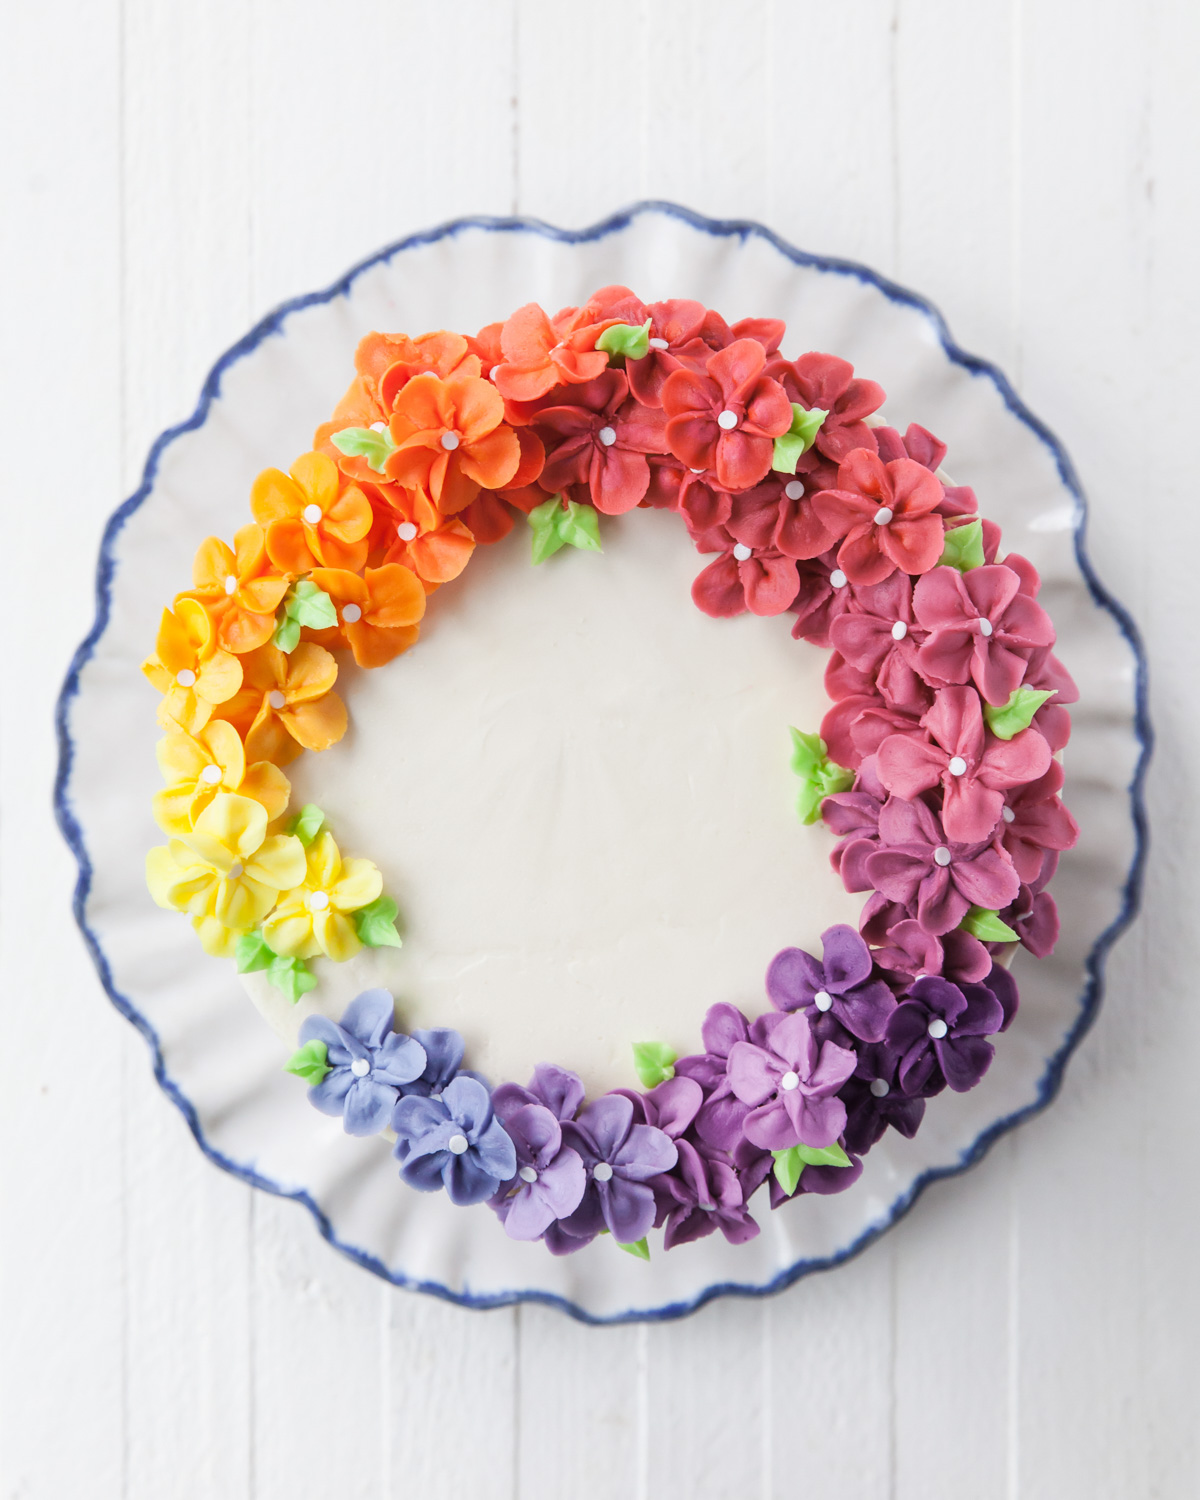
There are A LOT of flowers, but I was able to pipe them over the course of an entire day - between prepping meals, taking the kids to the park, and putting the baby down for a nap.
Keep unused buttercream covered and chill in the refrigerator if it becomes too warm to pipe.
As I do with most buttercream flowers that are pipe and place on top of a cake, each individual flower was piped on a square of parchment paper and chilled in the refrigerator. Once ready to assemble the cake, use a small offset spatula to lift the chilled flower off of the parchment and place on the cake.
This way, the buttercream firms up and is easier to handle. You can read more about this process here.
How to Assemble the Flower Cake
Pipe a partial-moon of buttercream on top of the cake. Not only does this help “glue” the flowers in place, but it gives more dimension to overall design and helps the flowers fit together like a puzzle.
If at any point the flowers become soft, place back in the refrigerator a continue again once firm. Finish off the flowers with a white quin-style sprinkles and piped green buttercream leaves.
I didn’t plan on a creating a semi-naked cake, but I am happy with the results. My 4 year old son helped me fill and frost the cake; we quickly ran out of buttercream and we decided that the slightly unfinished cake was perfect for the overall design. The copious amount of buttercream on the top of the cake makes up for any bits that might be missing from the sides.
Eggless Chocolate Cake
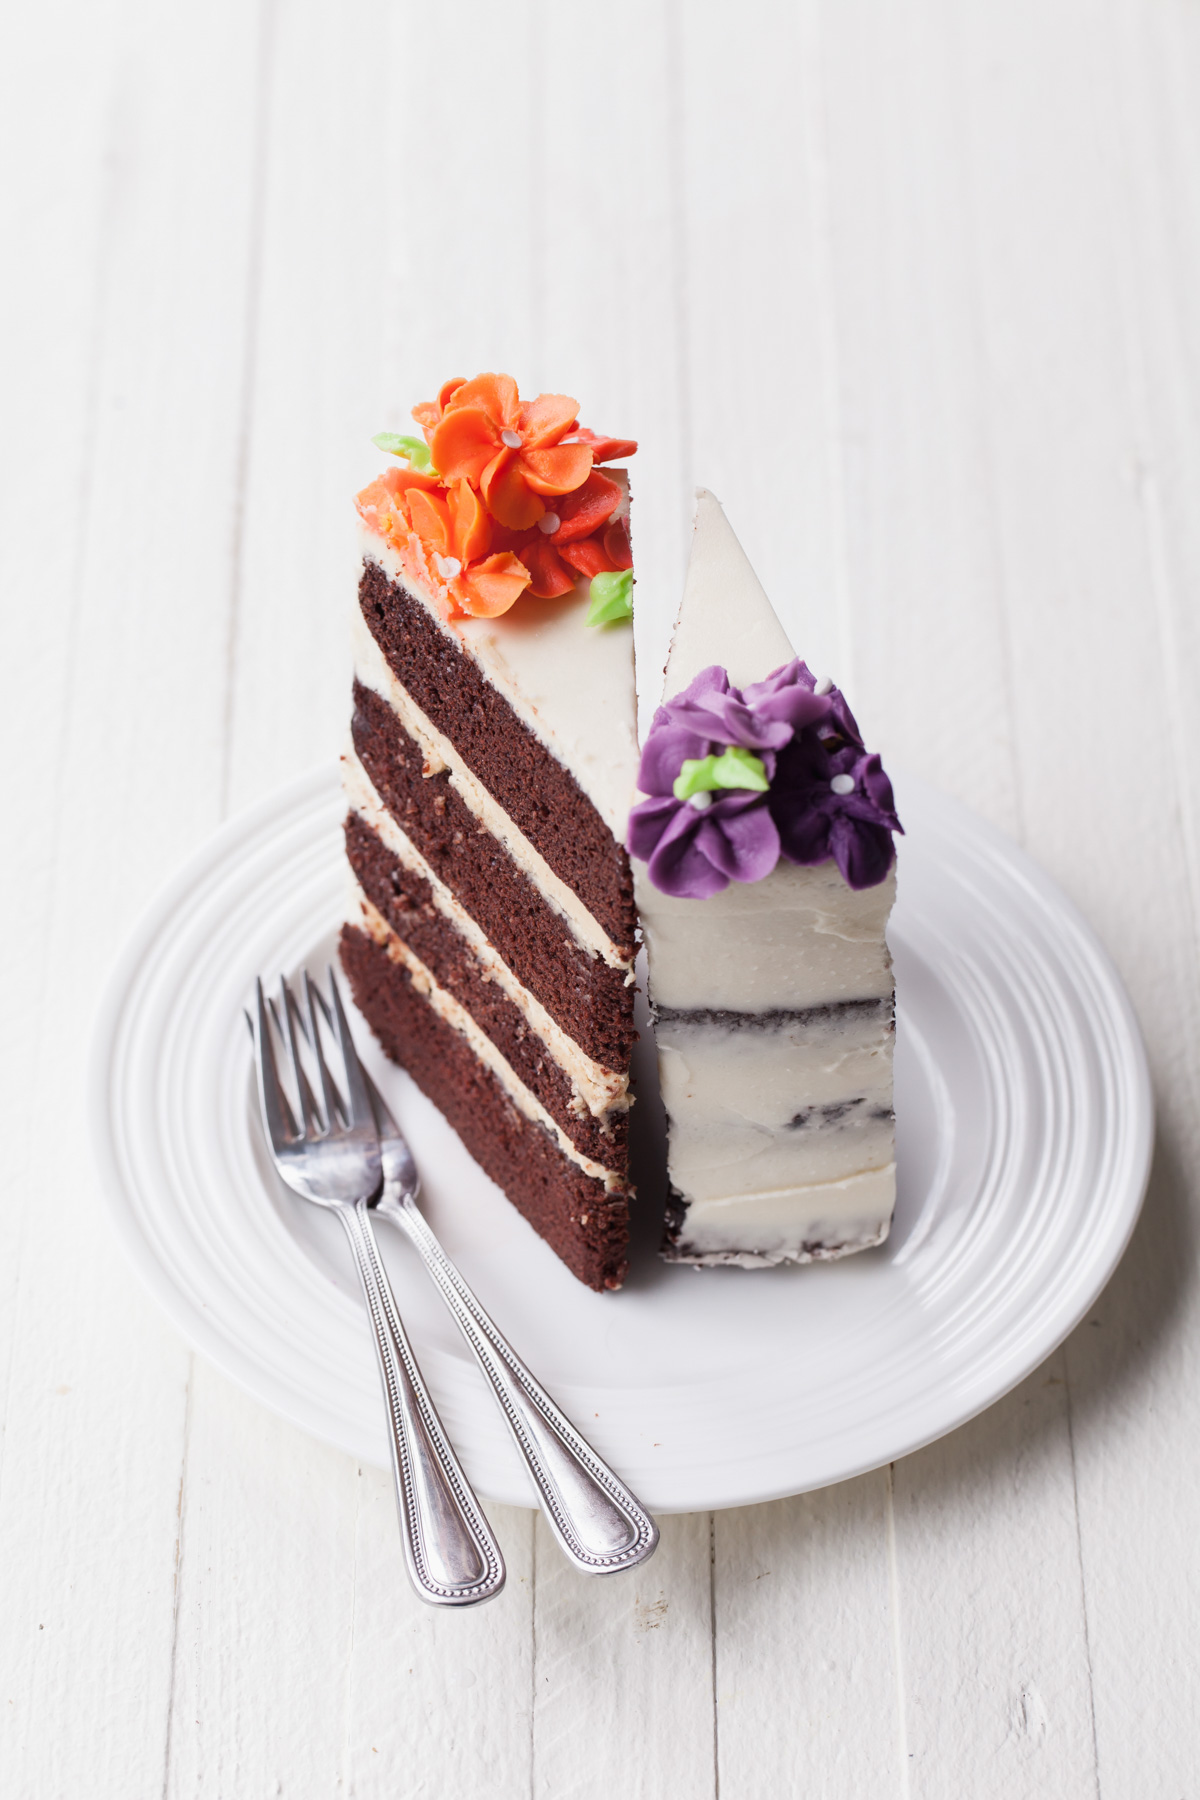
The chocolate cake layers come from my first cookbook, Layered. They are eggless, dairy-free, and extremely fudgy. I don’t remember why I sought out to make an eggless cake in the first place all those year ago, but I am so glad I did. This chocolate cake is fabulous and one that I should definitely make more often.
Peanut Butter Frosting
We (my son and I) paired the chocolate cake layers with a salted peanut buttercream filling. Basically, I made a large batch of Whipped Vanilla Buttercream and added creamy peanut butter and sprinkle of salt to the two cups that we would be using for the filling. After all the piped flowers, this simple filling was welcoming.
While the cake layers are vegan, the buttercream is not. Simple swap out the regular butter with vegan butter sticks and a splash of nut milk to keep the whole cake dairy-free.
Recipe
Rainbow Flower Cake
Ingredients
Eggless Chocolate Cake
- 420 g all-purpose flour
- 450 g granulated sugar
- 52 g unsweetened cocoa powder
- 2 ¼ teaspoon baking soda
- 1 teaspoon kosher salt
- ¾ teaspoon ground cinnamon
- 180 ml melted coconut oil
- 2 tablespoon + 1 teaspoon distilled white vinegar
- 2 teaspoon pure vanilla extract
- 540 ml hot coffee
Whipped Vanilla Buttercream
- 340 g unsalted butter softened
- 625 to 750 g powdered sugar
- 2 to 4 tablespoon milk
- 2 teaspoon vanilla extract
Peanut Butter Buttercream Filling
- 480 ml Whipped Vanilla Buttercream
- 120 ml smooth peanut butter
- 1 pinch salt if desired
Instructions
Eggless Chocolate Cake
- Pre-heat the oven to 350 degrees. Grease and flour four 8-inch cake pans* and set aside.
- In a large bowl, sift together the flour, sugar, cocoa powder, baking soda, salt, and cinnamon. Create a well in the centre of the dry mixture and pour in the coconut oil, vinegar, and vanilla. Stir to combine.
- White whisking, carefully stream in the hot coffee. Mix until fully combined, making sure to scrape the bottom of the bowl.
- Evenly divide the batter among the prepared pans. Baked for 22 to 26 minutes, or until a toothpick inserted into the center of the cakes comes out clean. Let them cool on a wire rack for 15 minutes before removing the cakes from their pans.
- *This cake was tested in four, 8-inch pans. You may bake in either two or three 8 or 9-inch pans if that is what you have and adjust the bake time accordingly. Do not fill the pans more than ⅔ of the way. Once cooled, cut the layers in half horizontally with a long serrated knife, if desired.
Whipped Vanilla Buttercream
- For this design, you will need to make two batches - one for the flowers and one for the filling/frosting
- Beat butter at medium-low speed of electric mixer until smooth and creamy (1 to 3 minutes.)
- Gradually add all but 1 cup (125 g) powdered sugar, 2 tablespoons of milk, and vanilla extract with mixer at low speed, scraping bowl occasionally. Mix until blended.
- Beat at medium-high speed 3 to 5 minutes, until buttercream is light and airy and nearly white. If needed, add the additional powered sugar or milk until desired consistency is achieved.
- For piping, the buttercream should be slightly thicker than the consistency of toothpaste - stiff enough to hold its shape but soft enough that it won’t cramp your hand when piping.
Peanut Butter Buttercream Filling
- Mix the ingredients together until combined.
- Adjust the salt according to taste or omit completely, if desired.
- Choose a no-stir peanut butter like Jiff or Skippy, not the natural kind.

Jasy Brigde
Dear Tessa ..i live in the Netherlands and bought 2 books. Layered and icing on the cake. For my friends birthday i want to make the rainbow cake from ur book layered. I have only 3 pans of 15 or 3 of 18 cm. So the batter for 6 layered i cant make all the 6 colors at once in the oven. Only 3! But how about the batter. Because in ur recipe u say u can bake in 2 batches of 3 colors. Can the batter wait while 3 cakes are baking or do i have to half the recipe and make 3 layers first and after that again half of the batter and 3 layers than? It wil be soo much work. But i wanne know if i can make the batter as u gave for 6 layers ..if i can make all in 1 time ...bake 3 colors and wait with the rest batter and when cakes are baked wash my pans and bake 3 than? Plsss reply. A big fan of uu
Beth
Thanks so much for this recipe- it’s been my go-to chocolate cake for the last several years! I always get compliments on it 🙂
stylesweet
Thank you so much for letting me know! I am glad you enjoy this recipe. It's super fudgy!
Nanajee Travels
This Eggless Chocolate Cake with Peanut Butter Frosting looks absolutely stunning! 🌈 The rainbow buttercream flowers are a creative twist on a classic, making it even more eye-catching. 🌸🍫 And with that peanut butter frosting—delicious! 😋 What a perfect balance of flavors and colors. I can’t wait to try making this myself! 🎉