Last updated on September 26th, 2024 at 02:29 pm
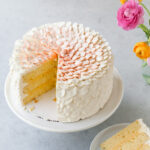
I wrote a second cookbook. It is called Icing on the Cake, and this is one of the most popular recipes so far. Tender orange layer cake filled with salted honey custard and frosted in a beautiful honey buttercream. Keep reading to see why everyone is loving it so much!
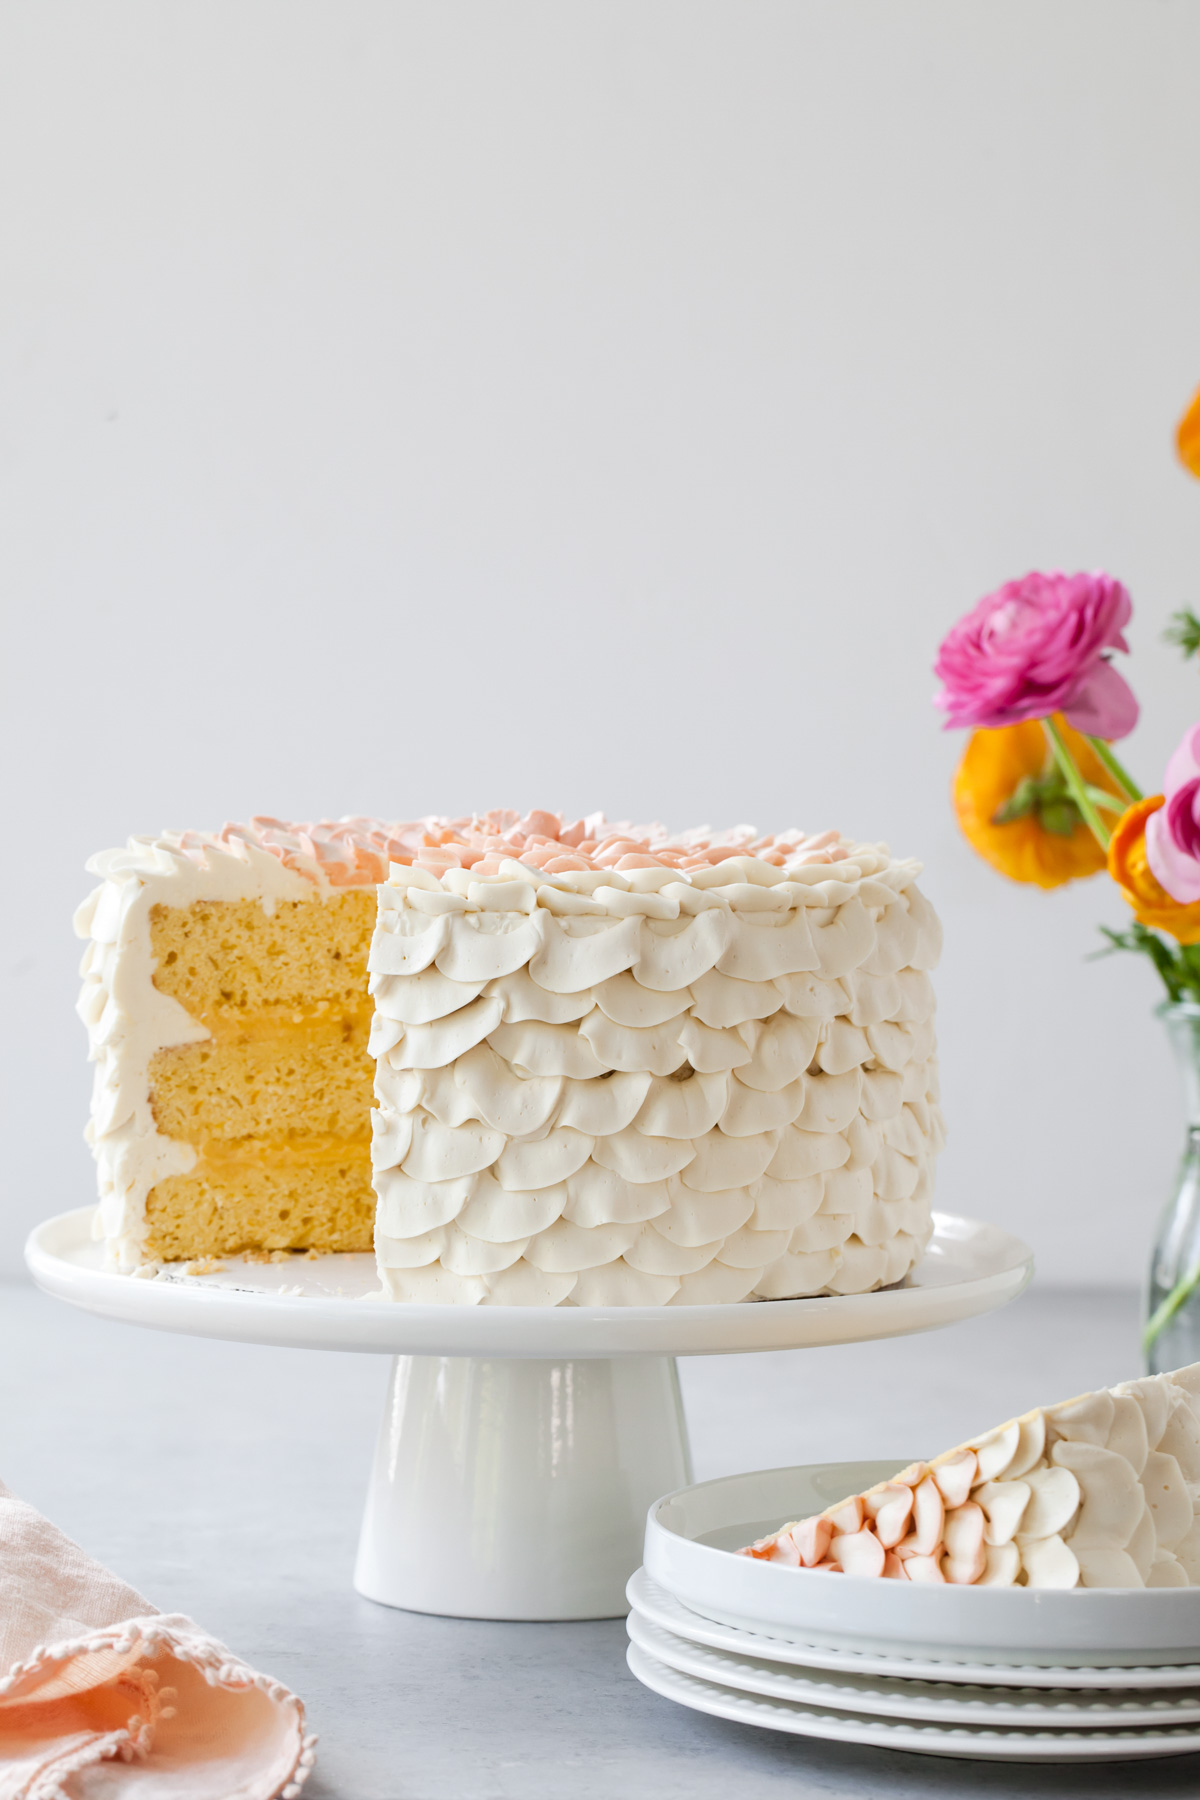
There are things that happened (or didn’t happen) with my first book, Layered, that I was eager to see repeat or change the second time around. For instance, The London Fog Cake ended up being the most popular recipe in the book, totally unpredicted by me. However, that Earl Grey buttercream is to-die for, so I guess I could have seen it coming.
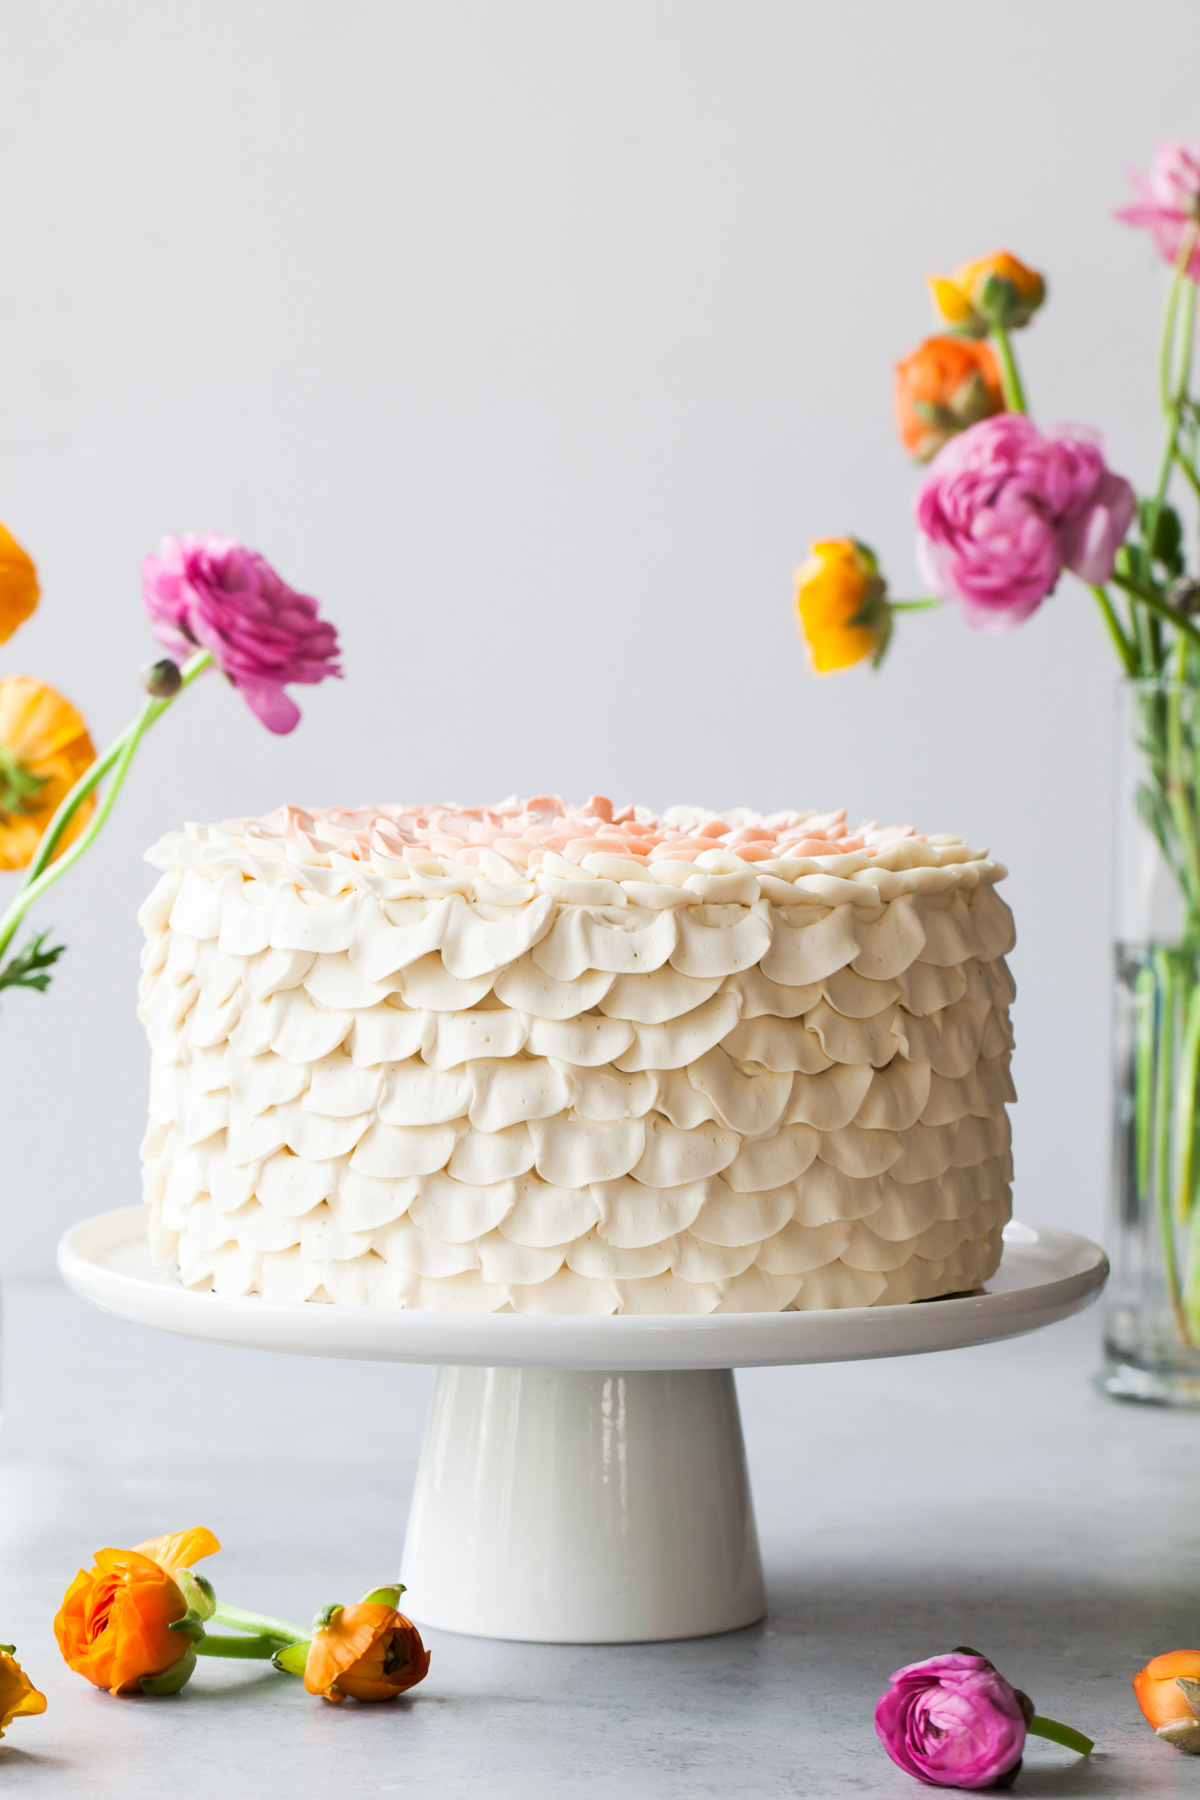
It’s probably too early to call, but the Orange Layer Cake with Salted Honey from Icing on the Cake has quickly become a stand-out recipe. With its frilly, flirty buttercream and intriguing flavor combination, it’s easy to see why. Both the design AND flavors are perfect for spring/summer, so it’s no wonder that this cake has become as early favorite.
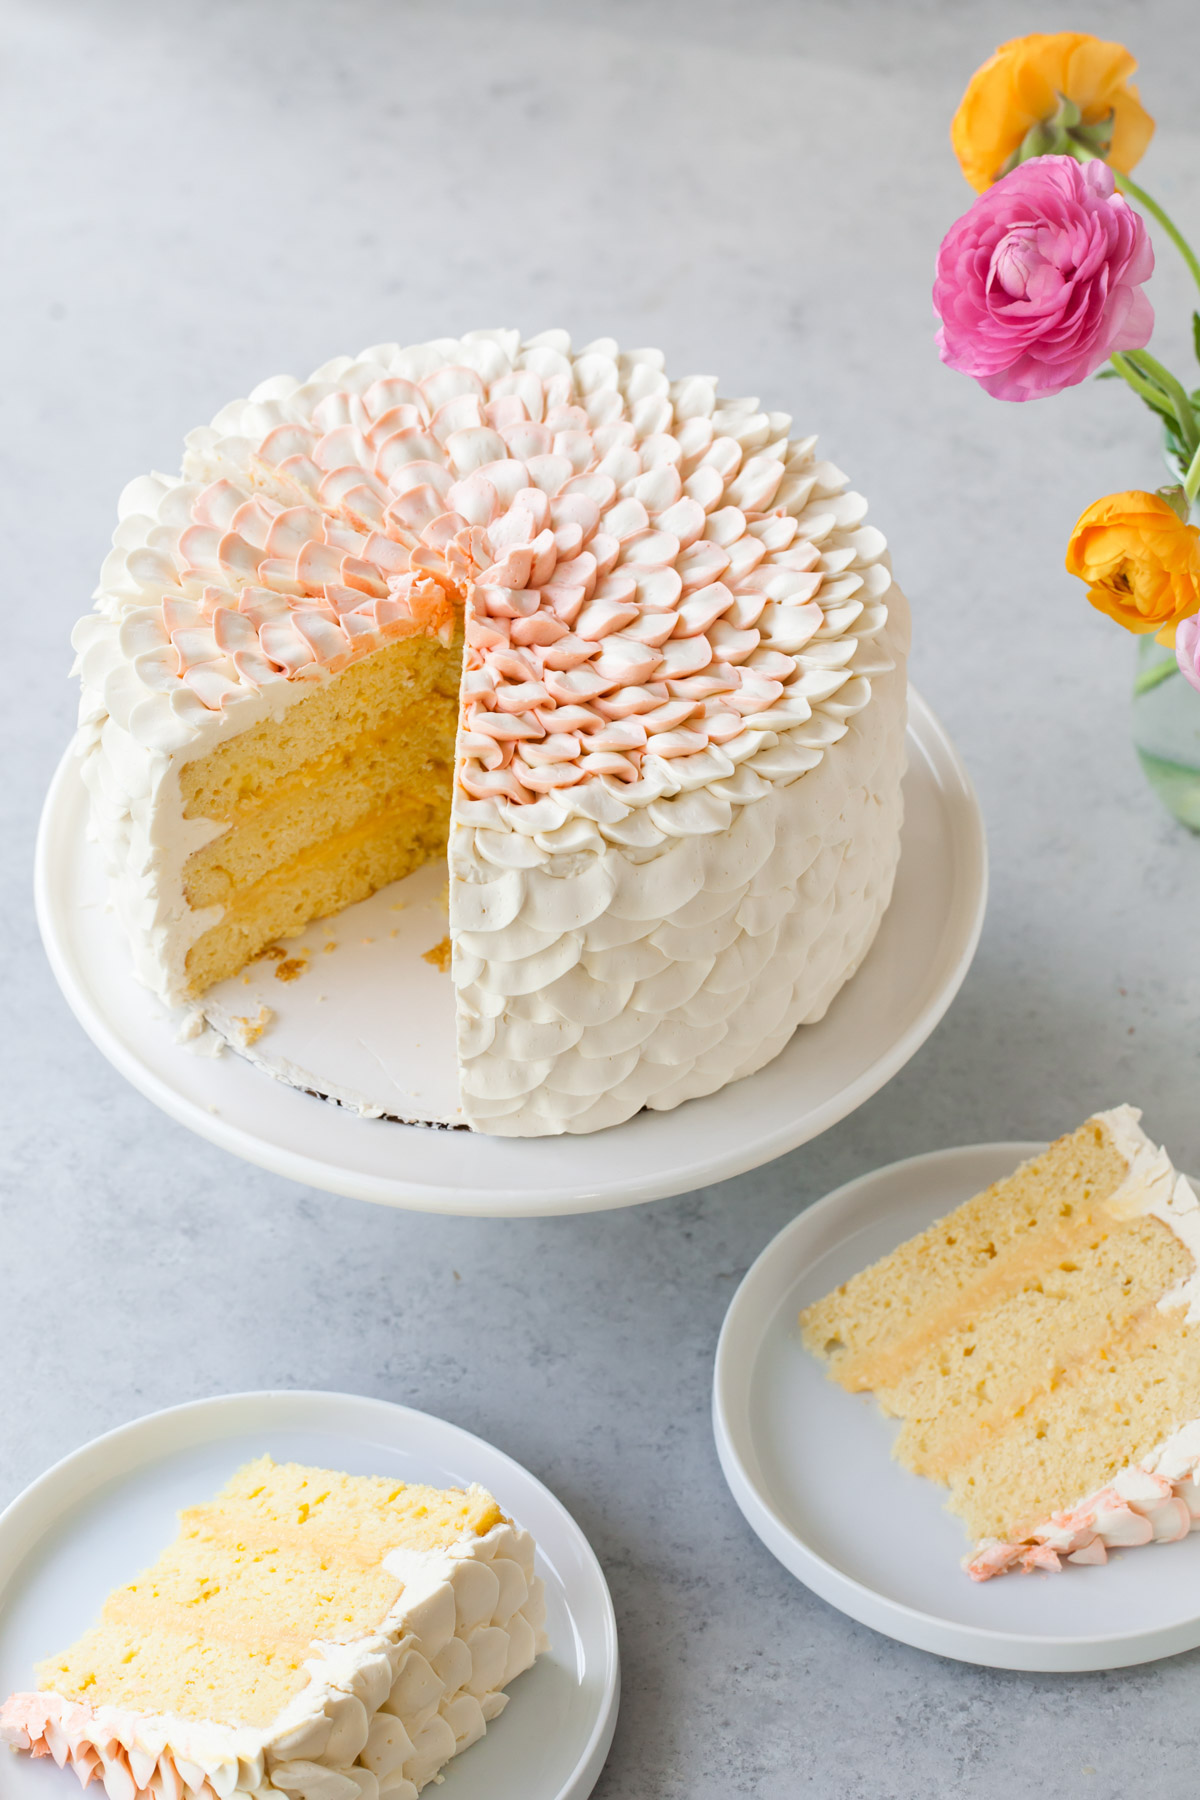
Here are some reasons why people are loving the petal decoration:
1) you don’t have to start with a perfectly smooth cake
2) each petal on its own can be far from perfect while the finished cake will still be beautiful as a whole.
3) you don’t NEED a rotating cake stand - just place the cake on a cake board or plate and then elevate onto a can or upside-down mixing bowl. Spin the whole things as needed.
4) you can really take your time. Technically, each petal can be made individually so you can really concentrate on your piping skills. Release the pressure on the piping bag between each “swag” until you get the hang of the motion - then speed up! On the contrary, keeping an even, slightly faster past might help with the rhythm of piping.
5) if you are still getting the hang of the piping, you can always scrape the cake and start again. Each petal is a change to practice!
6) each cake will be a little different than the next, but all will be beautiful in their own way and still be impressive (and tasty!!!!) no matter your piping skills!
The design is a great starting point for someone that wants to dive into to more advanced cake decorating techniques. It looks super impressive, when really it is the same technique repeated over and over. I think readers have been really drawn to this cake because of all of the frilly details the piping tips gives.
The key is to always keep the narrow end of the piping tip point to where you want the rounded, “frilled” edge to be. In this case, keep the narrow end of the piping tip facing DOWN for the sides of the cake and facing AWAY from the center of the cake for the top.
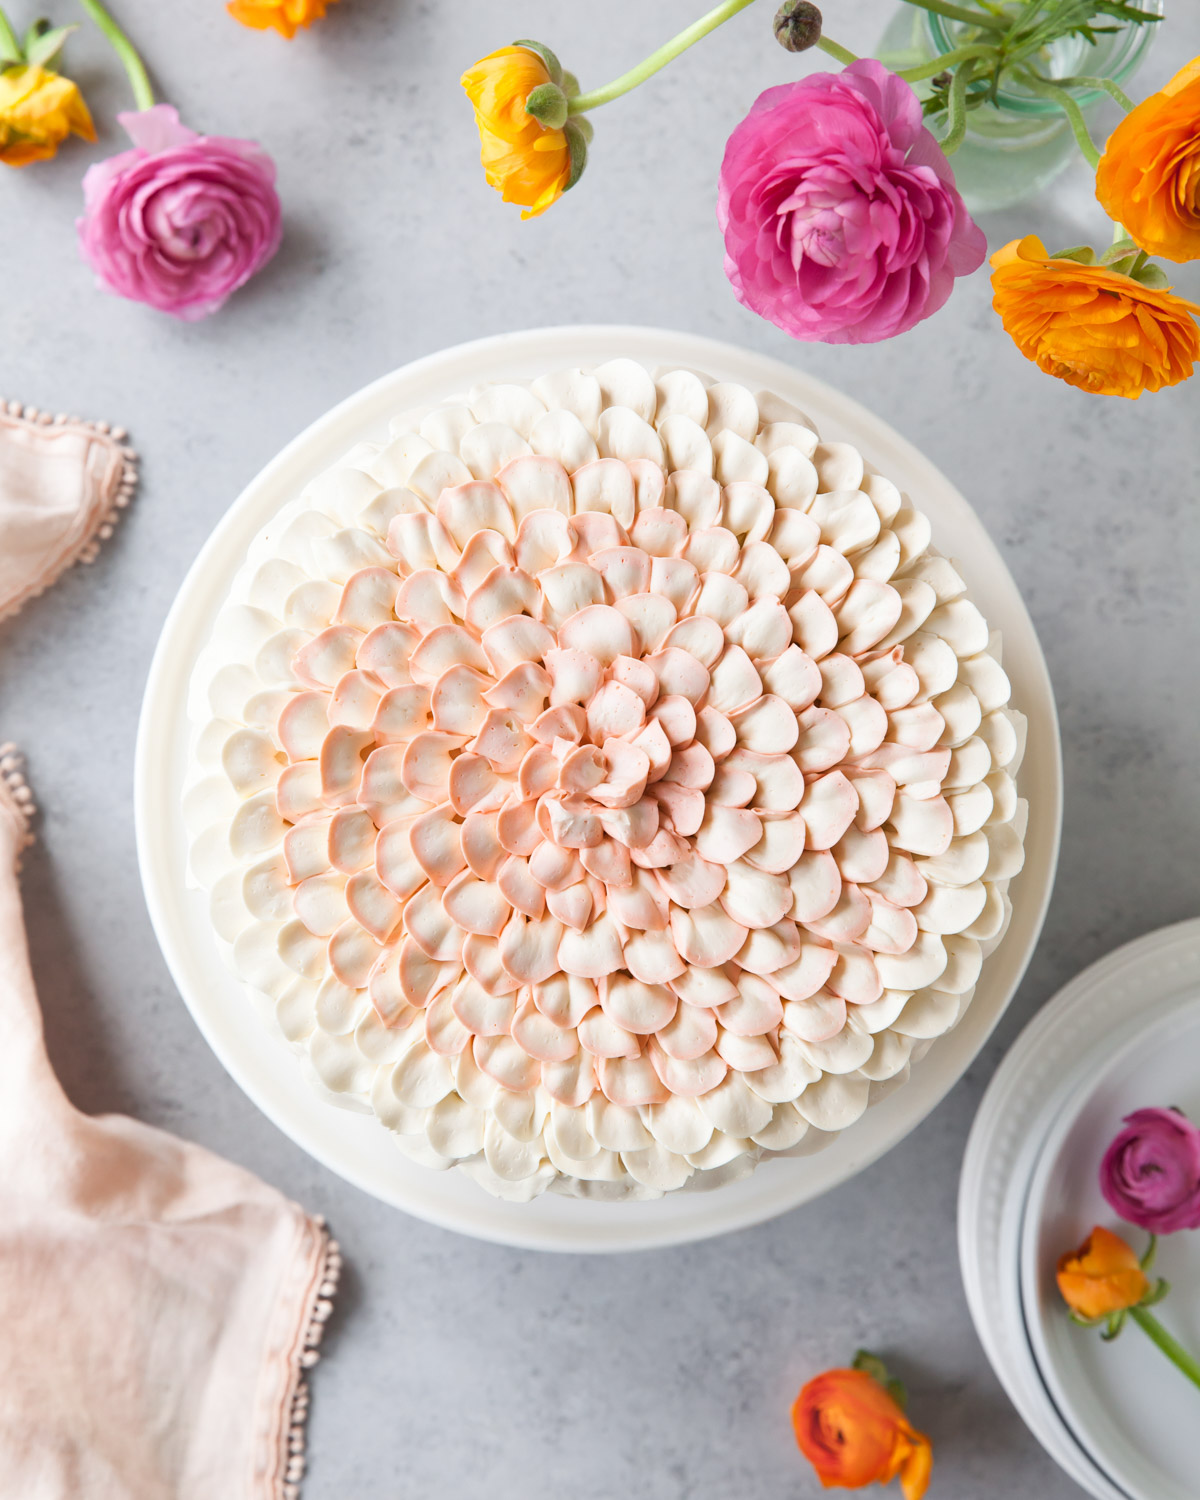
Beyond the petal finish (which can be recreated on any other cake/flavor with plain vanilla Swiss meringue buttercream), here’s what makes the cake flavors themselves so intriguing:
1) Salt. If you hadn’t already fallen in love with sweet/salty desserts by the time Salted Caramel hit the neighbourhood, then surely you fell in love with Salt after Samin Nosra’s book Salt, Fat, Acid, Heat. And if not then, then maybe when you caught the show of the same name on Netflix. Regardless Salt + Sweet (salt + basically anything else, really) equals awesome. Salt balances nearly any dish, sweet or savory. It makes our chocolate even chocolatelier and in this case, rounds out those sweet, floral honey flavors in the custard and in the buttercream.
2) Honey buttercream - you KNOW how much I LOVE Swiss meringue buttercream. But did you know you could substitute part (or all) of the granulated sugar with a different sweetener? Here, I replaced half of the granulated sugar with honey. BOOM! Done. Honey buttercream. You could also try this with maple syrup….mmmmm.
3) Honey custard. The filling is essentially pastry cream., but again, I substituted some of the granulated sugar for honey and it totally works! Thick, velvety, luscious pastry cream - how i love thee! A pad of butter makes is smooth, glossy, and even more decadent. Add salt to taste, and then a little extra, just in case.
4) Orange butter cake. This is a riff on my favorite butter cake. Massaging fresh orange zest straight into the sugar releases the citrus oils and perfumes the entire cake. What goes better with all that honey than some zesty orange?
All that being said, it is no wonder why this Orange Salted Honey Cake has been the most talked about recipe from Icing on the Cake so far! I’ve also been pedalling it around at various cooking schools in North American as part of my cookbook tour. It is such a fun design to show! I love how the repetitive yet impressive nature of the piping allows me to talk to students and answer questions while creating the cake live in front of them at the same time. My next class is sold out, but I promise there will be more in the near future!
Recipe
Orange Layer Cake
Ingredients
Salted Honey Custard
- 2 tablespoon unsalted butter diced
- 1 ⅓ cup milk
- ⅓ cup granulated sugar divided
- ⅓ cup honey
- 4 tablespoon + 1 ½ tsp cornstarch
- 4 egg yolks
- 1 teaspoon pure vanilla extract
- ½ to ¾ teaspoon salt to taste
Orange Butter Cake
- 3 cups cake flour
- 1 tablespoon + ¼ tsp baking powder
- ½ teaspoon salt
- ½ cup + 1 tbsp fresh orange juice
- ¾ cup buttermilk
- 1 cup unsalted butter at room temperature
- 2 cups granulated sugar
- 2 tablespoon fine orange zest
- 1 teaspoon pure vanilla extract
- 4 large eggs
Honey Buttercream
- 2 ½ cups unsalted butter at room temperature
- 5 large egg whites
- ¾ cup + 1 tbsp honey
- ¾ cup + 1 tbsp granulated sugar
- 2 teaspoon pure vanilla extract
Instructions
Salted Honey Custard
- Place the butter in heat-safe bowl. Set a fine-mesh sieve over the top of the bowl and set aside.
- In a medium saucepan, heat the milk and 2 tablespoons of sugar over medium heat. Bring it slowly to a simmer then remove from the heat.
- Meanwhile, whisk together the remaining sugar, honey, and cornstarch in a medium mixing bowl. Whisk the eggs yolks into the honey mixture until smooth.
- Temper the hot milk into the egg mixture by whisking in a small amount of milk into the egg mixture to slowly raise the temperature of the eggs before transferring everything back to the saucepan. Place the saucepan back on the stove and cook over medium-low heat. Continuously stirring, heat the custard until it thickens and slow, large bubbles start to pop on the surface. Whisk continuously for one minute then remove from the heat.
- Pour the pastry cream through the mesh sieve into the bowl with the butter. Add the vanilla and salt. Stir until smooth and cover with a piece of plastic wrap pressed directly to the surface of the pastry cream. Refrigerate until cool and thick, at least 2 hours or overnight.
Orange Butter Cake
- Pre-heat the oven to 350°F (175°C). Grease, flour, and line the bottoms of three 8-inch cake pans with parchment and set aside.
- Sift together the flour, baking powder, and salt and set aside. In a separate bowl, stir together the buttermilk and orange juice. Set aside.
- In the bowl of a stand mixer fitted with the paddle attachment, beat the butter on medium speed for 2 minutes. Meanwhile, rub the sugar and orange zest together in a small bowl between your fingertips until fragrant. Add the sugar mixture to the butter and mix on medium-high until light and fluffy, 3 to 5 minutes. Stop the mixer and scrape down the bowl.
- Turn the mixer to medium-low and add the vanilla and eggs, one at a time. Mix until combined. Stop the mixer and scrape down the bowl.
- Turn the mixer to low and add the flour mixture in three batches, alternating with the orange juice mixture, beginning and ending with the flour mixture. Mix on medium for no more than 30 seconds after the last streaks of the flour mixture are combined.
- Evenly divide the batter among the prepared pans. Bake for 23 to 26 minutes, or until a toothpick inserted into the center of the cakes comes out clean. Let them cool on a wire rack for 10 to 20 minutes before removing the cakes from their pans. Once the cakes have completely cooled, discard the parchment and level the tops of the cakes as needed.
Honey Buttercream
- Place the eggs whites, honey, and sugar in the bowl of a stand mixer. Gently whisk them by hand until just combined. Fill a medium saucepan with a few inches of water and bring to a simmer. Place the mixer bowl on top of the saucepan to create a double-boiler. The bottom of the bowl should not touch the water. Whisking intermittently, heat the egg mixture until it reaches 160°F (70°C) on a candy thermometer. Carefully fit the mixer bowl back onto the stand mixer.
- With the whisk attachment, beat the egg white mixture on high speed for 8 to 10 minutes, or until the mixture holds medium-stiff peaks and the outside of the bowl returns to room temperature.
- Turn the mixer down to low and add in the vanilla and butter, a couple tablespoons at a time. Stop the mixer and swap out the whisk for the paddle attachment.
- Turn the mixer to medium-high and beat until the buttercream is silky smooth, 2 to 5 minutes
Assembly
- Whisk the honey custard to loosen and smooth. Place one layer of cake on a cake board or serving plate. Fill a piping bag fitted with a plain, round tip with the honey buttercream. Pipe a ring around the outer top edge of the cake to create a “dam.” Fill the ring with half of the honey custard and smooth with an offset spatula or the back of a spoon. Top with the middle layer of cake and repeat. Place the last layer of cake on top. Crumb coat the cake with the honey buttercream and chill in the refrigerator for 15 minutes.
Decoration
- Smoothly frost the cake with a thin layer of buttercream. Fill a piping bag fitted with a petal tip (Wilton #104) with buttercream. Place the cake on a rotating cake stand. Gently touch the tip to the cake, narrow end facing down, about 1-inch (2.5 cm) from the bottom of the cake. Begin piping continuous swags of buttercream around the bottom of the cake. The bottom of each swag should graze the cake board or serving dish. Continue around the cake, slightly overlapping each row, until the sides are completely covered.
- For the top of the cake, hold the piping bag at a 45-degree angle to the top of the cake, facing away from your body. Keeping the narrow end of the tip pointing away from the center of the cake, gently squeeze the piping as you move it out away from your body and back in. Continue piping concentric circles of petals around the top of the cake clock-wise (or counter clock-wise if you are left handed), spinning the cake stand as you go. As you approach the center, tint the buttercream a soft peach color, or color of your choice, to create a gentle ombre effect. Overlap the rows of petals and increase the angle of the piping bag until you reach the center. Store loosely covered with plastic wrap or in a cake box in the refrigerator until 30 minutes before serving.

KJ
Could this be done as a three layer cake using 6 inch pans or is there just too much batter? How much batter goes into each pan? Loving this recipe idea, thank you so much for all of your creative, lovely recipes.
stylesweet
Hi! It was originally a 6-inch cake from my book, Icing on the Cake. I share it as this smaller version over on my newsletter here: https://bakeclub.stylesweet.com/p/cookbook-club-icing-on-the-cake. Happy Baking!