Last updated on September 27th, 2025 at 11:14 pm
These Chocolate Marshmallow Cookies have bits of peppermint and perfectly gooey centers. With crunchy, refreshing peppermint bits and melted marshmallow centers, these chewy chocolate cookies are begging to be on your holiday baking list.
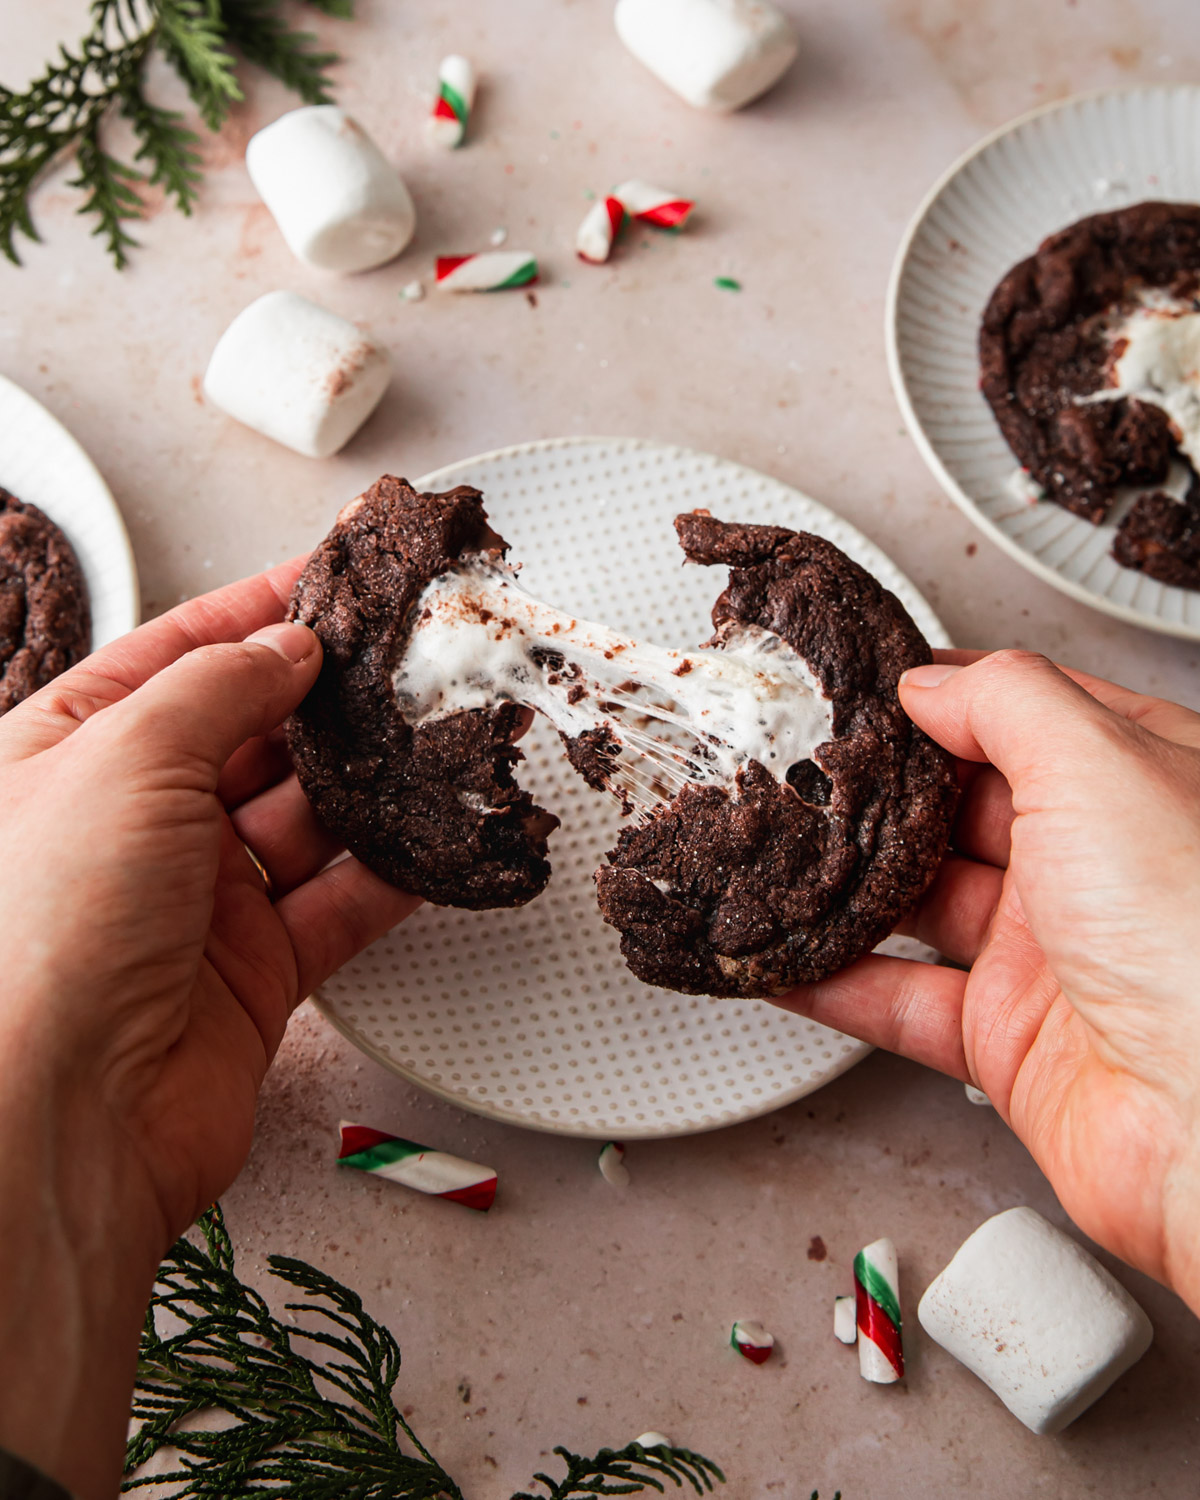
Why MUST you make Chocolate Marshmallow Cookies:
These cookies have everything we love about hot cocoa in the winter. Chocolate, peppermint, and of course, marshmallows!
The taste and texture of these cookies are both incredible. Chocolate from unsweetened Dutch-processed cocoa powder and semi-sweet chocolate chips make for a solid cookie.
For the holiday season, add a hint of peppermint extract and creamy marshmallows to take them to next-level, Santa-approved heights.
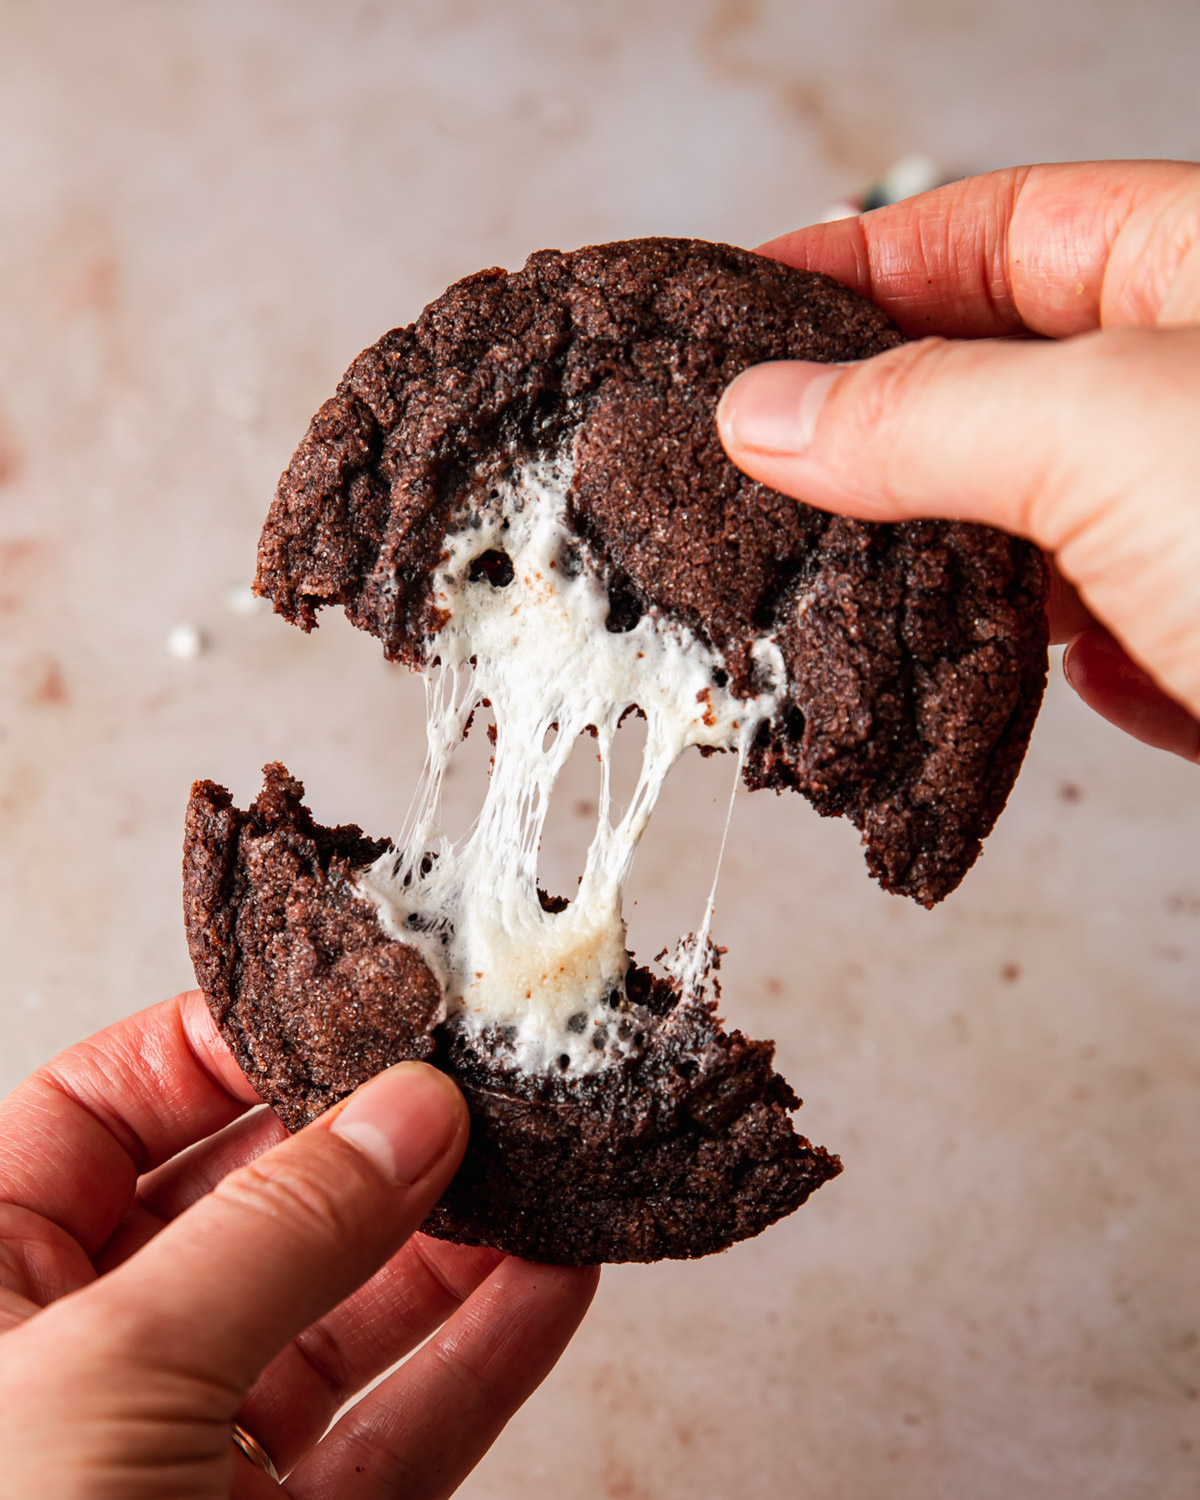
Chewy in the center and crisp around the outside, these cookies have a fudgey texture with just enough bite from the peppermint bits and crunchy edges. I know why we are really here though - the marshmallow centers!
Even after the cookies cool, the marshmallow stays gooey and delicious. A quick roll in some sugar before baking adds the perfect finishing touch.
INGREDIENTS IN Chocolate Marshmallow Cookies:
Here is a quick glance at some of the ingredients needed beyond basic pantry staples. Find a complete list with quantities in the full recipe to follow.
- Dutch-processed cocoa powder
- Unsalted butter
- Eggs
- Brown sugar
- Granulated Sugar
- Peppermint extract
- Semi-sweet chocolate chips
- Peppermint candies or candy cane
- Large marshmallows
TOOLS AND EQUIPMENT
These are the primary tools you will need to bake these cookies:
- Mixing bowls
- Hand or stand mixer
- Parchment paper
- Baking sheets
- Mechanical cookie scoop

Marshmallow Cookies
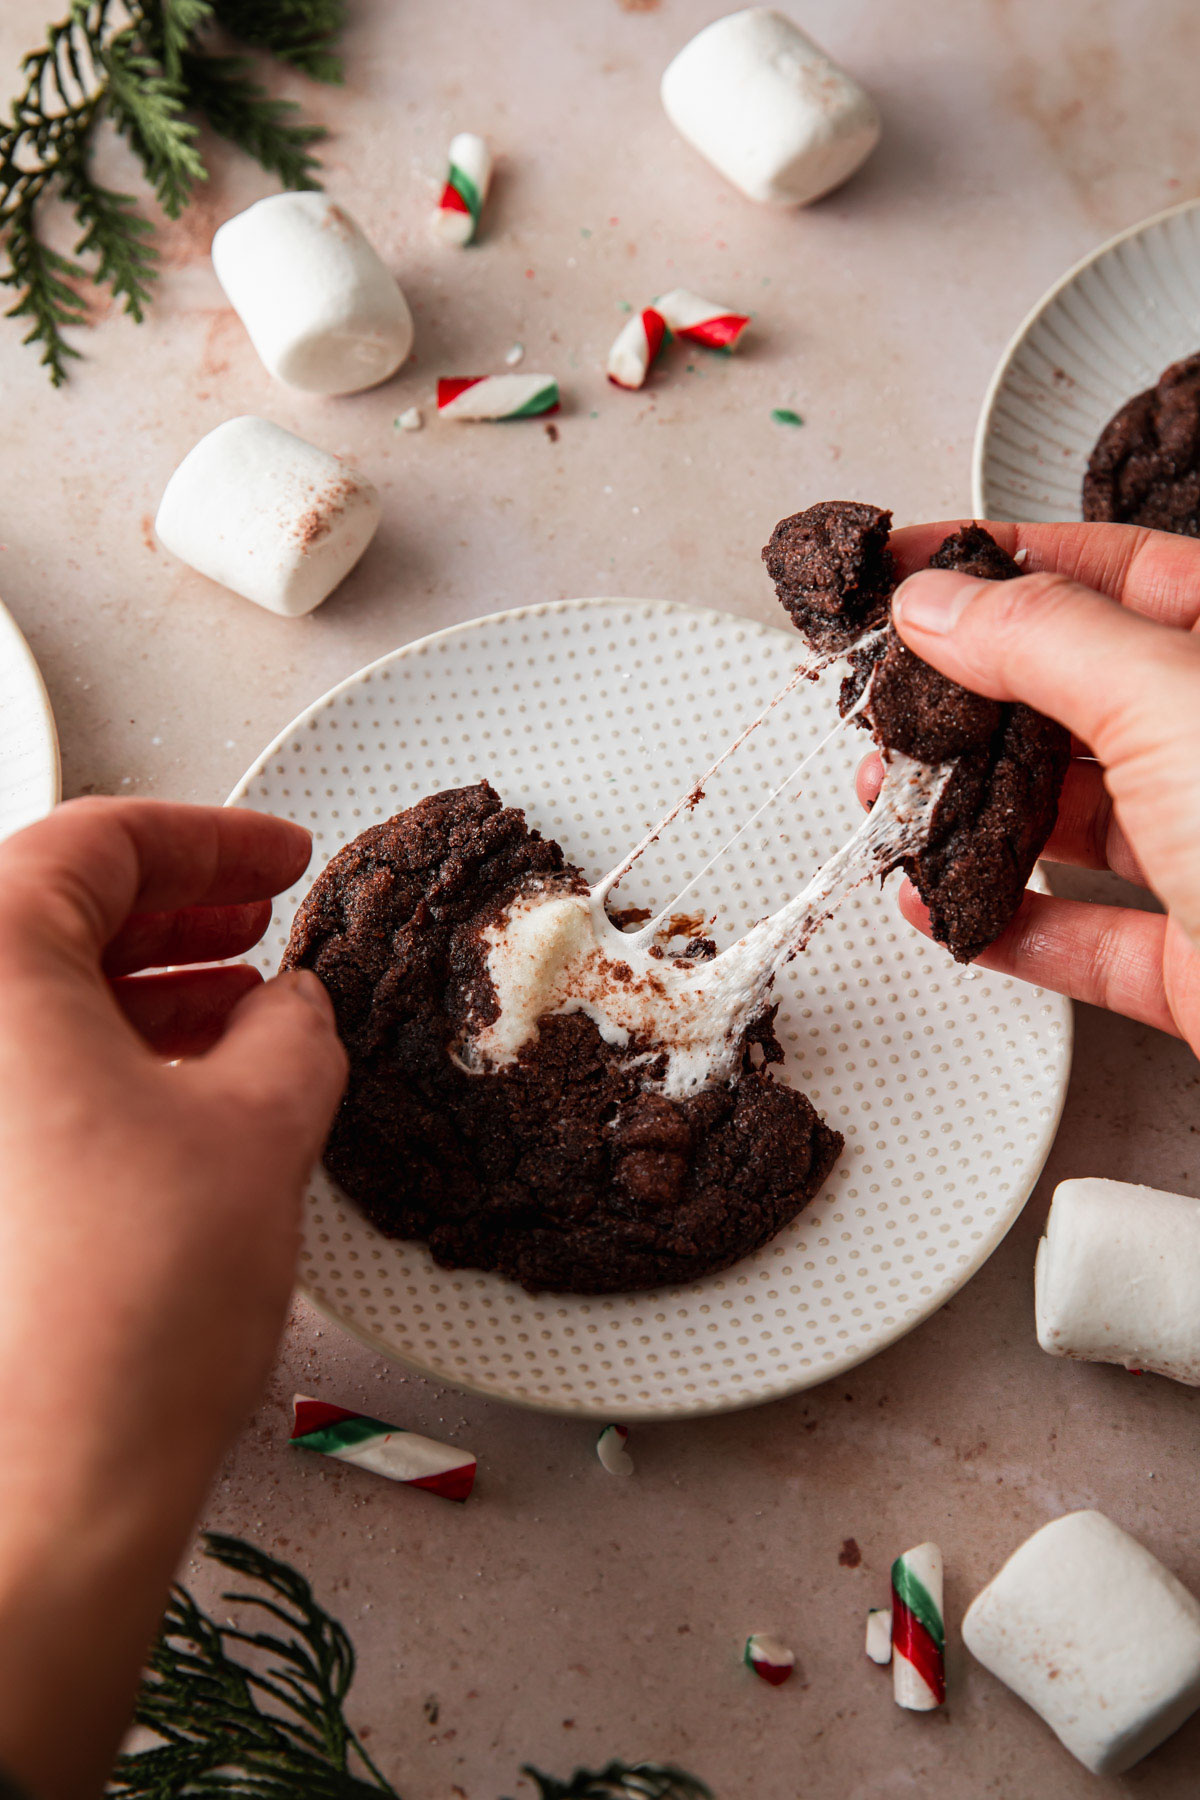
Attention! If you want that perfect, Insta-worthy marshmallow pull, then read on ahead:
The type of marshmallow makes a huge difference. If you can source them, stick with your basic Kraft marshmallows. My first test included vegan marshmallows, and while they still tasted great, they never melted the way I wanted them to and turned hard after cooling.
I found that the best looking and tasting cookies did not conceal the marshmallow completely. In fact, those where the cookie dough covered the whole thing, the marshmallow nearly melted into the cookie. Again, they still tasted great, but not the same effect.
How to get the Perfect Marshmallow Stretch:
To properly “stuff” your cookies, scoop cookie dough into about 3-tablespoon portions and gently flatten on a piece of parchment paper. Cut large marshmallows in half and place in the center of the cookie.
Carefully lift up the cookie (use an offset spatula to remove if the cookie dough is getting too sticky) and roll up the edges of the cookie to surround the marshmallow.
The cookie dough should cradle the marshmallow. It is okay (and encouraged for a more organic look) if some of the dough overlaps on top, but do not completely conceal the marshmallow or it will melt into the cookie when baked.
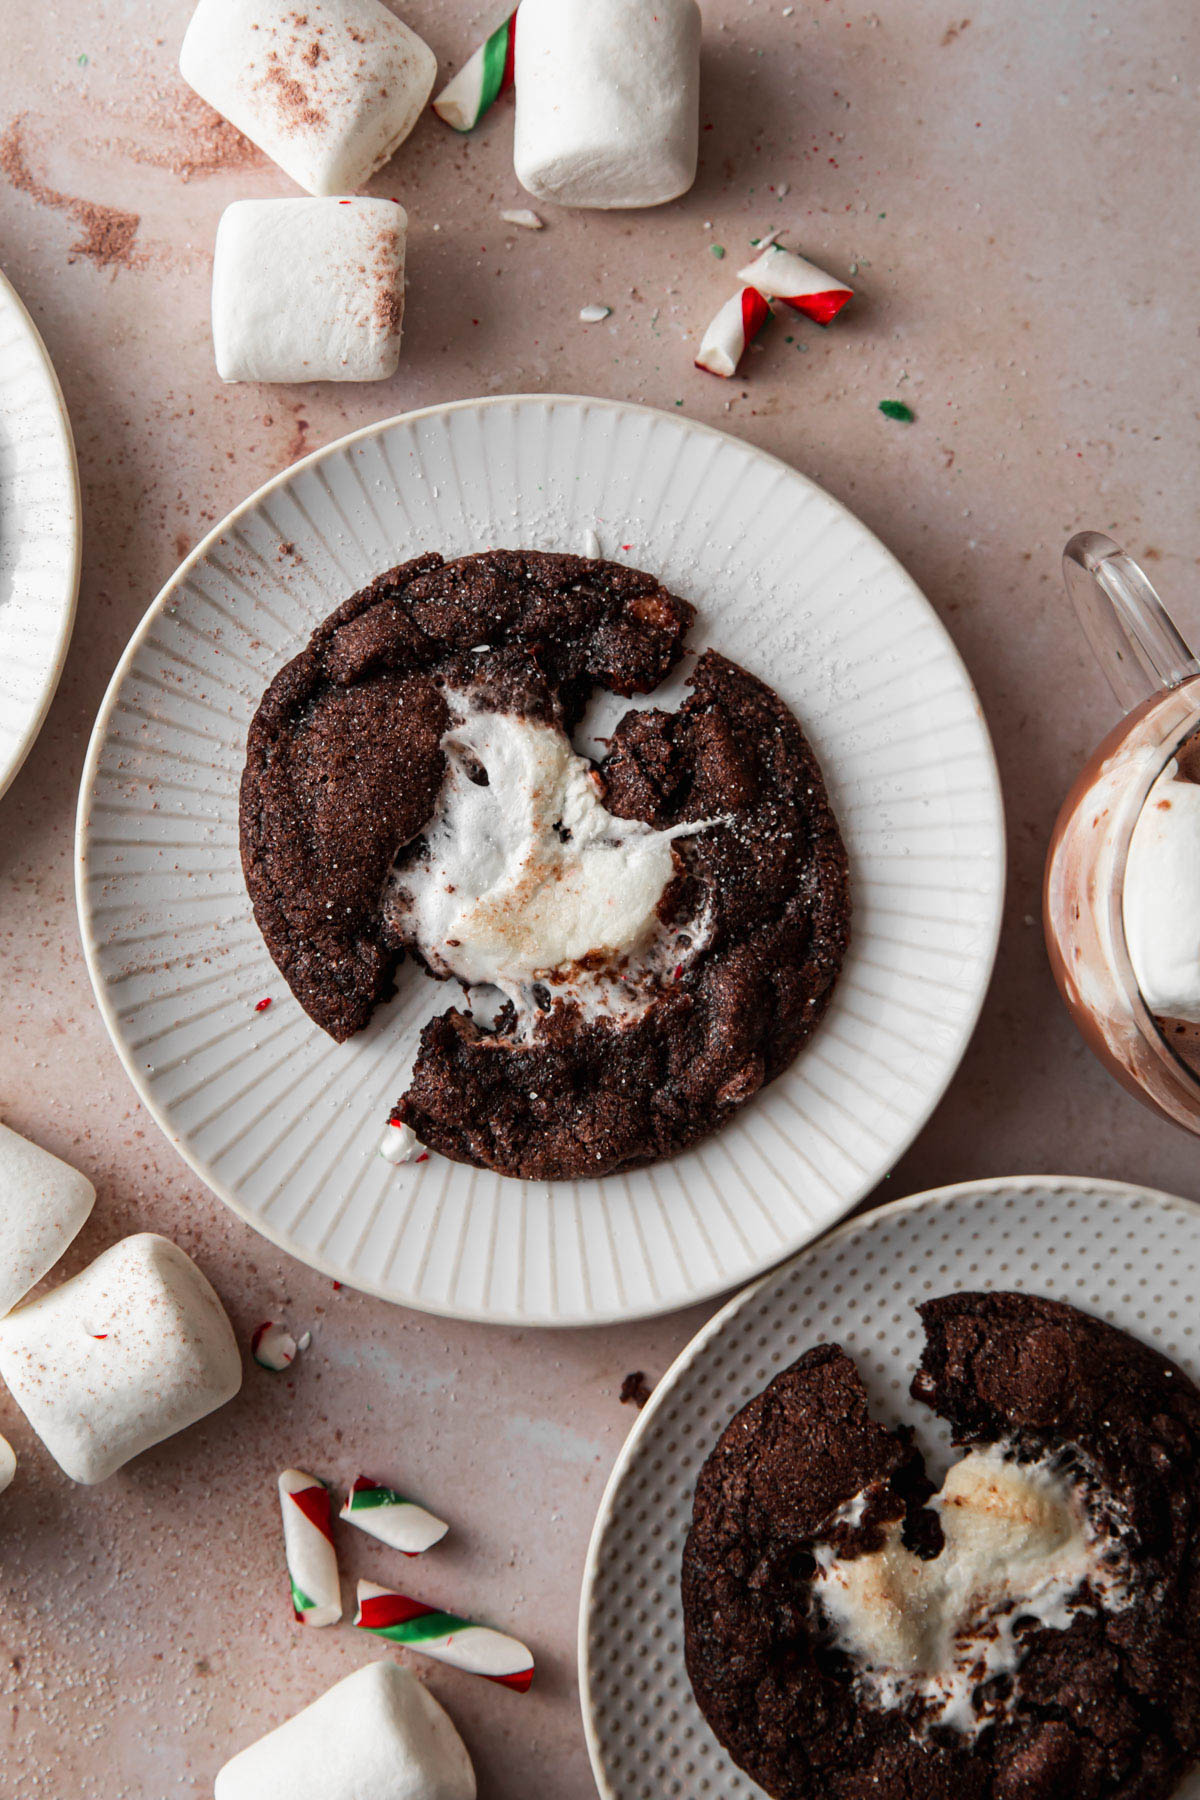
The marshmallows were at prime pulling temperature/texture 30 to 60 minutes after baking. Early than this, and the cookies were too warm and soft to pull apart. After they completely cooled, I didn’t get the same stretch.
But even a couple days later (they didn’t last longer than this) the marshmallows remained soft, chewy, and gooey.
Since the dough is rather sticky, I find it is best to use a mechanical cookie scoop. If it is becoming too difficult to work with, you can pop the dough into the refrigerator for a few minutes.
Do not chill so long that the dough hardens.
Steps for Making Chocolate Marshmallow Cookies
- Make the dough
- Stuff the dough balls with marshmallows
- Roll in sugar
- Bake!
Serving and Storage
Allow cookies to slightly cool before serving. Cookies are best eaten the day that they are made.
Store leftover in an air-tight container at room temperature for up to a week.
Baker’s Notes
- Start with cold butter and a cold egg. Dice the butter and microwave it for 10 to 15 minutes until soft but not melted. When mixed with a cold egg, the dough becomes the perfect temperature and consistency for scooping and baking right away. (This works for a cookie recipe that doesn’t rely on the creaming process. Do not try this with baking cakes, unless specified).
- If the dough is too sticky or has become too soft and difficult to work with, refrigerate it for a few minutes and try again.
- Kraft marshmallows work best, but I am sure other brands still taste great. However, they might not have the same stretchy effect.
Join the Style Sweet Bake Club!
Get exclusive recipes and articles sent straight to your inbox. Become a subscriber today! Click to join.
Recipe
Chocolate Marshmallow Cookies
Ingredients
Chocolate Marshmallow Cookies
- 1 ¼ cup all-purpose flour
- ⅓ cup unsweetened Dutch-processed cocoa powder
- ½ teaspoon baking soda
- ½ teaspoon salt
- ½ cup + 2 tbsp unsalted butter softened
- ½ cup granulated sugar
- ½ cup brown sugar
- 1 large egg cold
- 1 teaspoon vanilla extract
- ¼ to ½ teaspoon peppermint extract to taste
- ½ cup semi-sweet chocolate chips
- ¼ cup crushed peppermint or candy canes
- 7 large marshmallows, cut in half
- sugar for rolling
Instructions
Chocolate Marshmallow Cookies
- Preheat the oven to 350°F. Line two baking sheets with parchment paper and set aside.
- Whisk together the flour, cocoa, baking soda, and salt in a bowl and set aside.
- Using a hand or stand mixer, mix the butter until smooth and creamy. Add the granulated and brown sugars and mix for about 2 minutes, until lightly creamed and fully incorporated.
- Add the egg, vanilla, and peppermint extract and mix until combined. Stop the mixer and scrape down the sides and bottom of the bowl.
- Add the flour mixture and mix on low speed until just incorporated. It is okay if a few streaks of dry flour remain visible. The dough will be quite thick. Add the chocolate chips and crushed peppermint and mix until combined.
- Scoop out 3-tablespoon size portions of dough (best done with a mechanical cookie scoop) and place on a separate piece of parchment paper. Gently flatten the cookie with the palm of your hand. Place a ½ marshmallow in the center.
- Lift up the cookie and wrap the edges of the dough around the marshmallow. Do not conceal the marshmallow completely. Form the dough into a ball (it does not need to perfect at all) and roll in the sugar.
- Place the cookie on the baking sheet and repeat. Keep the cookies at least 2 inches apart on the baking sheet. Bake for 11 to 14 minutes, or until the edges of the cookies set and the centers remain soft.
- Remove the cookies when they are done baking. Promptly take a round cookie cutter (large than the cookies, if possible) and encircle the cookies. Use the inside edges of the cookie cutter to scoot the edges of the cookies into place. This not only helps to form a round cookie shape, but helps encourage those crisp edges and soft, rippley centers.
- Cool the cookies on the baking sheet for 10 minutes before moving them to a wire rack. If they are still too soft to move, move the entire piece of parchment paper (with the cookies on top) to the wire rack and continue to cool.
- Store leftover in an air-tight container at room temperature for up to a week.


rayna
omg these are sooooooo good. i'll make them in may i don't care
Oliva Prescott
Hot out of the oven - i ate three. These are so good its dangerous
sammy g
the texture of the marshmallow really brings the cookie together. i loved it!
V
I made these cookies for the holidays and they are soooo amazing and delicious, everyone loves them!! My only changes were I didn't add peppermint extract to the dough since I was out, but I compensated by adding crushed up peppermint pieces on top of the cookies about 3-5 minutes before done baking. They turned out looking and tasting so perfect, I will definitely come back to these when I want a chewy, crunchy chewy with the perfect balance of chocolate, peppermint, and marshmallow 🙂
stylesweet
Yay! I am so glad you enjoyed the recipe. Thank you!