Last updated on February 9th, 2023 at 03:20 pm
The late summer, early fall fruit combination in this Fig Plum Pie bake down into a sweet jammy filling with hints of thyme. Cradle an assortment of green and purple plums and figs in an all butter crust for the ultimate comfort dish.
Baker's Notes
When in doubt, keep that butter COLD!! Be sure to refrigerate the pie dough between each step. Keep the butter cold will help prevent the baked crust from shrinking.
Do not over-mix the dough. Keeping pieces of cold butter from completely integrating with the flour will make for a flakier crust. When the cold butter hits the hot oven, it begins to melt. The heat causes the butter to steam/evaporate and makes flakey layers in the baked crust.
Keep the water added to the dough at minimum. Only mix in a tablespoon or two at a time.
Gently work the dough with your hands and a bench scraper. Once the dough comes together in the bowl, dump it onto a clean work surface. Use the bench scraper to scrape under the dough and fold over itself instead of kneading like a bread dough.
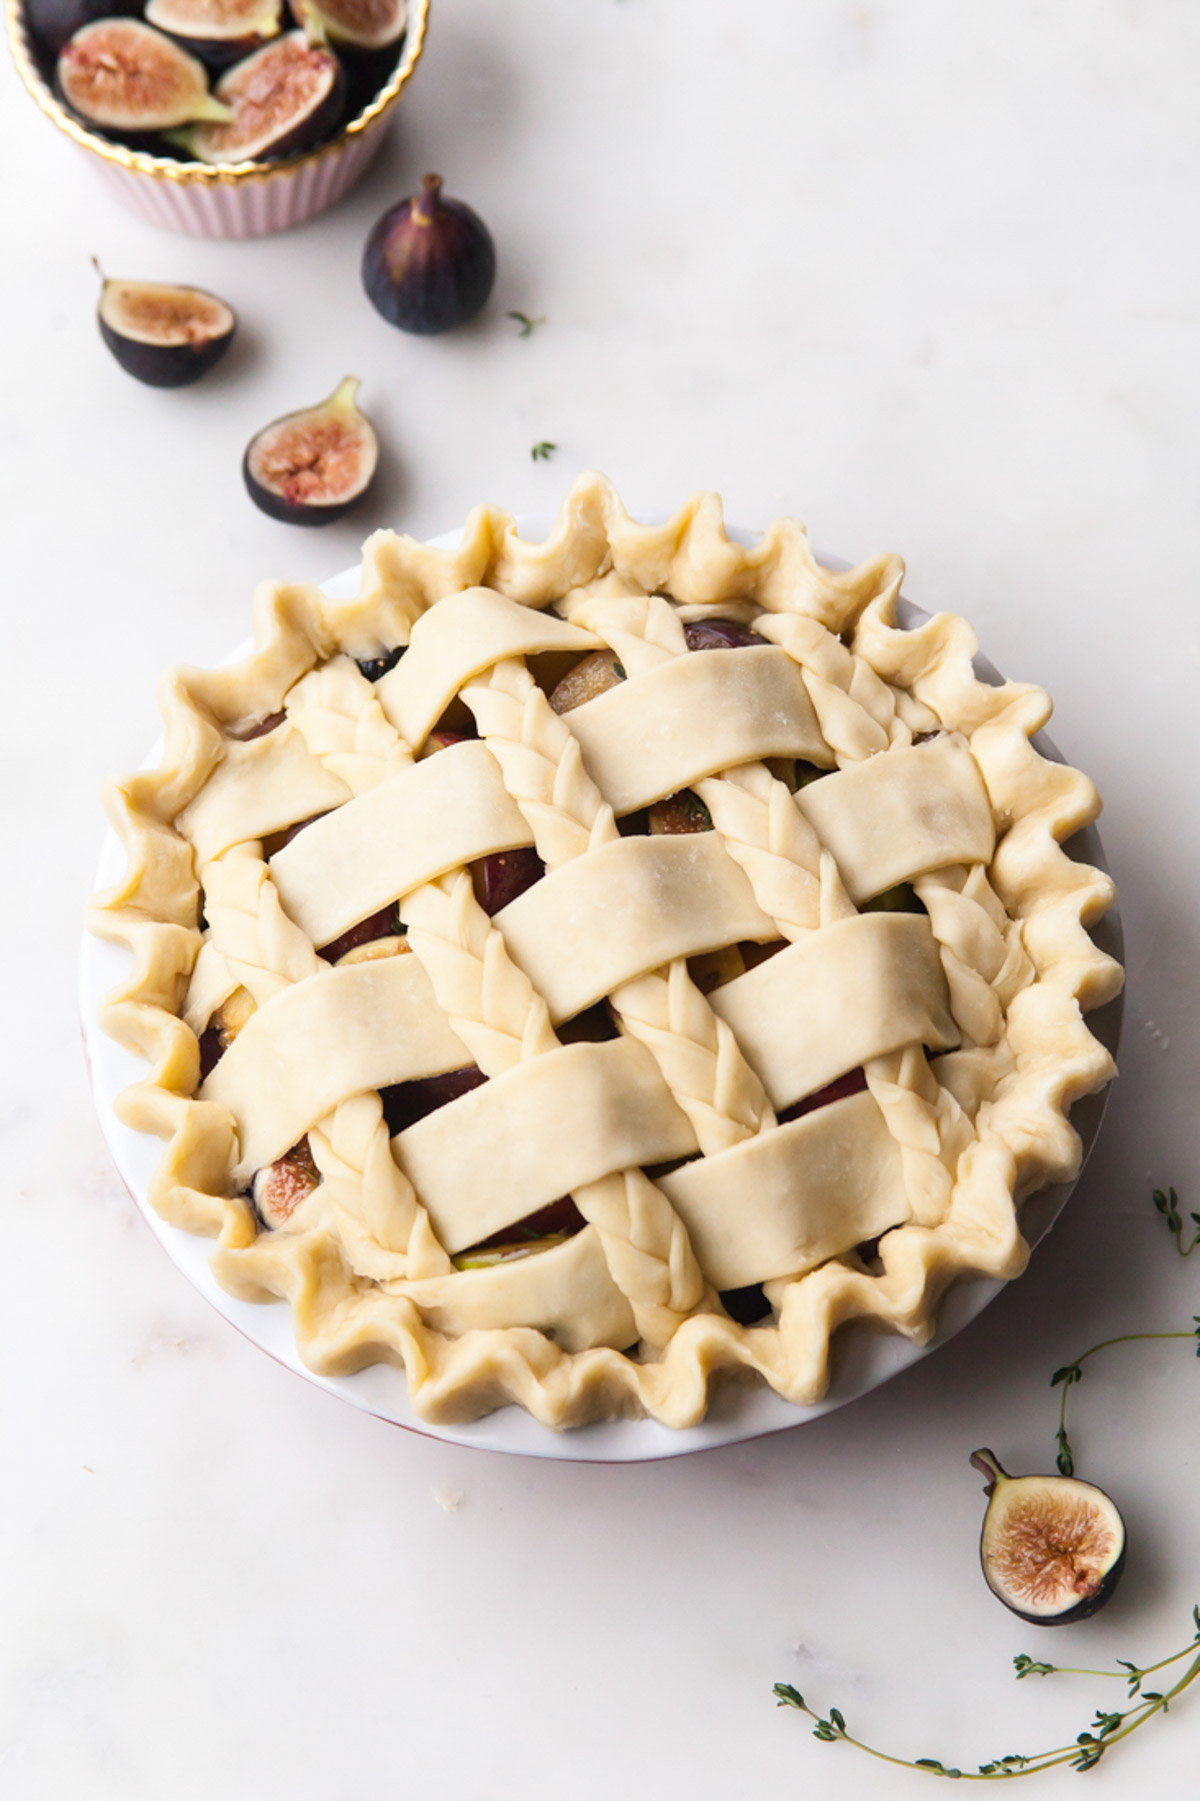
Don’t be too intimidated by the braids! If you keep the dough cold and have a little patience, it is not too difficult – just slightly time consuming.
Recipe
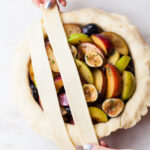
Fig Plum Pie with Thyme
Ingredients
All-Butter Crust
- 2 ½ cup all-purpose flour
- 1 teaspoon salt
- 1 tablespoon granulated sugar
- 1 cup very cold butter diced
- ½ cup cold water
- ¼ cup ice
- 1 tablespoon apple cider or white vinegar
- 1 egg
- 1 splash milk
- turbinado sugar for sprinkling
Plum, Fig & Thyme Pie Filling
- 2 lbs plums pitted, ½ inch slices
- ½ lbs figs quartered
- 1 tablespoon fresh thyme leaves
- ¾ cup granulated sugar
- ¼ cup cornstarch
- 1 pinch salt
Instructions
All-Butter Crust
- In a large bowl, stir together the flour, salt, and sugar. Place the ice in the water and set aside.
- Cut in the cold butter with a pastry cutter or by hand, rubbing the pieces of butter between your thumb, index, and middle fingers. Once the pieces are no longer lager than about a pecan, begin to flatten the pieces of butter in sheets between your palms. Be careful not to over-work the butter or let it get too warm.
- Working with only a couple tablespoons at a time, add in about 4 to 6 tablespoons of the water along with the vinegar. Stir together using a wooden spoon or even just a clean hand in the bowl. The dough should appear fairly shaggy and not sticky. Dump the contents onto a clean work surface and use a bench scraper to gently fold the the dough until it begins to hold shape and stick together. Do not over-mix.
- Divide the dough into half and shape each piece into a disk. Wrap in plastic and refrigerate for at least a couple of hours, or overnight (preferably).
- Once ready, bring one disc out of the refrigerator and allow to rest for about 10 minutes. Liberally flour the work surface and begin to roll out the dough, working from the center out – rotating the dough after each roll. Roll the dough until about ¼ inch thick and about 12 to 13 inches in diameter.
- Gently roll the dough around the rolling pin and transfer to a 8 or 9 inch pie tin. Fit the dough into the bottom of the tin and up the sides, allowing for about an inch of overhang. Trim with kitchen sheers and place back in the refrigerator.
- For the braid/lattice top, repeat step 5. Using a ruler and a paring knife, cut about 5 X 1 ½-inches wide strips as well as 15 X ½ inch strips. Braid the thinner strips together in groups of three. Place on a baking sheet or cutter board and place in the refrigerator.
- Meanwhile, make the filling (recipe to follow).
- Fill the chilled pie crust with the filling.
- Remove the cut strips from the refrigerator and begin creating a the lattice pattern, carefully weaving over and under each strip of the opposite direction – wide strips going one way and the braids going the other. Allow for some excess dough on the end of each strip, then trim.
- Fold up the edges of the bottom crust up and over the top. Pinch to seal then crimp with using your thumb of one hand and the thumb/forefinger of the other.
- Return the pie back to refrigerator for at least 15 minutes. Meanwhile, pre-heat oven to 425 degrees.
- Just before heading into the over, create an egg wash by whisking together a whole egg and a splash of milk. Brush the egg wash over the entire top of the crust and sprinkle with turbinado sugar.
- Place pie on a baking sheet and bake for about 20 to 30 minutes. Turn the temperature down to 375 and bake for an additional 20 to 30 minutes or until golden brown. If the top begins to brown too quickly, cover with foil.
- Allow the baked pie to completely cool before slicing and serving.
Plum, Fig & Thyme Pie Filling
- Rinse the plums and the figs and remove any stems.
- Cut the plums into ½ inch slices. I like to keep the skin on the plums so that the plum slices retain their shape and to prevent the plums from becoming applesauce-like in consistency.
- Remove the stems/firmer ends of the figs and cut into quarters.
- In a large bowl combine the plum slices, figs, and thyme leaves.
- Add the granulated sugar, cornstarch, and salt. Mix to combine well. Allow the mixture to rest for 10 minutes. When filling the pie, be sure to leave the liquid behind – we do not want a soggy bottom!
- Don’t forget to egg wash the top of your pie after you have assembled the top crust. Bake the pie as per the instructions on her post.
Leave a Reply