Last updated on October 14th, 2022 at 02:59 pm
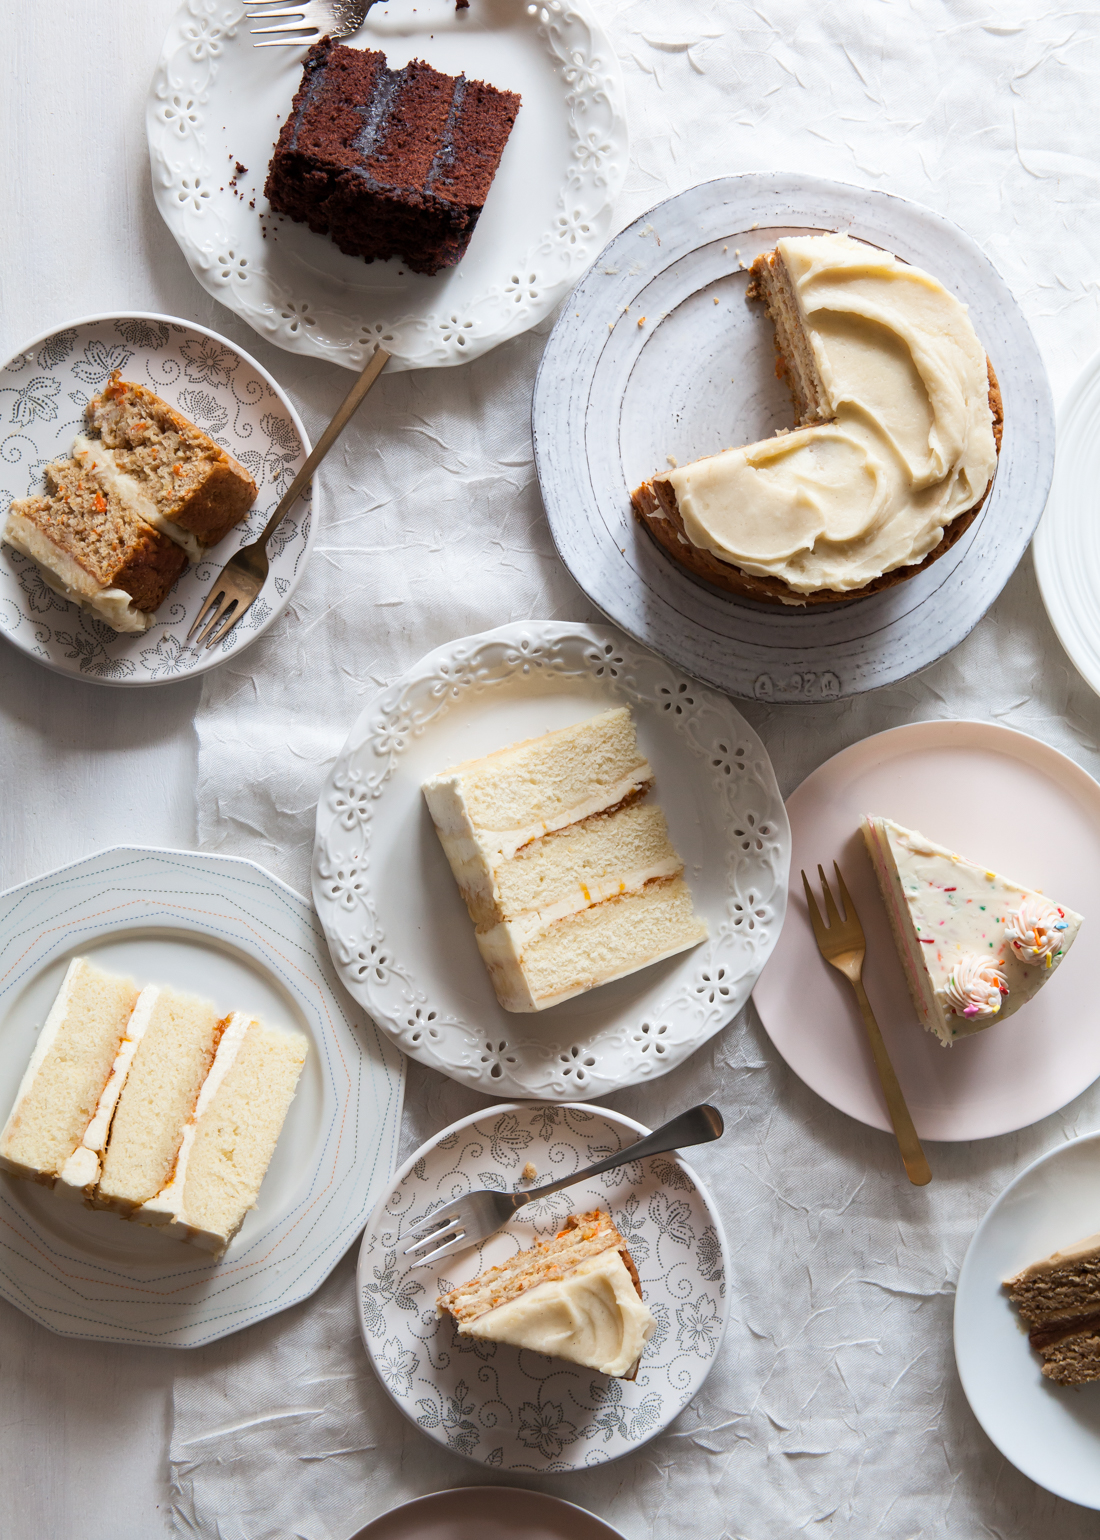
Outtake from "Layered" of various cake slices.
Hi everyone! A few months ago, I started this short series on how to write a cookbook in preparation for the release of my book, ‘Layered: Baking, Building, and Styling Spectacular Cakes.” In part one, I went over all the behind the scenes for getting a literary agent, working together to create the perfect proposal, and securing a publisher. Today, I want to cover what it takes to actually write and photograph the actual stories and images for a book. I will go over the timeline I was given as well a rough schedule that helped me stay on track, editing, layout and design, and selecting the cover image.
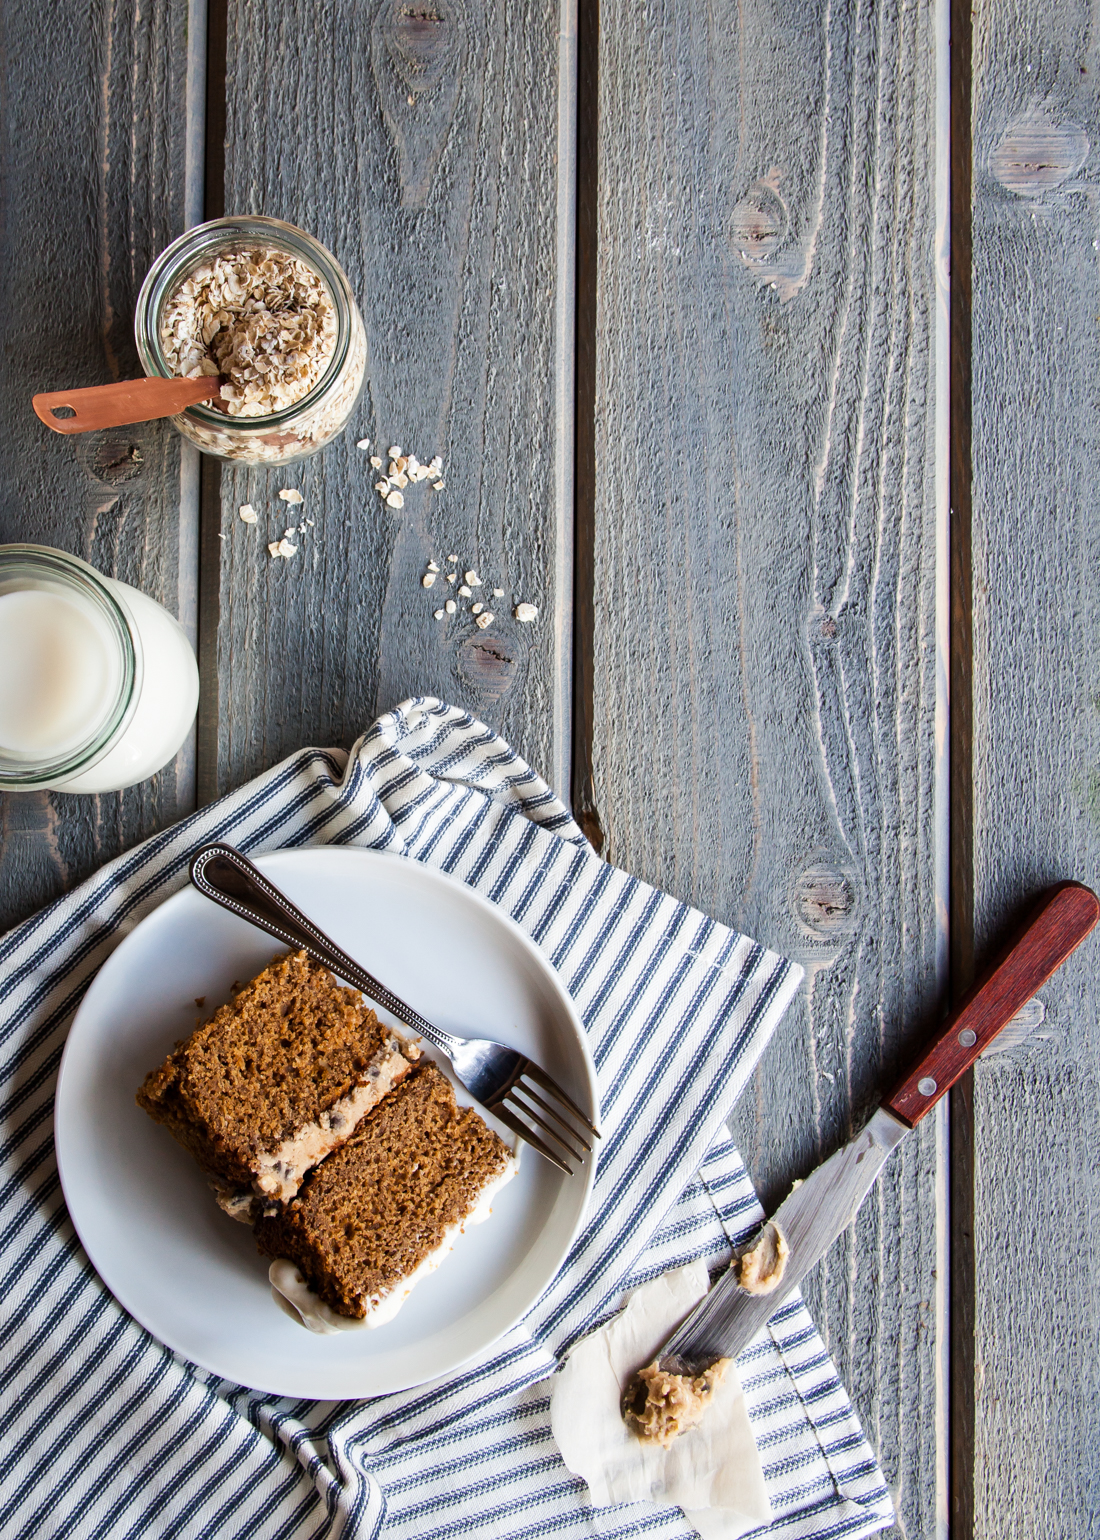
Outtake from "Layered" of the Oatmeal Cookie Cake.
TIMELINE
After signing on with my literary agent around March of 2014, we quickly started whipping my proposal into shape. By Memorial Day, my agent started shopping it around to publishers. She had warned me that summer was not the ideal time to try and secure a publisher, but we were prepared to be patient. I checked my email dozens of times each day waiting for word that a publisher was interested in working with me. Over 4th of July weekend, when I least expected it, I finally received such email.
I was absolutely thrilled to find out that it was Abrams Books that was interested! My own bookshelves are stacked with other Stewart, Tabori, and Chang books (an imprint of Abrams that covers mostly food, lifestyle, and photography books), and I could not hardly believe that they wanted to work with me. After a few messages back-and-forth and a call with my magnificent editor, Laura, I accepted and they began working on the contract. The manuscript would be due the second week of January, about 6 months after they made initial contact. At that point, I was already several months pregnant….. My agent asked if I wanted her to see about extending my deadline but Everett was due on January 5th and extending it could only mean I had a few more months, but with a newborn. Instead, we decided to stick to the original date and cross our fingers for a healthy, full-term pregnancy (little man was actually almost two weeks late, so I was able to send in the manuscript a few days before he was born).
The timeline was a bit aggressive (but not necessarily unusual for publishers/authors), so I had to make a rigorous schedule and do my best to stick to it, my growing belly an easy reminder to get things done. I won’t lie, it was pretty rough. Had I not been photographing my own book while pregnant and then moving to a new apparent half-way through, it probably would have been much easier. However, there really is no greater motivator to get moving than a baby on the way….
With the help of my husband and his love for spreadsheets, we created a detailed schedule. I didn’t always stick to it, but it definitely helped keep track of my progress. I had 60 whole cakes to shoot, plus a dozen extras and some step-by-step shots. I got the step-by-step shots in early with the help of my second photographer, my big brother Ryan Lindow. I didn’t want my huge belly showing, hehe. From there, I planned to shoot 3 to 5 cakes a week – using the first few days of the week for all my recipe testing, baking, and prep and then photographing them all at once instead of working on one cake at a time, from start to finish. This schedule (with a few weeks of wiggle room) meant I’d be wrapping up all of the photos for the book by mid-October. Should something go wrong with the pregnancy, I wanted to make sure I was off my feet and could save all of the writing and editing for last couple of months.
I was exhausted and uncomfortable all of the time, but the schedule worked! I spent the last couple months of my pregnancy writing the headnotes, front matter, re-testing recipes when needed, and touching up photos. I even got to enjoy the holidays a bit! In the end, I am thankful that Ev was a bit late, and I was able to send everything over to my editor with time to spare.
Of course, this is all probably not the norm for most cookbooks (although my agent said you would be surprised how many female authors are pregnant at some point while writing a book because the process can take so long).
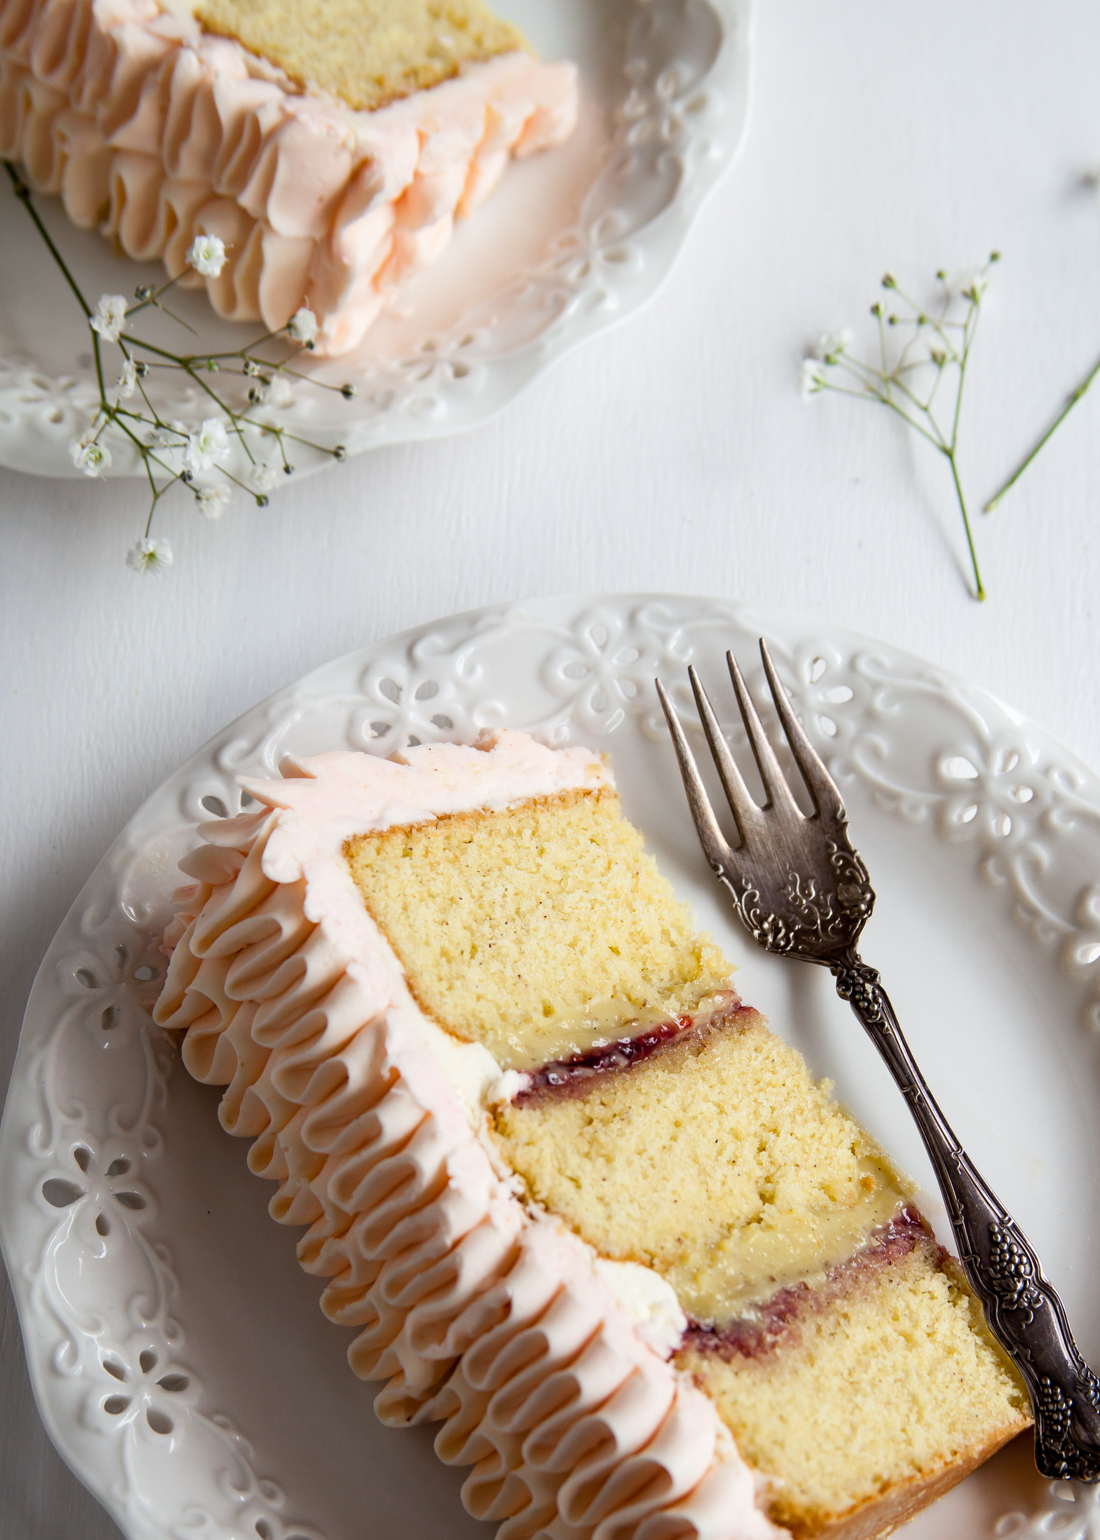
Outtake from "Layered" of the pistachio and raspberry cake.
EDITING
To be honest, the editing process was much more intense and involved than I was prepared for. Since the manuscript was due at the same time as baby, it was made sure that I wouldn’t received my first round of edits for at least a month or two (thank you, Laura!!). Thankfully, Brett was still in school part-time, so we were able to make the necessary adjustments to our new “schedule” to fit in time for me to work while tending to a new babe over the next 9 months or so.
The rounds of edits pretty much looked like this: editors review the latest version, I receive editors notes and comments, I make the necessary edits, then I send it back for he next round. Each round took several weeks - they would work on it for a couple weeks, then I would have a couple more to make any necessary changes.
First up, my editor Laura. Her first pass cleaned up any complicated wording, headnotes that needed to be re-focused, methods were clear and concise, and noted a few photos that did not reflect the recipes correctly.
After Laura came the technical editor and the copy editor. These rounds consisted of making sure the STC’s style guide was followed, global changes to the recipes were made so that the methods all matched, and grammar/spelling/etc was in check.
And let us not forget about more recipe testing! There was plenty of that and this stage as well (making sure my pregnant brain that wrote the first copy of the manuscript deciphered all the notes correctly).
The entire editing process was lengthy but not as painful or heart-shattering as it could have been. Part of my feared the whole thing would get scratched! Thankfully, that was not the case and only one recipe was replaced. I opted to re-shoot several of the cakes myself (who else doesn’t look back on work they did a year prior and want to re-do it?) along with some extras to fill in some of the front mater.
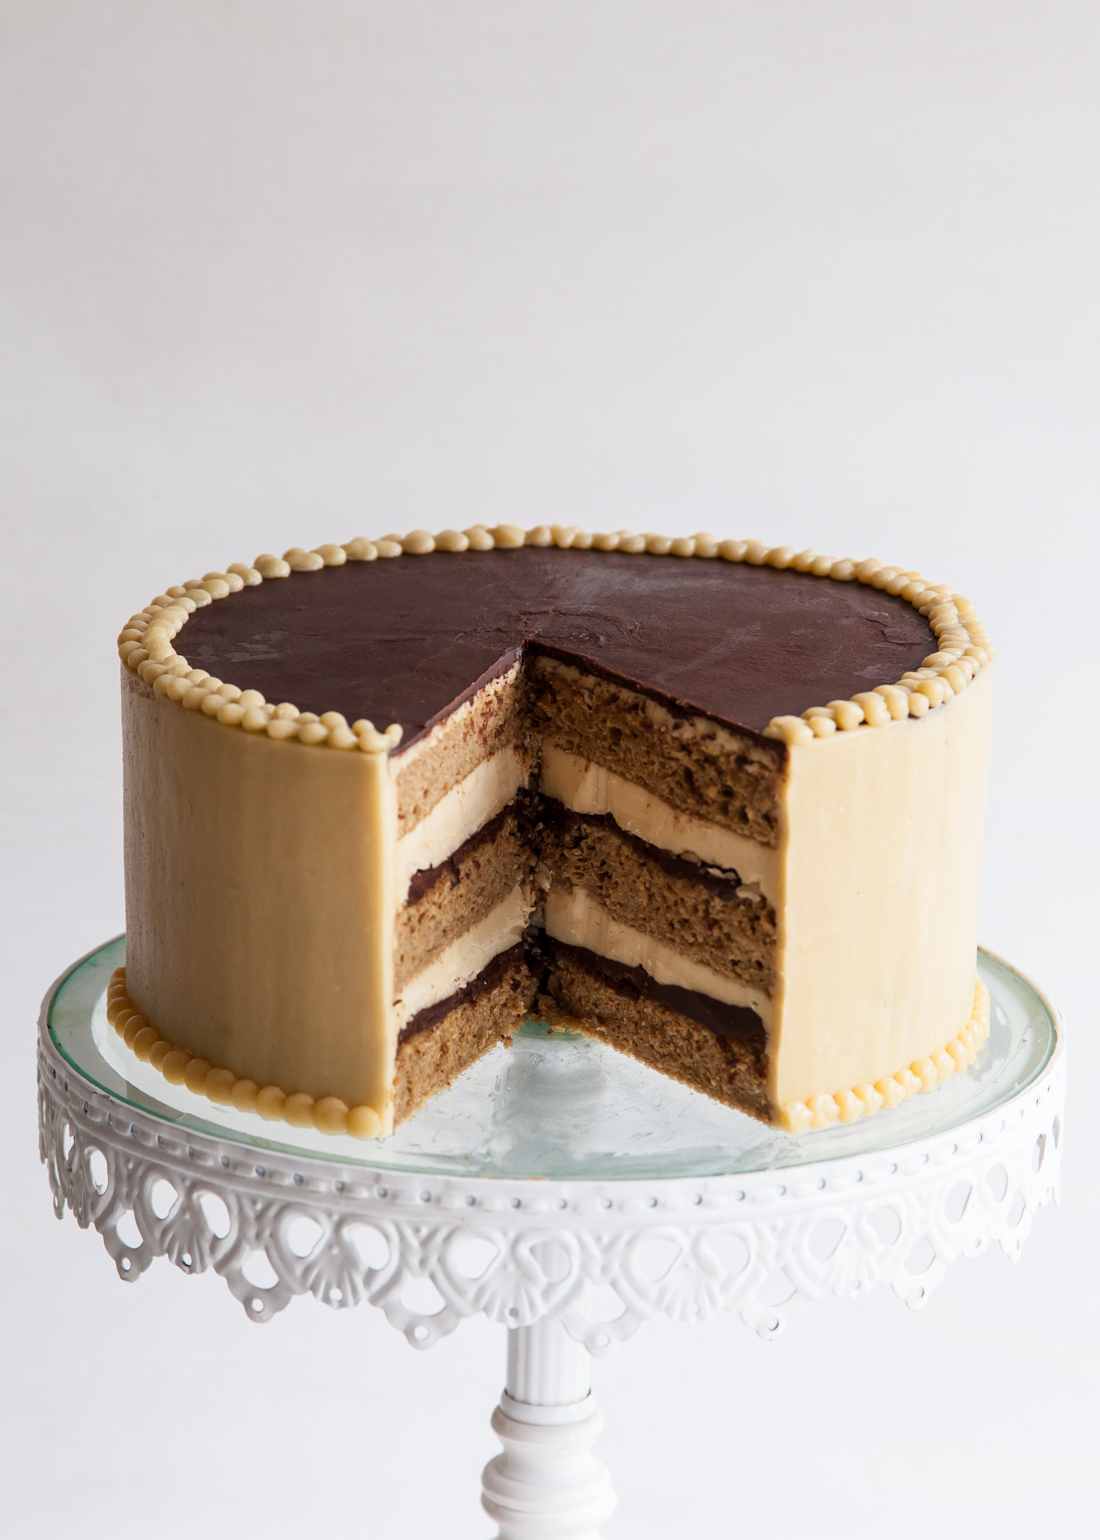
Outtake from "Layered" of the French Opera Cake.
LAYOUT AND PAGE DESIGN
This might be the point where my words and photographs started to feel like a real book. Up until this point, the recipes were still in a giant Word Doc and the photos saved as individual files.
The first step was to find a designer. I put together a vision board and was paired up with the ever fabulous Deb (I'm not exactly sure how it all technically went down). The second step was to select a font. I love the typeface that Deb found – classic with a bit of whimsy; not too trendy and too, well, boring. The font package gave us plenty of options between different flourishes and weight. I don’t know too much about what goes into selecting a typeface, but I am pretty happy with how it turned out, and I think I still will be for years to come. Third, producing some sample pages. Deb put together several different layout options for us all to go over and choose from. We wanted everything to be very clean, easy to read/follow, and with little bits of character and pops of color.
Once the page layout was decided, my designer got to work. A a month or so passed, then I received the first hardcopy of my recipes and photos ever! They were not bound like a book, but it sure looked like a book!
This stage was devoted to making sure all of the information fit in the designated areas, the step-by-step grids made sense, image placement was exactly how we wanted, and that everything was easy to read and follow along. I actually had a lot of fun marking up those hard copies. I figured the more adjustments I made, the better the final book would be! A portion of it came down to things like trimming a few lines so that a recipe fits on one page, adding a photo to finish off the chapter on an even page, and adding extra tidbits like “Decorate It,” “Shortcuts,” and “Baker’s Notes.” It was a giant puzzle that I am so thankful I didn’t have to solve on my own.
At the end, we were able to see what gaps needed to be filled with extra images – which turned out to be some of my favorite, stylized photos.
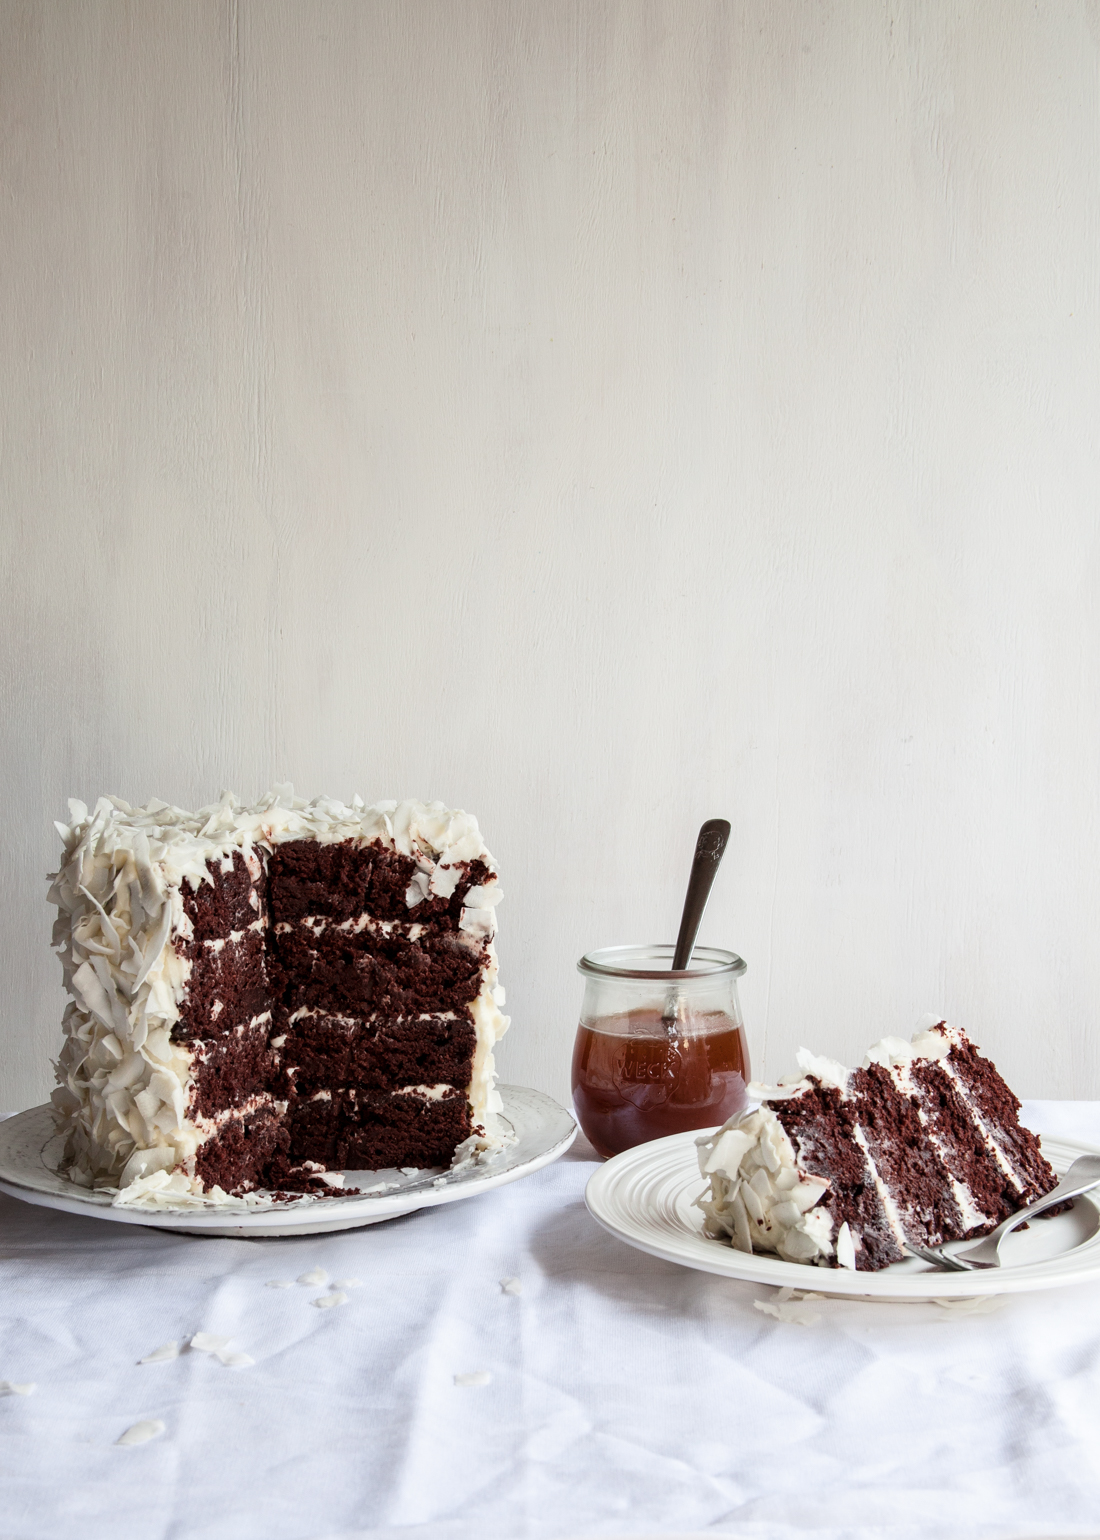
Outtake from "Layered" of the Chocolate Coconut Cake.
COLOR PROOFING
Up until now, the images we printed on a regular ink jet printer. A good one, but it did not produce the quality of images that were bookshelf-worthy. I wasn’t particularly satisfied with the images prior to this stage, but I knew I shouldn’t let it bother me. Then came the color proofs. And they were amazing!
The images we printed at the same quality that the final book would be printed in. During all of the edits, there was no need to waste the time and resources on these types of photos. But WOW! What a difference!
The point here wasn’t just to look at all the pretty images of cake, but it was to make sure the colors read as they should. Photos on a computer and photos in print look a lot different from each other. My job here was to say things like “too cold,” “that red doesn’t look natural,” and even “something is off, but I can’t figure out why.”
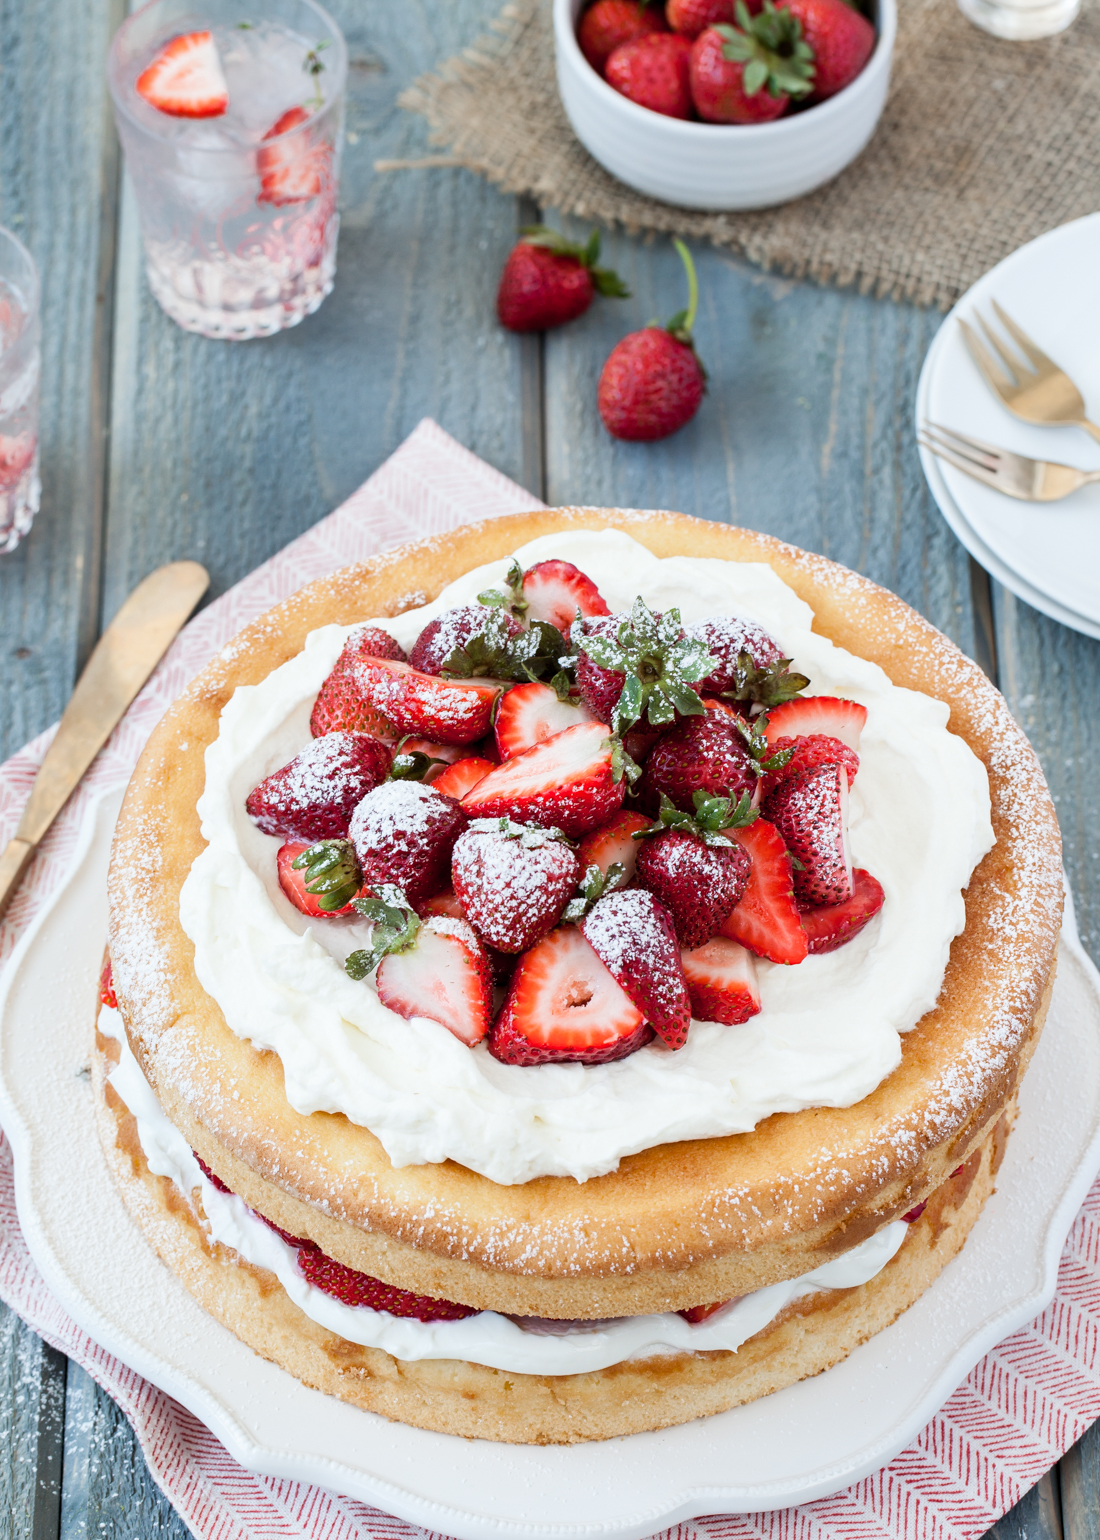
Outtake from "Layered" of a strawberry cake.
SELECTING A COVER
I thought this part would be simple, but I was wrong. There were hundreds of images to choose from, surely there would be a few that were worthy of the cover, right? However, there were many things to consider: we wanted a cake that showed off the “layers” (hence the title) and not necessarily a cake that was fully-iced, the cake should have a bit of color (a lot of cakes in general tend to be brown and white), and we wanted something dramatic yet approachable. Several different cakes were thrown in the ring, but ultimately we picked this towering, in-your-face stunner: the Strawberry Shortcake.
In addition to the front, there was also the back cover that needed designing. The image needed a bit of negative space in order to add text. I immediately thought of the gorgeous Red Wine Blackberry Cake.
And just like that, everything went to print! Just before the holidays, thousands of my words and hundreds of photos were sent off to the print shop to become actual books. I received my first copy just about a month ago and could not be more pleased. I can’t wait for you all to get a copy!
Check back tomorrow to learn about our Pre-Order Campaign!!!!

Nakida Asson
Congrats on this wonderful journey. It's always nice seeing your cookbook cover on Amazon, because I'm always shopping for the latest cookbooks. I will be so happy to have yours on my kitchen self.
Tessa Huff
Thank you so much! I really appreciate the support =)