Last updated on February 3rd, 2023 at 04:10 pm
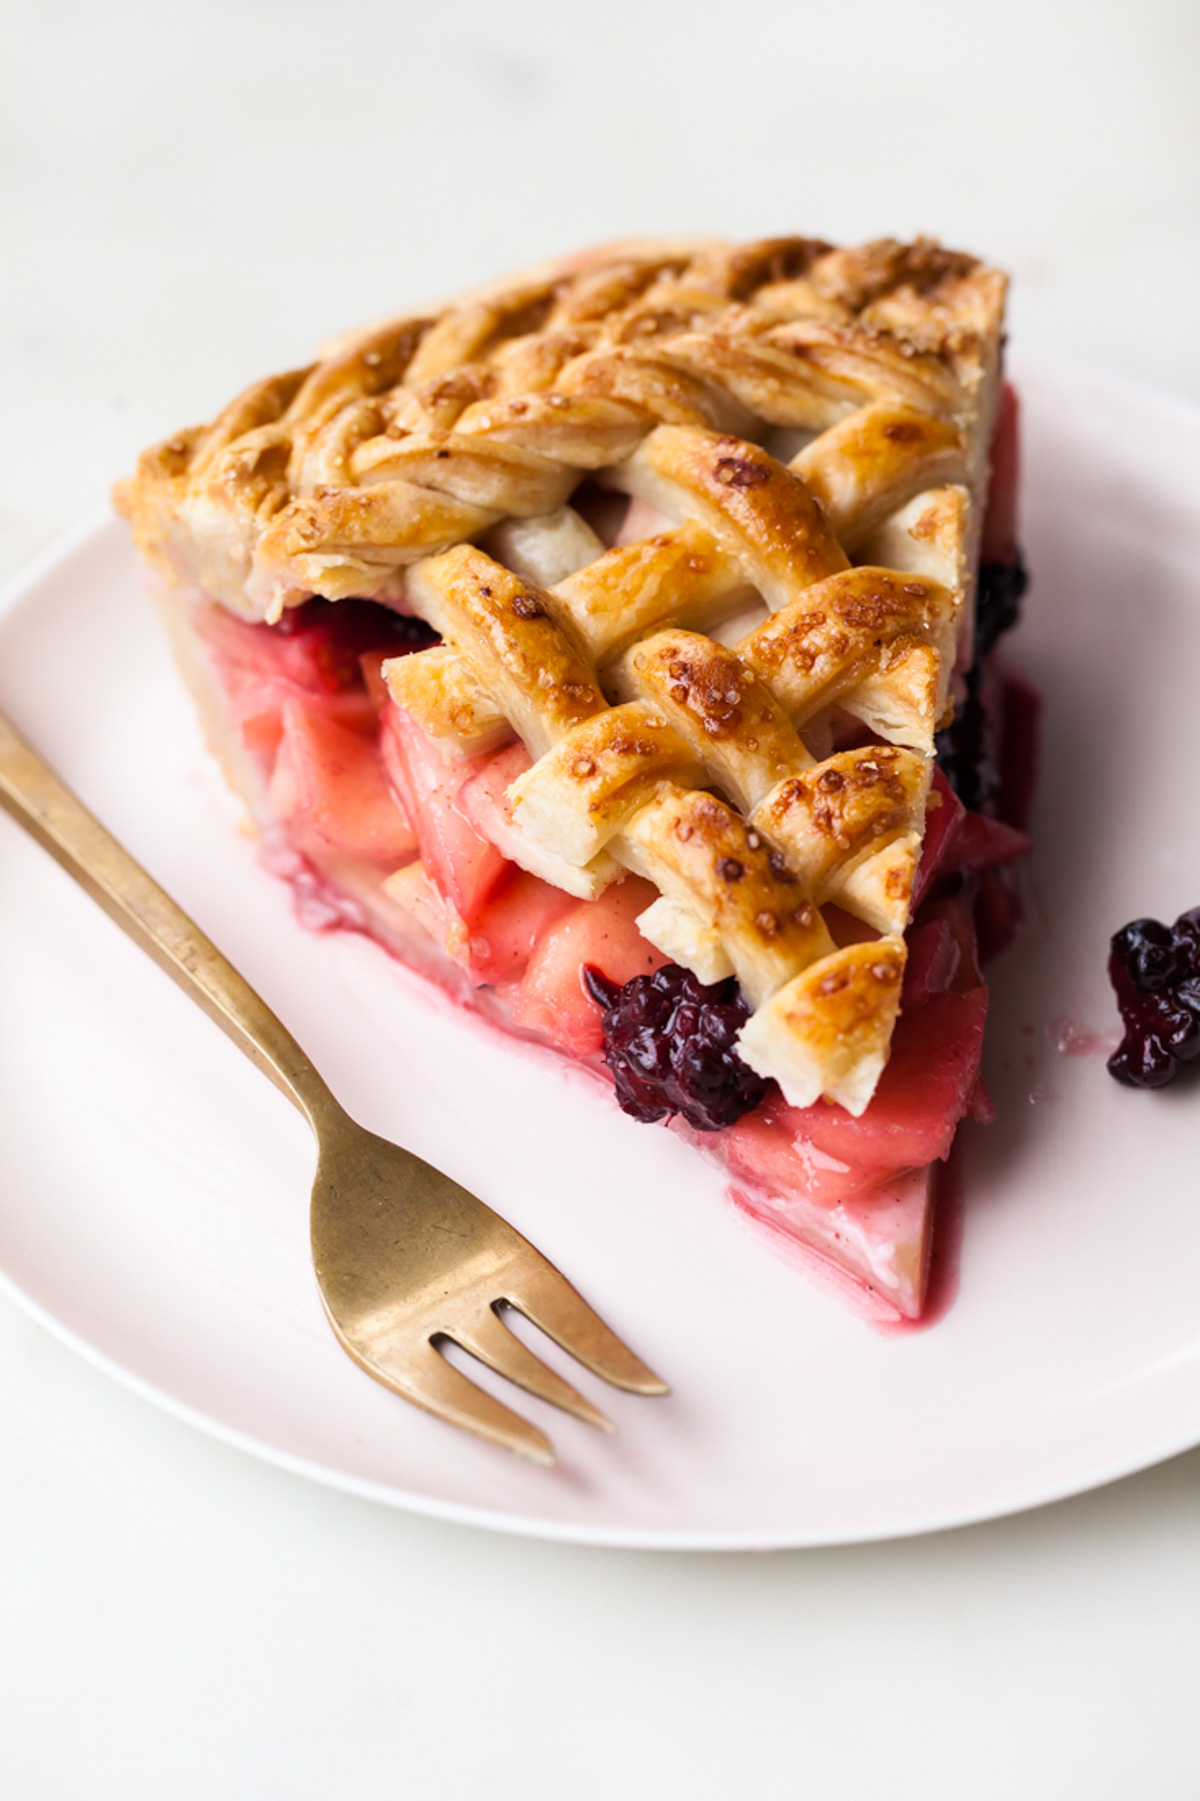
This blushing pink apple blackberry pie is filled with lightly spiced apples and dotted with fresh blackberries.
Let this be your first of many apple treats to make this season. This one in particular is studded with blackberries.
Once baked, the berries turn the inside PINK! This combination doesn’t scream FALL, but it is a nice break from everything dripping with caramel and packed with cinnamon these days.
For more detailed instructions on how to create the intricate braids and cut-outs, check out my article on Food Network.
Recipe
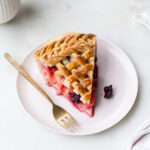
Apple Blackberry Pie
A blushing pink pie filled with lightly spiced apples and dotted with fresh blackberries.
Servings: 12
Ingredients
All-Butter Crust
- 2 ⅔ cups all-purpose flour
- 1 teaspoon salt
- 1 tablespoon granulated sugar
- 1 cup very cold buter diced
- ½ cup cold water
- ¼ cup ice
- 1 tablespoon apple cider
- 1 egg
- 1 splash milk
- turbinado sugar for sprinkling
Apple Blackberry Filling
- 4 to 5 apples pealed, cored and sliced into thin wedges about ¼ inch thick or less
- juice from ½ lemon
- ½ cup + 2 tbsp granulated sugar divided
- 2 tablespoon corn starch
- ¼ teaspoon cinnamon
- ¼ teaspoon cardamom
- ¼ teaspoon salt
- 1 ½ cups fresh blackberries
Instructions
All-Butter Crust
- In a large bowl, stir together the flour, salt, and sugar. Place the ice in the water and set aside.
- Cut in the cold butter with a pastry cutter or by hand, rubbing the pieces of butter between your thumb, index, and middle fingers. Once the pieces are no longer lager than about a peanut, begin to flatten the pieces of butter in sheets between your palms. Be careful not to over-work the butter or let it get too warm.
- Working with only a couple tablespoons at a time, add in about 6 to 8 tablespoons of the water along with the vinegar. Stir together using a wooden spoon or even just a clean hand in the bowl. The dough should appear fairly shaggy and not sticky. Once you can squeeze a few pieces together and they hold, the dough is done being mixed. Do not over-mix.
- Divide the dough into half and shape each piece into a disk. Wrap in plastic and refrigerate for at least a couple of hours, or overnight (preferably).
- Once ready, bring one disc out of the refrigerator and allow to rest for about 10 minutes. Liberally flour the work surface and begin to roll out the dough, working from the center out – rotating the dough after each roll. Roll the dough until about ¼ inch thick and about 12 to 13 inches in diameter.
- Gently roll the dough around the rolling pin and transfer to a 8 or 9 inch pie tin. Fit the dough into the bottom of the tin and up the sides, allowing for about an inch of overhang. Trim with kitchen sheers and place back in the refrigerator.
- Start the filling (recipe to follow)
- For the braided top, repeat step 5. Using a ruler and a paring knife, cut thin strips, about a ¼-inch wide, for the center lattice. Follow the remaining instructions for the fishtail, 5-strand braided border here. Place the strips and braids on a sheet pan and chill.
- Finish the filling.
- Fill the chilled pie crust with the apple-blackberry filling by layering the apple slices in tightly and dotted with berries, but leaving the juices behind. Remove the strips from the refrigerator and create a lattice on top of the filling.
- Fold all of the excess dough around the edges under itself and crimp using your thumb and index finger. Cover the edges with the braided border.
- Return the pie back to refrigerator for at least 15 minutes. Meanwhile, pre-heat oven to 400 degrees.
- Just before heading into the over, create an egg wash by whisking together a whole egg and a splash of milk. Brush the egg wash over the entire top of the crust and sprinkle with turbinado sugar.
- Place pie on a baking sheet and bake for about 45 to 50 minutes, or until golden brown. If the top begins to brown too quickly, cover with foil.
- Allow the baked pie to completely cool before slicing and serving.
Apple Blackberry Filling
- Place the lemon juice and 2 tablespoons of sugar in a large bowl. Place the cut apples in the mixture and set aside while you prepare the top crust – about 20 minutes.
- After the apples have a chance to rest, drain out all of the liquids.
- Toss the slices with the remaining sugar and dry ingredients.
- Gently fold in the blackberries before laying into the bottom pie shell.
[…] Apple Blackberry Pie […]