Last updated on April 11th, 2023 at 04:15 am
So you want to cover a cake in fondant. Now what? Well, it might not be as scary as you might think. After all, it's just cake and sugar - not brain surgery 😉
There are certainly mixed feelings when it comes to fondant. I am not sure if this is because people find it difficult to use, it does not look as "yummy" as fluffy buttercream, it tastes funny, or whatever. In my humble opinion, there will always be a place for fondant. Maybe not for every event or design, but it is certainly worth giving a try. It may take practice to handle efficiently, but it yields beautiful, smooth results - even producing designs that cannot be achieved with any other medium.
Today, I am happy to share some tips and tricks in this Fondant Tutorial. There are several websites, blogs, youtubes, etc with excellent how-to guides out these, so feel free to read around. However, after working with fondant for the last 7 or so years, these are some of my most valuable words of advice. This might not be the most comprehensive list, but it is a good start, guaranteed.
Speaking of a good start, do check out my post on how to ice a cake before you get started. One thing that I can't stress enough is that a well built and iced cake will alway yield the smoothest fondant-covered cake.
GETTING STARTED:
1. If you are using pre-made fondant, make sure to taste-test it. If you don't like the taste, it will not get any better once on the cake. Not all brands are created equal. So for anyone that says "I hate fondant," you might want to use a different one.
2. Nothing beats the consistency of fresh, white fondant straight from the tub. However, if you are adding color and kneading more than normal, be sure to balance it by adding shortening and cornstarch to keep the fondant from drying out or getting too sticky.
3. Speaking of kneading, make sure to condition your fondant before you roll it out. Once you have sliced a chunk off to use, start kneading it to form a smooth ball. Try not to incorporate too much air by over-kneading, or it will dry out faster. If you are in a dry climate, add a bit of shortening to the fondant. If you find that the fondant is sticking to your work surface, you will want to dust the area with cornstarch.
4. After the fondant is "conditioned," pull the sides under to make a smooth ball on top. Flatten out slightly to form a smooth disk. If you are covering a round cake, it makes sense to start with a round piece of fondant, right?
LET'S ROLL:
5. Lightly dust your work surface with cornstarch before rolling. Starting from the middles, begin rolling out your fondant in one direction (up and down), but not all the way to the edges. The middle will start to flatten, but keep an inch or so on the sides "puffy."
6. Rotate your fondant 90 degrees and begin rolling the other way. At this point, you will then flatten out the ridges that one were once on the sides. Keep rolling using even pressure and trying to keep a round shape. Rotate your fondant every so often to make sure it is not sticking to the bottom.
7. Roll out fondant until it is about a ¼ - ⅛ inch thick.
8. Before placing fondant on the cake, give it a good look. Check for air bubbles, irregularities in thickness, size, etc. If there are small air bubbles, "pop" them with the tip of a craft knife or straight pin.
9. Lastly, use your fondant smoothers before moving the fondant to the cake. This will give it a nice "buff," smooth out minor bumps, etc.
COVERING THE CAKE:
10. Carefully lift one edge of the fondant and drape it back over the rolling pin. Use the rolling pin to lift the piece off of your work surface. Place and unroll evenly over the top of your cake.
11. Being sure to work quickly, smooth out the fondant on the very top of the cake first, eliminating any air pockets.
12. Secondly, adhere the fondant to the edge and tops of the sides. You will want to use the most care here to make sure you have a nice, clean edge and that the weight of the fondant does not pull the fondant down the sides and tear the top.
13. Smoothing as you go, gently stretch the fondant out to iron out pleats and adhere to the sides. You will want to work around the cake, pulling and placing as you go, until you reach the bottom.
14. Give the cake a final "smooth-down" to make sure the fondant sticks and is in place before trimming the bottom.
15. Trim the excess fondant from the bottom with a pizza wheel or sharp edge.
16. Pop any remaining air bubbles with a straight pin and smooth to seal.
WORDS OF WISDOM:
-
Invest in a set of fondant smoothers. They are fairly inexpensive and work much better than your hand. Hands are not flat - smoothers are 😉
-
Use two fondant smoothers. After the fondant is already in place, use one smoother on top and the other on the sides to form a 90 degree angle. Use pressure to create clean, sharp edges.
-
Don't be afraid to put a little muscle into it. You will notice that kneading and rolling does take some work. When placing the fondant on your cake, really make sure it "sticks." If built with care, your cake should be sturdy enough to withstand some pressure when trying to smooth everything out.
-
Make sure your fondant has not dried out. Save yourself the trouble and start with a fresh piece. If not, the edges around the cake will crack.
-
Always cover and put leftover fondant in an air tight container to prevent drying.
-
Cool hands work better than hot. So if you body tends to run on the warmer side, try running hands under cool water (and drying) before you start.
-
Keep all water and moisture away from fondant while you are working. Water tends to melt sugar, and you will end up with a sticky mess.
-
Use a pizza wheel to trim your fondant. The wheel action prevents pulling like a knife might.
-
Always adhere fondant to a smooth crumb coat of buttercream or ganache. The smoother the crumb coat, the smoother the fondant will be.
-
Cakes should be cool but not too cold when being covered. Blot off any perspiration before placing on the fondant.
-
Measure your cake and calculate how large of a piece of fondant you will need before you roll. Example: If you have an 8" round cake that is 4" tall, you will need a piece of fondant that is 16 inches in diameter. (8" + 4" + 4"
-
If your piece of rolled out fondant is not smooth and irregular in thickness or shape, start over. It will not get any better once adhered to the cake.
-
In my humble opinion, it is okay to refrigerate a fondant-covered cake. However, I do highly recommend the cake be place in a box to prevent as much "sweating" as possible. When the cake is brought back out to room temperature, the fondant has a tendency to sweat. DO NOT try to wipe the moisture off. Just let it "sweat it out" on it's own.
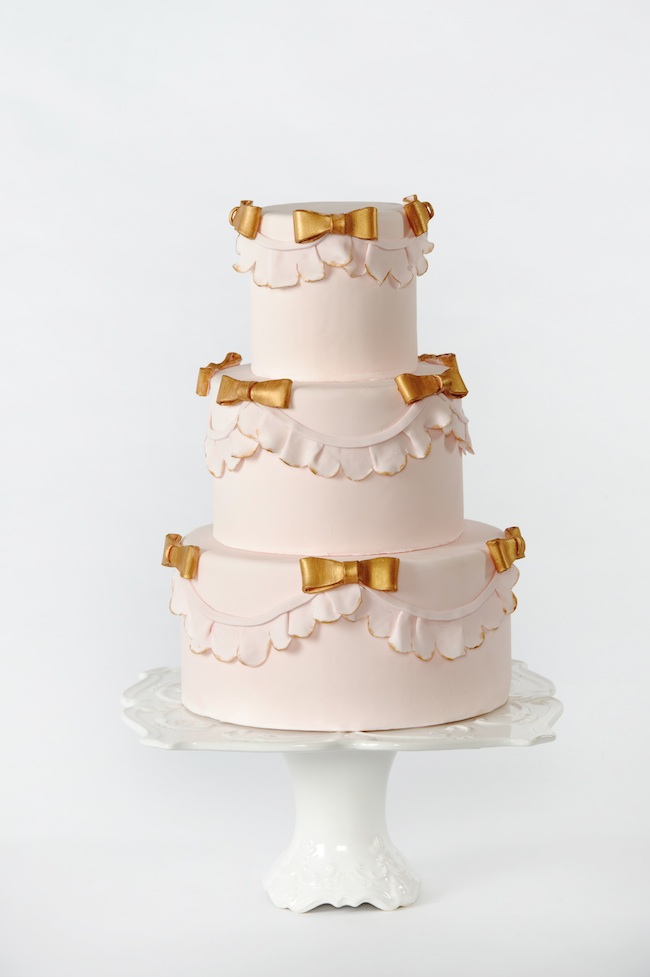
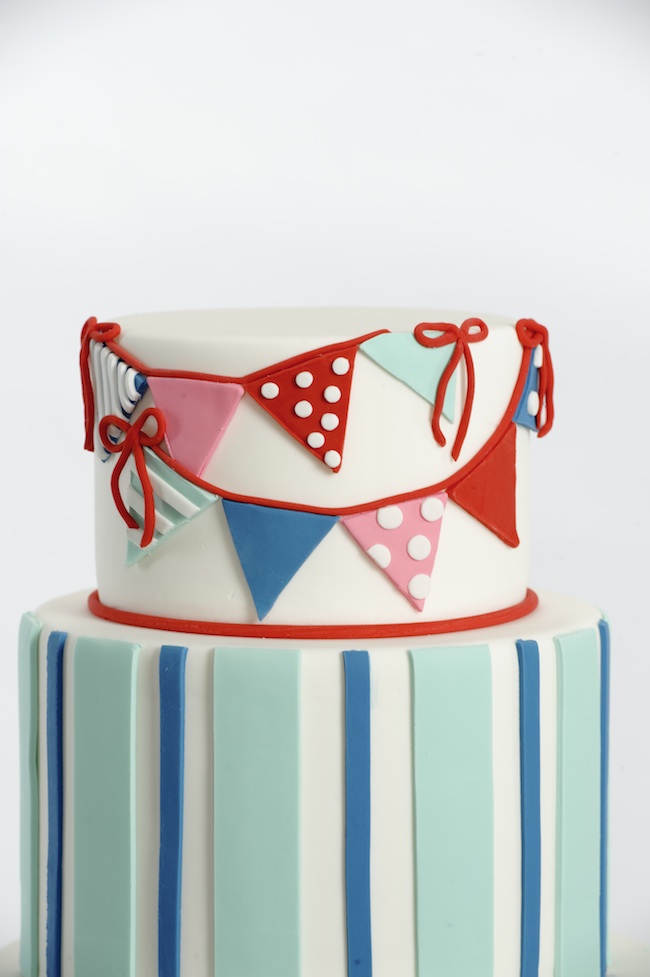
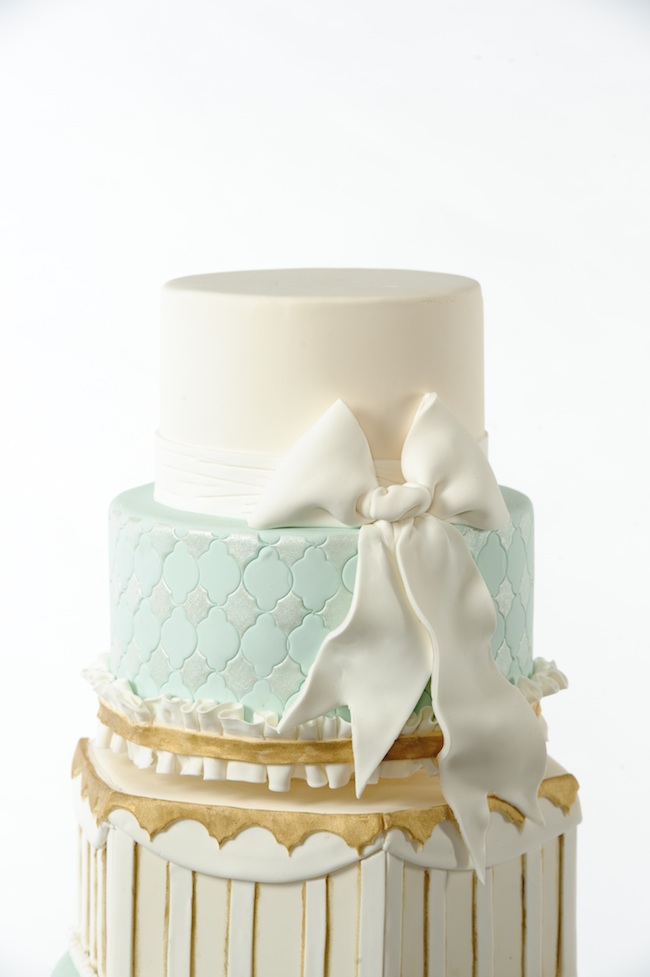
Photos by Chantel Elder.
Abbie @ Needs Salt
These cakes are gorgeous!! I truly admire bakers who can make such works of art with fondant. Stunning! Pinned. 🙂
KateSondersFoodWriter
Was wondering what your favorite fondant brand is for molding? I'm just starting to test out fondants and so far Fondarafic tastes good but seems a bit too fatty for say, making fondant bows. Would love any tips!
Tessa
Kate,I really like Fondx the best. It doesn't dry out too quickly and tastes okay.
InspireBlog – Moms » Bolo com laços para casamento, chá e festa infantil
[…] via Life’s little celebrations | Catch my party| Style Sweet ca | Sweetiers | Call me Cupcake | Jilly Sarah Cakes | Beautiful cake pictures | Pinterest 1, 2, 3, […]
Elaine
I love the way you get so creative with your fondant work.